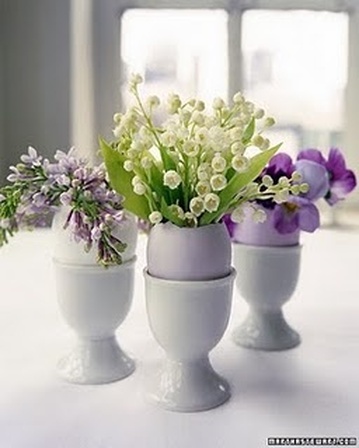
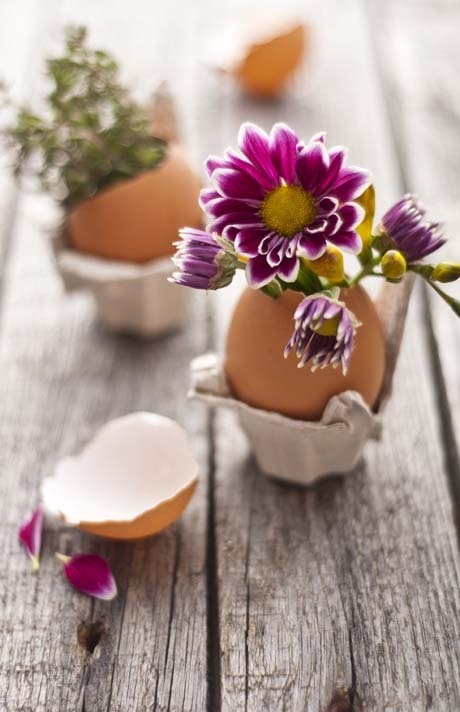
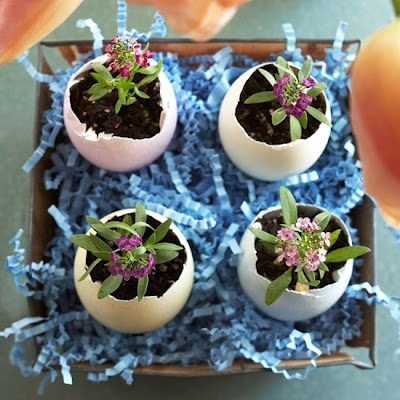
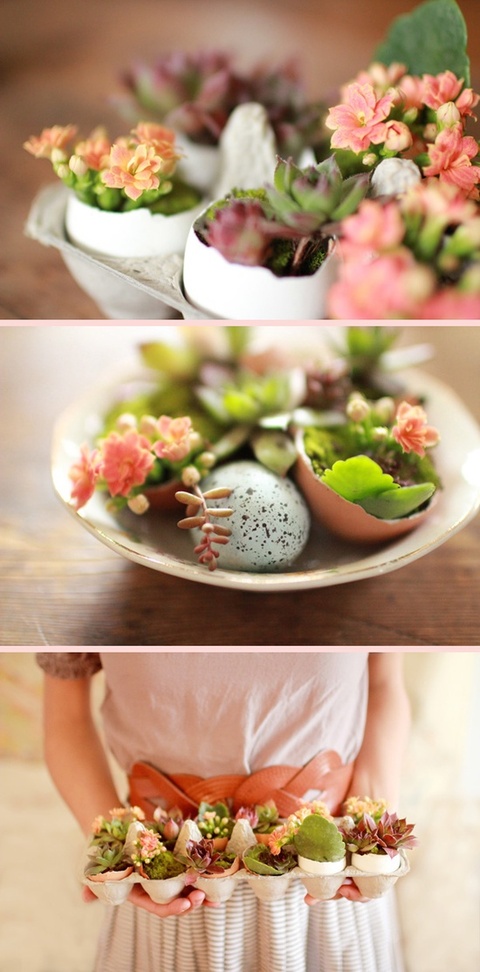
If your interested in making your own eggs planters there is a great video below which will show you how to blow your eggs out. Check out some of my egg shell planter inspirations below!
|
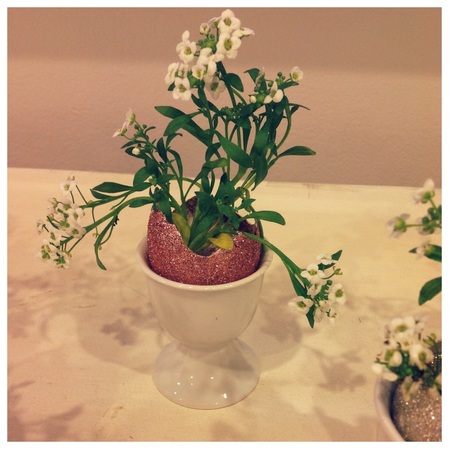
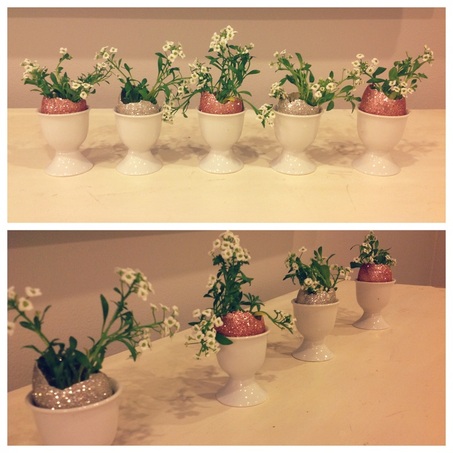
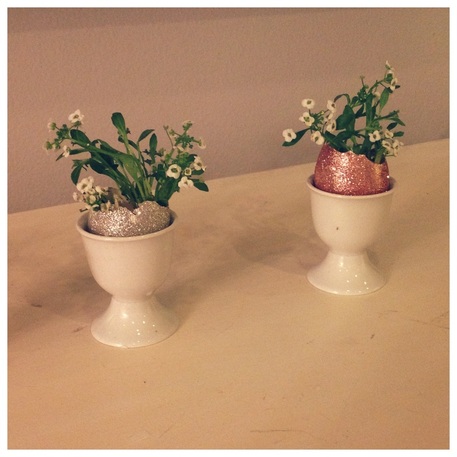
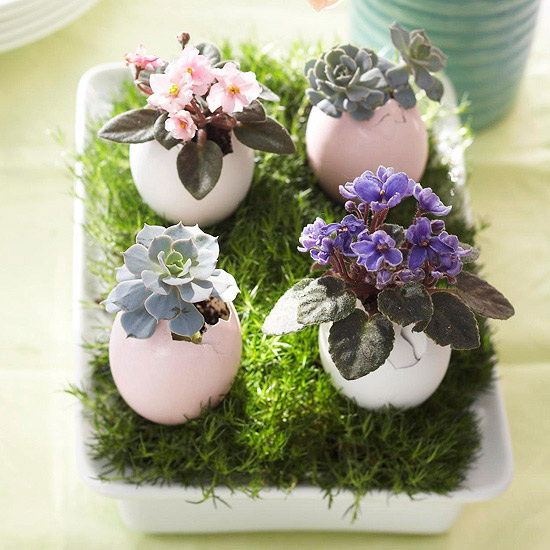
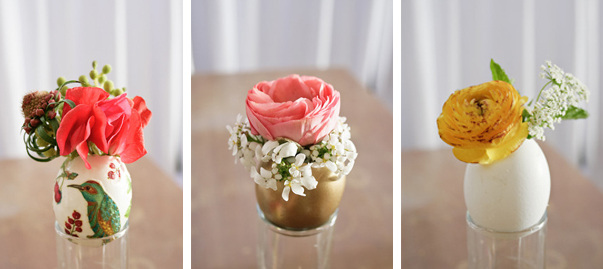
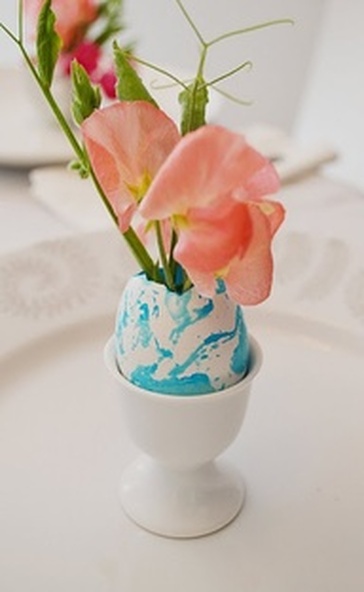
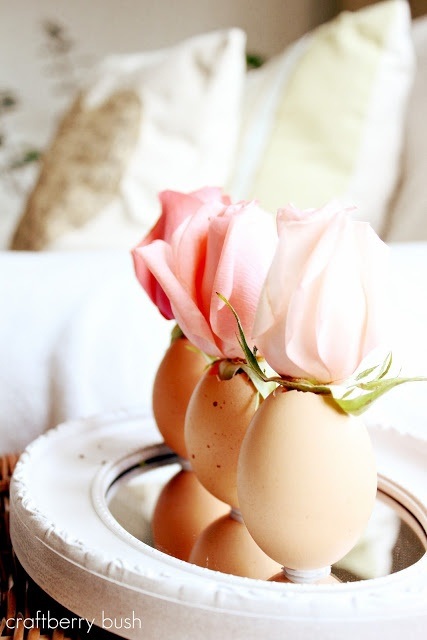
In my desperate search for some Easter decorations that don't involve plastic bunnies and chicks covered in tinsel I ran across these beautiful egg shells filled with flowers. I love how simple and modern they look especially in terms of Easter decor. I was excited to find some white egg cups at Cost Plus World Market to put my freshly glittered and planted shells. A great DIY Easter decoration that is keeping it classy! If your interested in making your own eggs planters there is a great video below which will show you how to blow your eggs out. Check out some of my egg shell planter inspirations below! Instructions: Wash & dry eggs. Following instructions from the youtube video below, blow out your eggs. Rinse and let dry. Crack and remove the top portion of your egg shell, leaving and opening big enough to plant your flowers. Using small flowers or plants carefully plant your flowers in the egg shells. Another options is to us some white glue to close the pin hole in the bottom of your egg shell and use this shell as a vase. Fill with water and add your favorite flowers! Note: I used Modge Podge and glitter to add a little sparkle to my shells!
0 Comments
Where do I even begin? It's been so long. These past few weeks have been filled with traveling, dancing, more dancing, a quick trip to Santa Barbara and visits from family. Needless to say its left very little time for crafting. Finally yesterday I was able to steal a few minutes of quality Pinterest time.
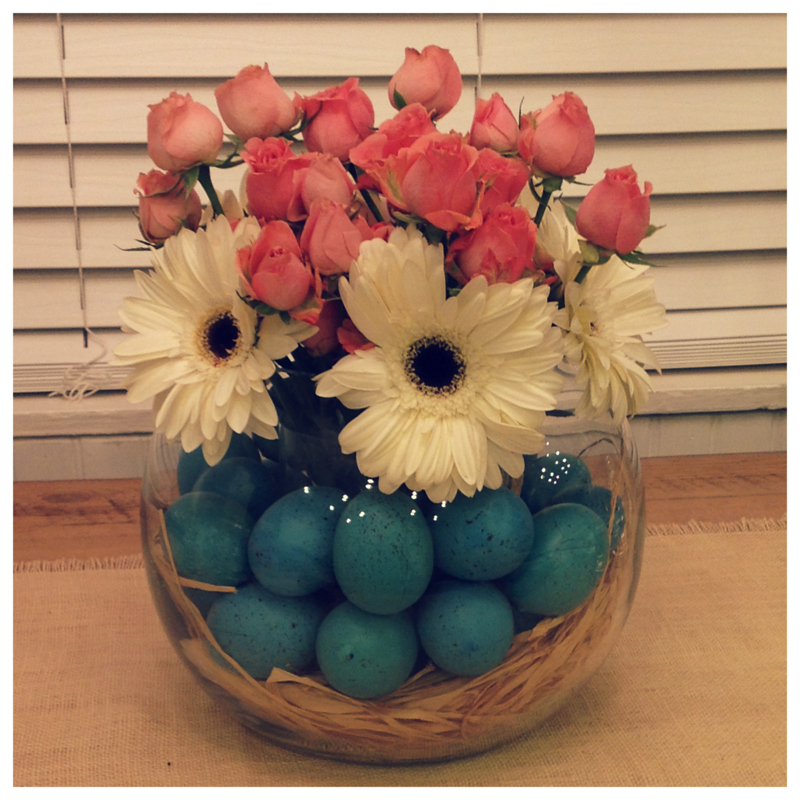
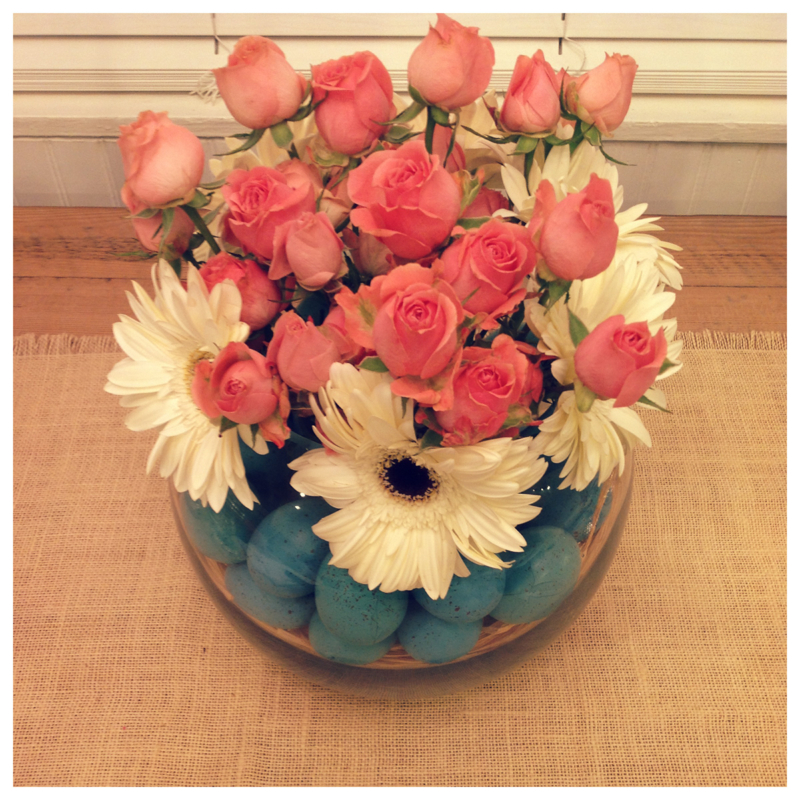
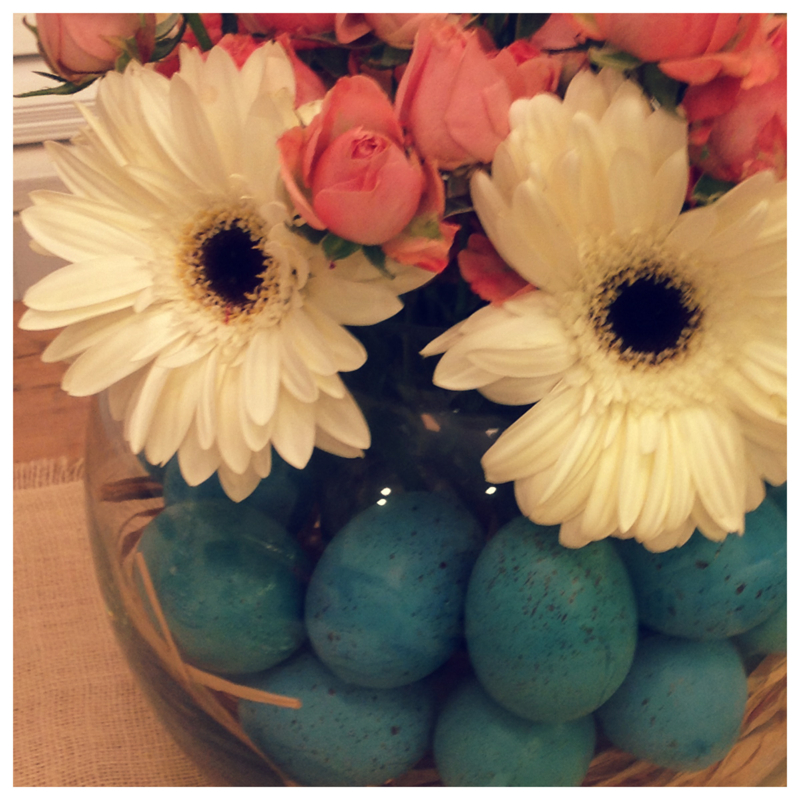
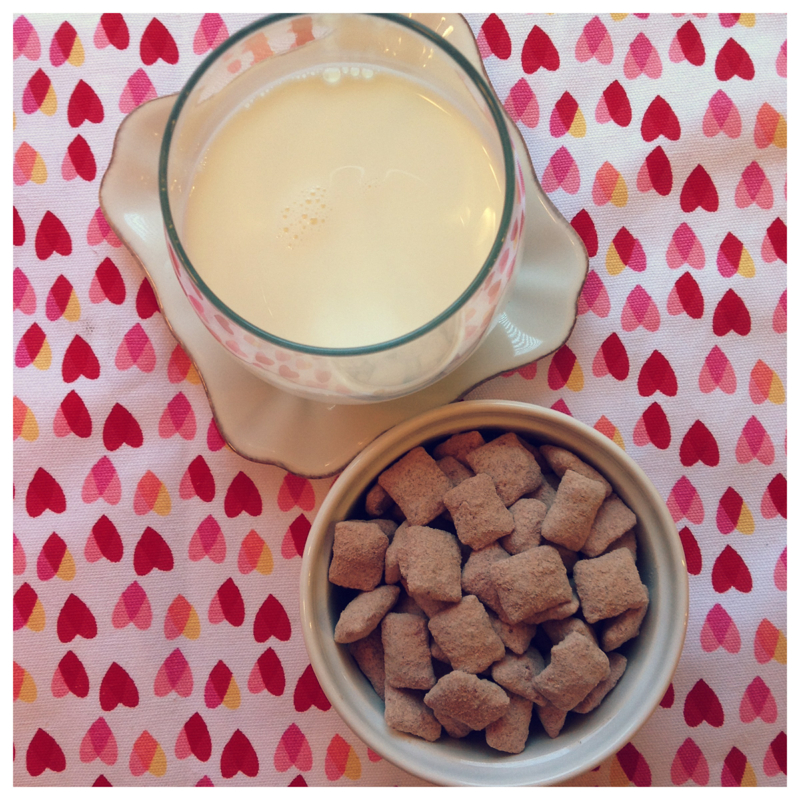
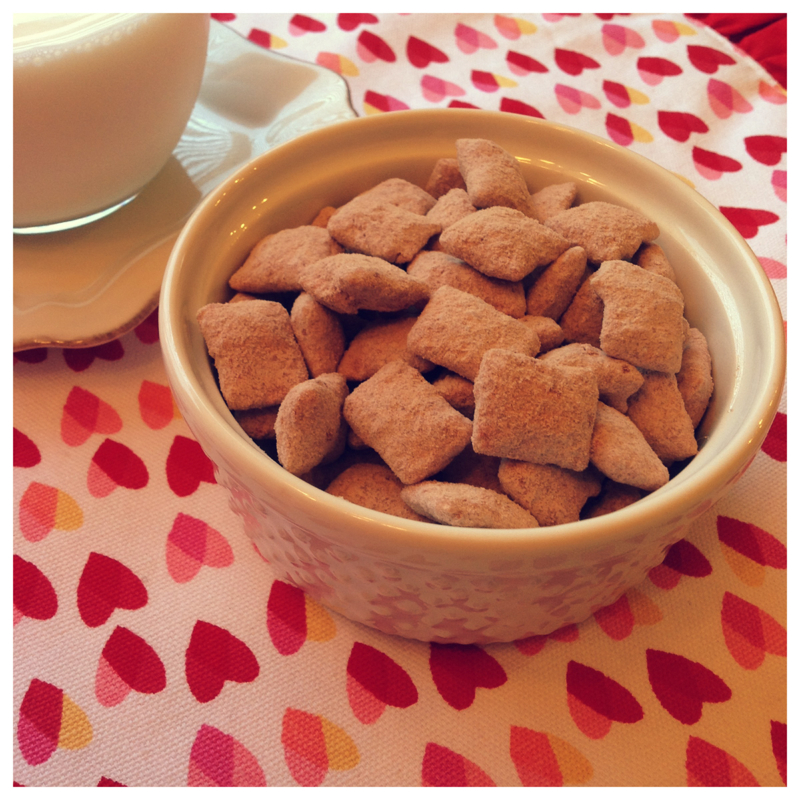
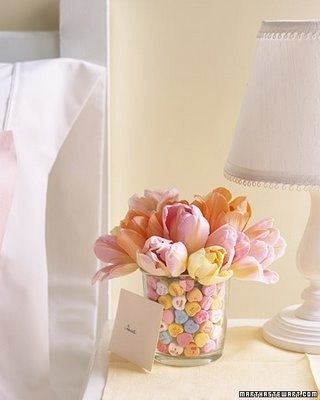
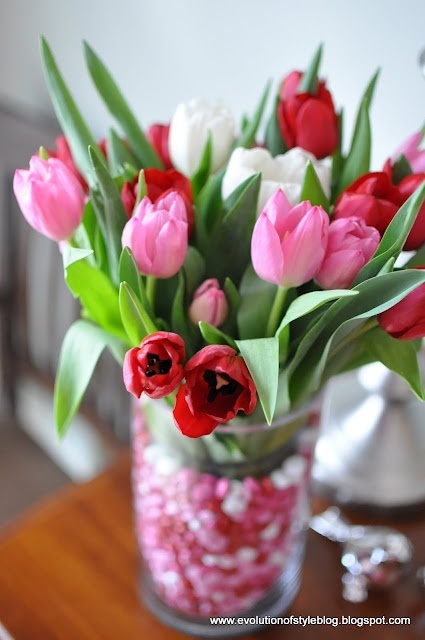
I've always struggle with Easter decorations, there is a very fine line between trashy and classy. The house down the street with gillter bunnies lining their driveway, pastel tinsel garland around the porch and light up bunny lights...trashy! I always have a hard time with Easter decor, we don't have kids so we don't need plastic bunnies all over, we're not very religious and frankly my favorite thing about Easter would have to be pastel colors, flowers, and the candy. In case you haven't noticed Easter offers the best candy over every other holiday. Cadbury Mini Eggs, Robin's Eggs, Satrburst Jelly Beans, Sweet Tart Chicks, Reese's Eggs, Butterfinger Eggs...do I need to continue? Anyway after an hour of pinning I decided to kick off the Easter season by putting together an Easter centerpiece for our dining room table. I got a great new vase from my cousin for Christmas. It has a vase inside a vase so you can fill it with anything you'd like a still put flowers in the middle. Aka I no longer have to cut a plastic cup in half to insert into a filled vase.. I usually fill a vase with conversation hearts then pink roses in the middle for Valentine's Day. For Easter I added blue & teal speckled eggs with a little raffia in the bottom. Then I added white daises and pink spray roses to the center. I'm in love. Let spring begin! Right off the bat let me warn you, if you read the title of this post and got excited now would be the time to calm yourself down. Being a red velvet fanatic I'm sorry to report this recipe was a flop. I thought combining a childhood favorite like puppy chow with a new dessert love from my adult life would be a hands down winner. Sadly it was not. Although I'm not completely ready to throw the idea out, the recipe however is a goner.
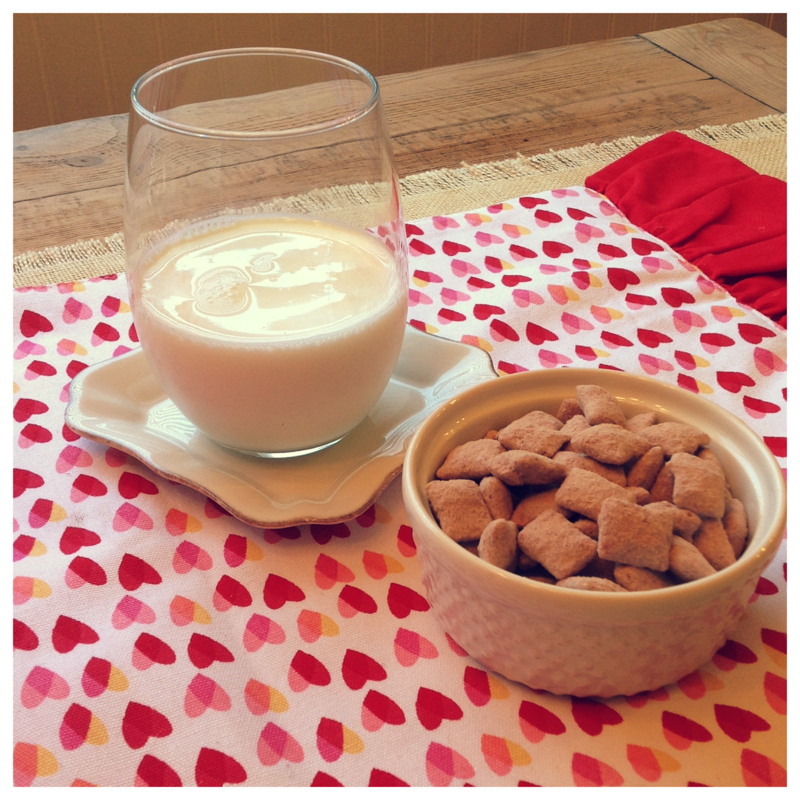
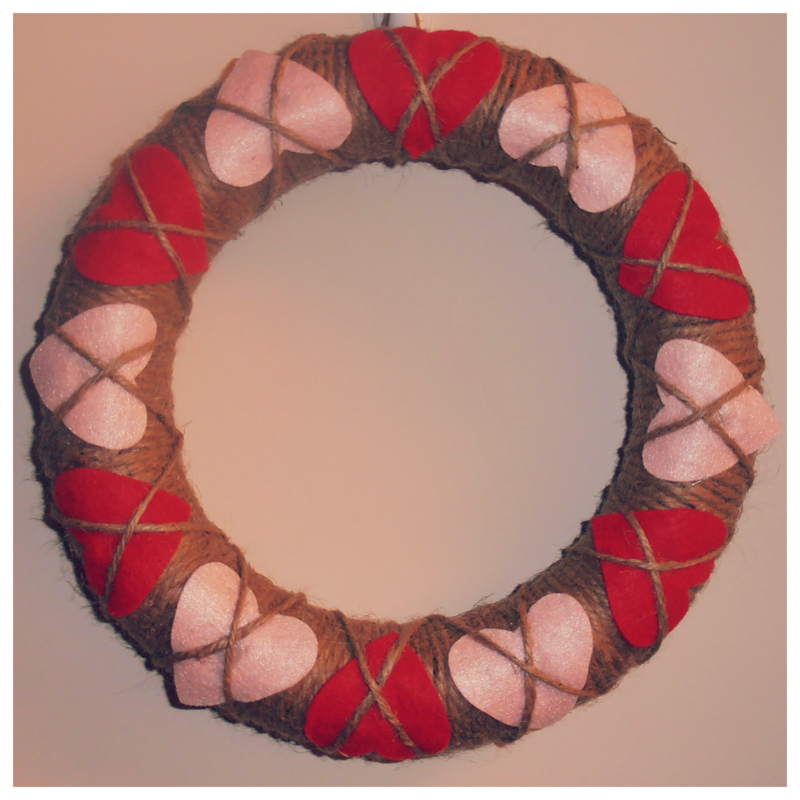
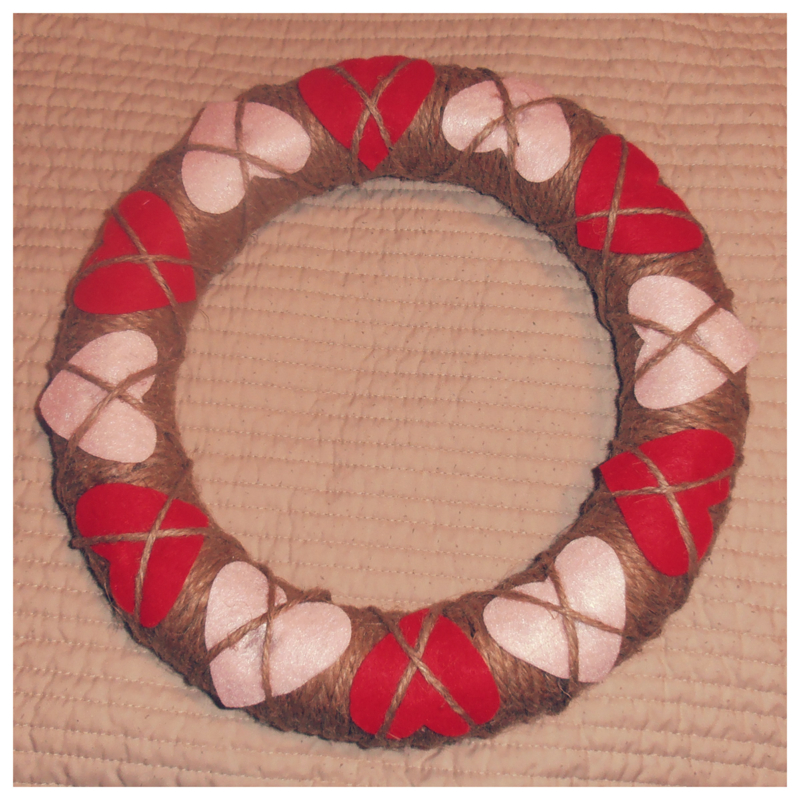
I found a recipe online that used chex cereal, red velvet cake mix, powdered sugar, white chocolate chips, chocolate chips, milk, and cream cheese. I have to admit what I love most about regular puppy chow is the peanut butter and chocolate combo, so when I realized this recipe did not include the classic peanut butter ingredient I was already a little skeptical. I followed the recipe exactly and when I found myself at the last step, shaking the coated cereal in powdered sugar and the red velvet cake mix I was completely annoyed. The only thought that popped into my head was "I can't believe I'm coating these puppies with plain old cake mix...this is going to taste like cake mix." Like I'm constantly telling Scott, I was of course RIGHT. Everytime I took a bite all I could taste was powdery cake mix. As I sat there in the kitchen staring at a pile of it feeling like a failure, Scott tried to comfort me by telling me if I didn't tell anyone it was cake mix they probably would never guess. Needless to say ever since I made this I've been craving regular old puppy chow, it's now on the to do list for this week. I'm sad to say but this is one recipe that will not make the cut..it has been chopped! You may remember seeing some of our earlier posts from our grand opening where the ladies made twine wreaths. Well twine is back but in Valentine's Day fashion. My sister Jamie made this wreath for the Valentine's Day and I had to share!
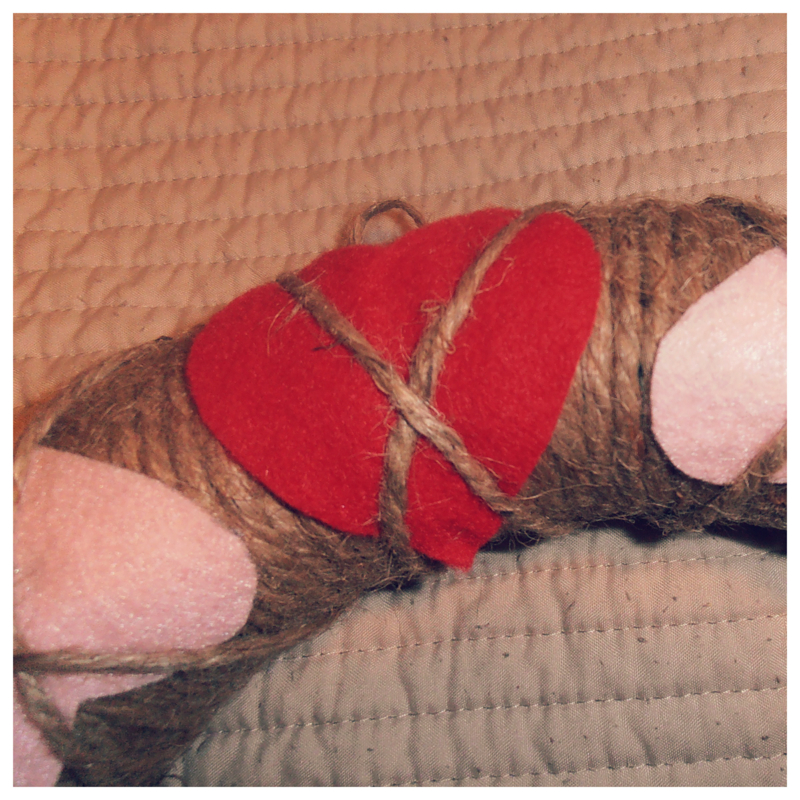
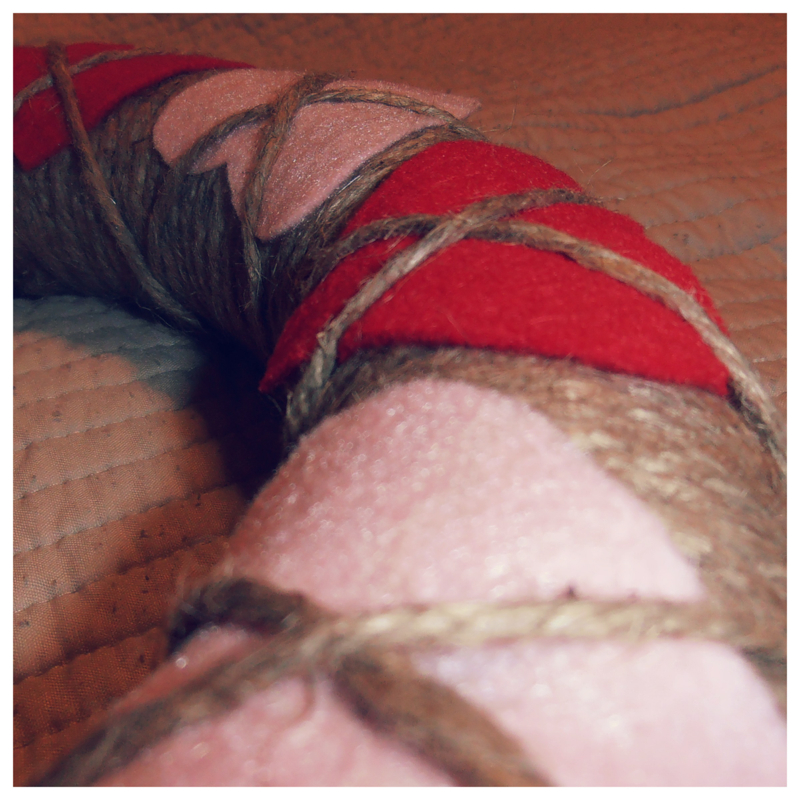
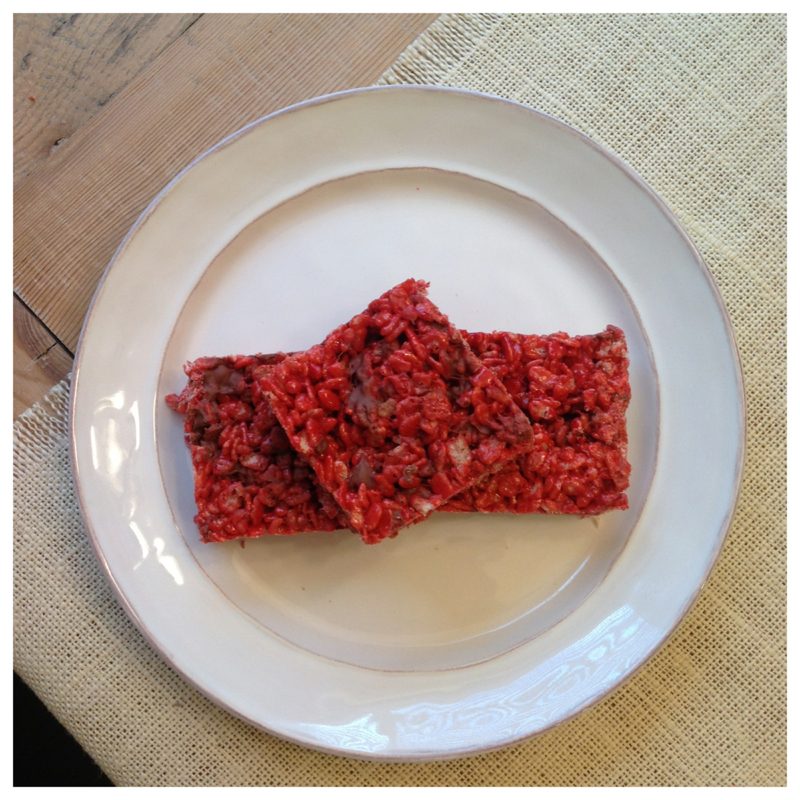
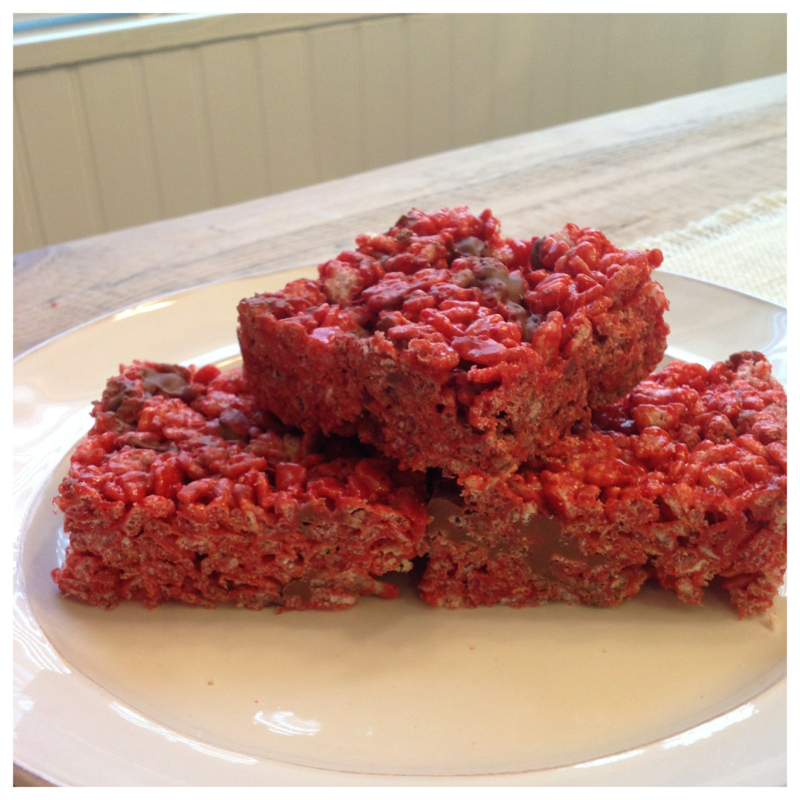
This wreath is wrapped with twine the same way as our other twine wreaths then adorned with felt hearts and finished with another layer of twine in an argyle pattern. I love the simplicity of the twine and think the hearts add a pop of color, giving it the perfect Valentine's Day touch without looking like a holiday pile of barfed hearts and glitter! Great DIY Valentine's Day decoration just in time for the holiday! Last night I walked into the kitchen feeling like a baking god and walked out feeling like an ass. Two words...mini marshmallows. I found a really creative, fun and simple recipe for Valentine's Day, Red Velvet Rice Krispie Treats. I'm a red velvet fanatic in addition to being a lover of Rice Krispie treats. So in my eyes this was a match made in heaven.
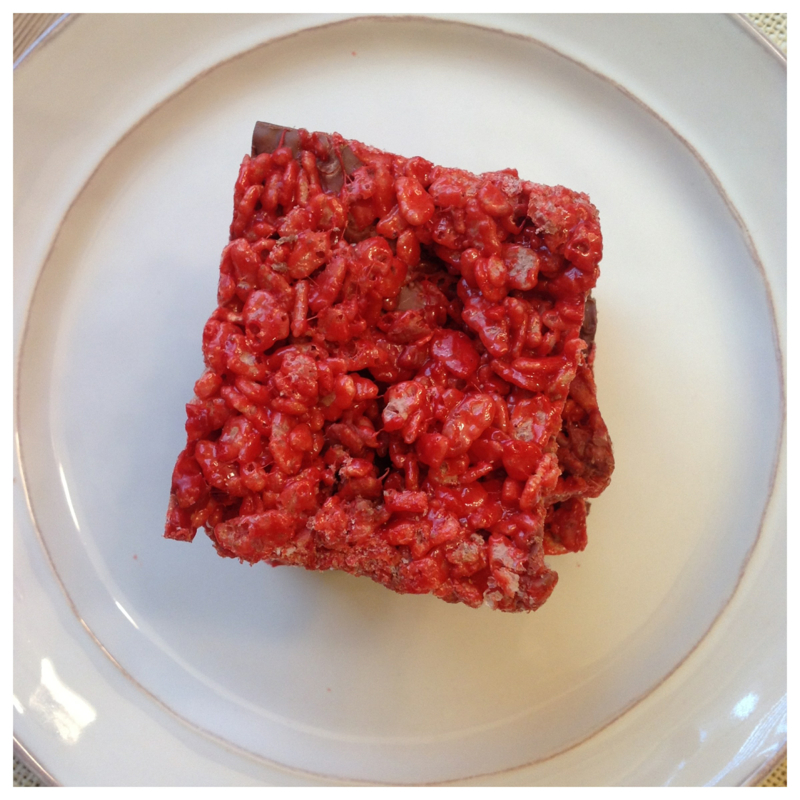
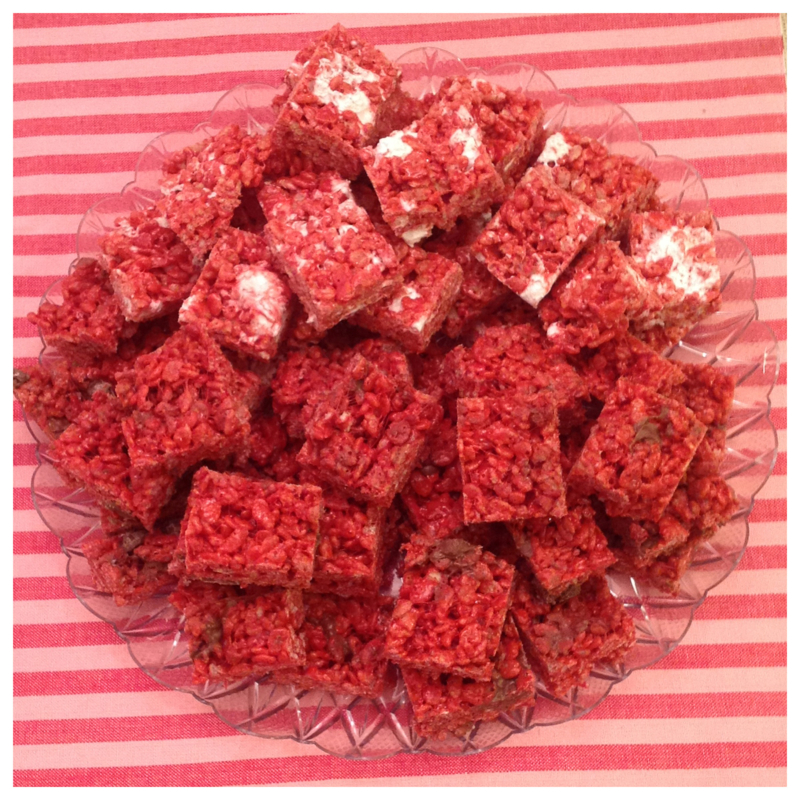
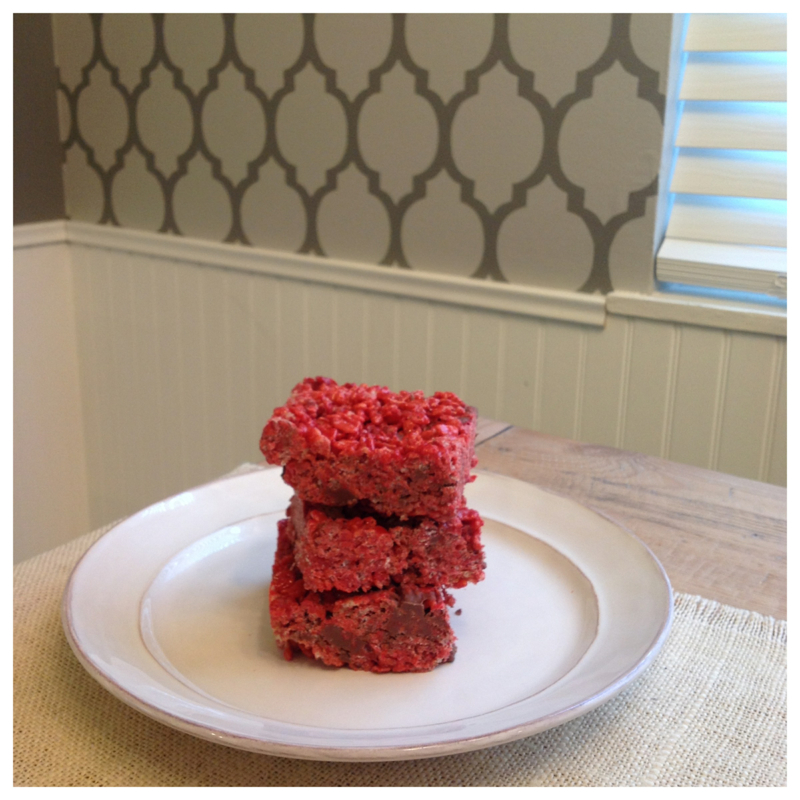
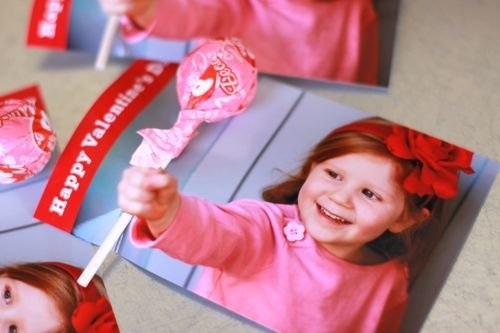
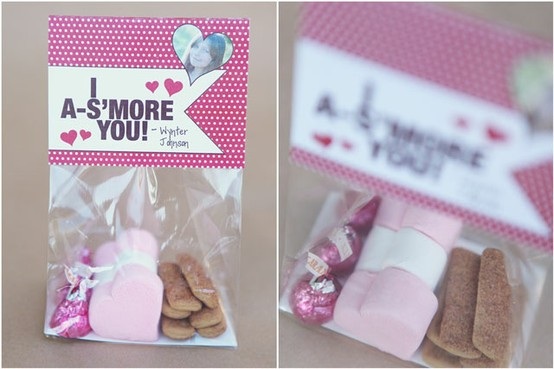
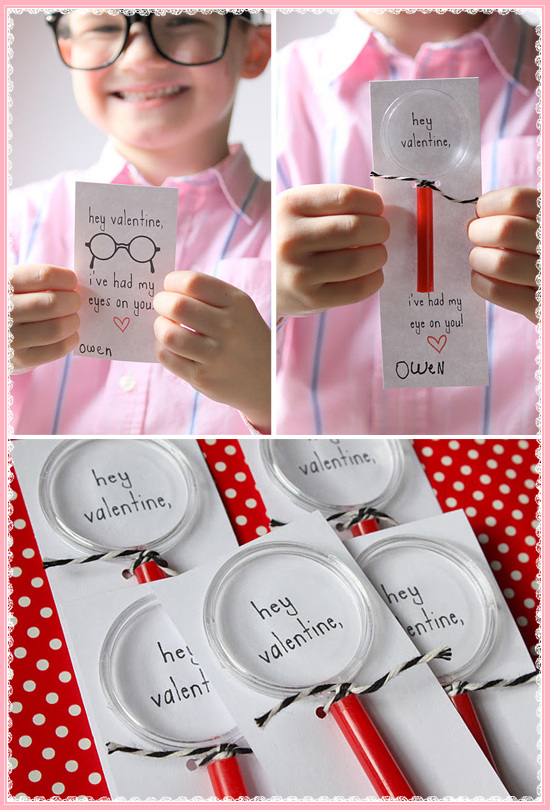
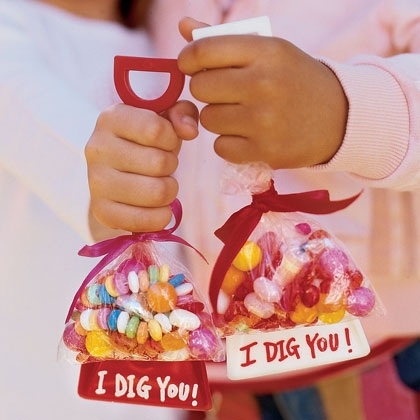
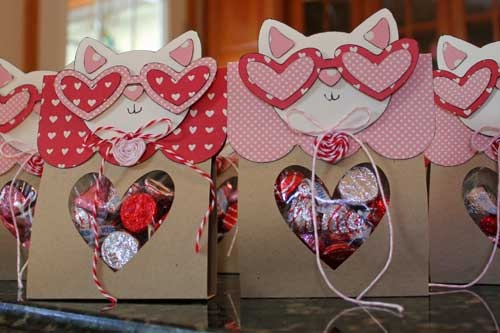
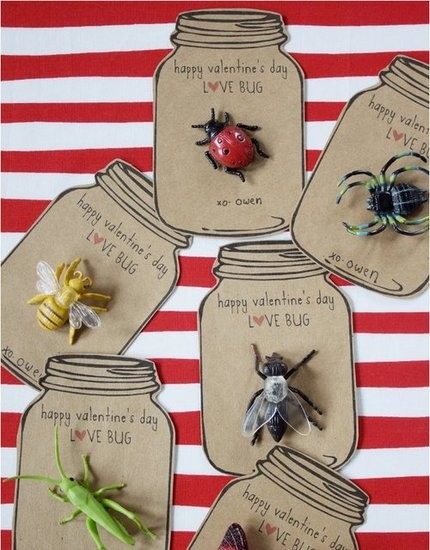
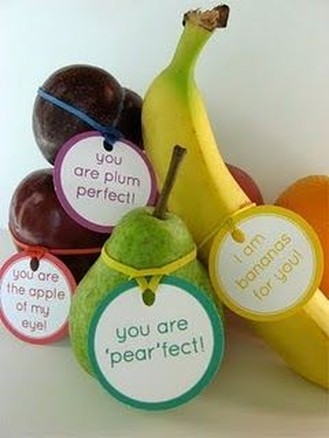
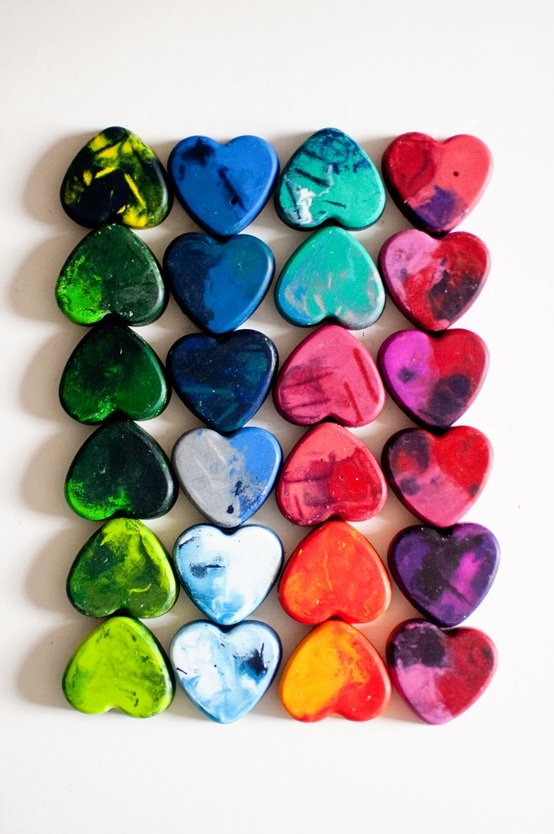
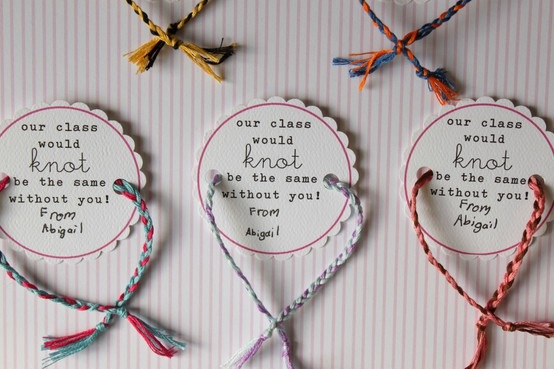
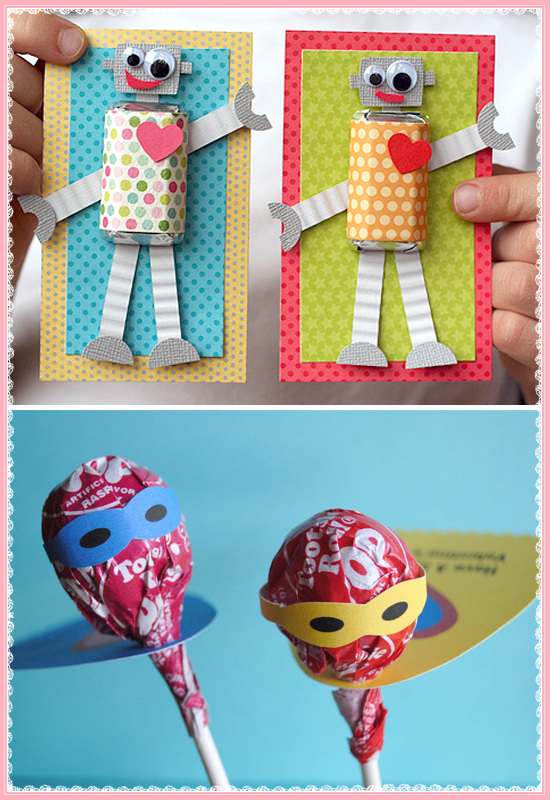
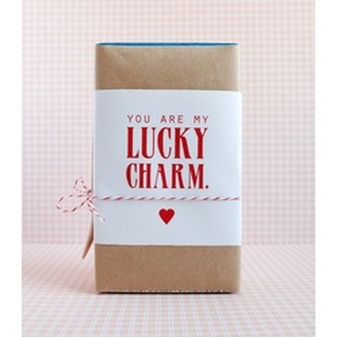
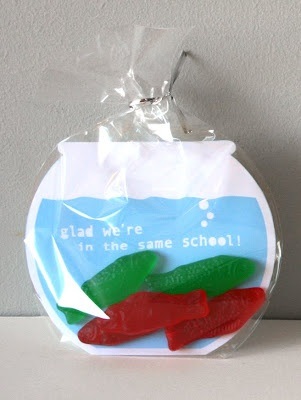
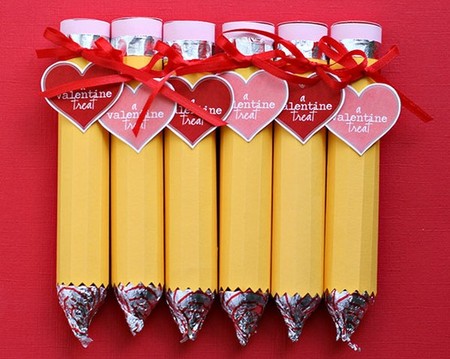
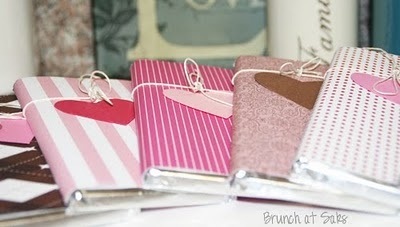
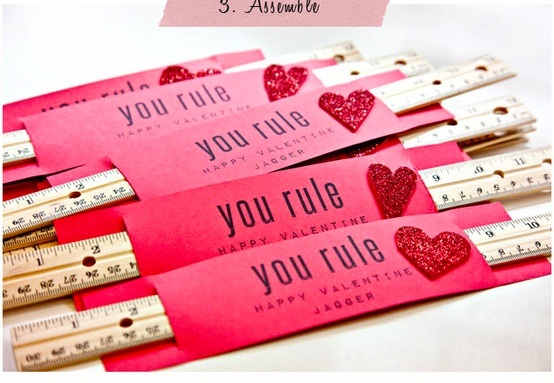
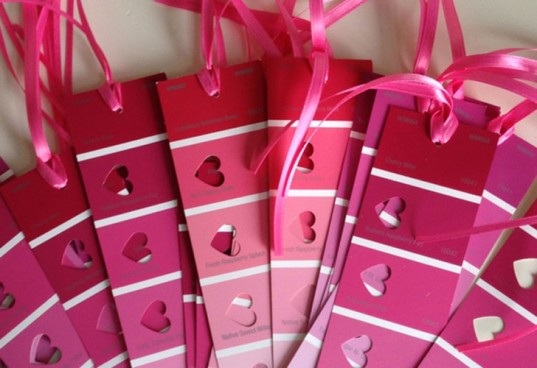
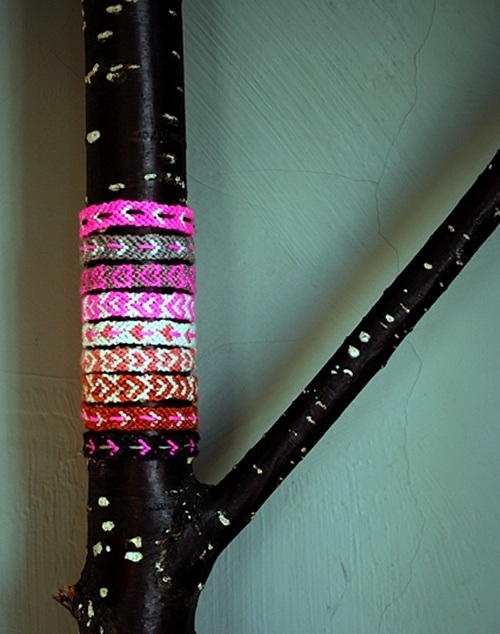
After a long day of teaching, a quick stop by the office, and then some more dancing I came home to whip up a couple batches of these that I planned to drop off at Scott's work later that night. I was really excited to make them and it was a good excuse to see Scott since I had only seen him in passing that day. The recipe is pretty basic and doesn't require much. When I added the chocolate chips I found that they started to get messy fairly quickly. This resulted in some ugly pieces I tried my best to cut out of the Rice Krispie treats. For my next batch I added mini marshmallows because I'm obsessed with the Starbucks Rice Krispie treats. There have been many weeks that I survived on Rick Krispie treats and coffee alone. Here I am thinking what a great idea this was and how cute the white marshmallows will look with the red velvet. As I'm stirring I was becoming more and more confident and thinking how much better the marshmallows will be than those messy chocolate chips. I was absolutely 100% wrong. The chocolate chips had nothing on those marshmallows. They stuck to everything, I could barely get the top of the Rice Krispies flat because they stuck to everything. Not even the worlds biggest tub of butter could have saved this mess. Then came time to cut them. Well if I thought they were messy before I was wrong. Trying to get them out of the pan and to look pretty on a plate was not happening. With some patience and by losing many pieces to the trash I was finally able to get them on the plate. My guess is that they stuck together whenever you tried to pick one up. Maybe I should have waited longer before cutting them. Needless to say I dropped them off and Scotts work and 9 hours later...the plate was back in my sink empty. The chocolate chip was by far the favorite. What I love most was the taste of red velvet and not just regular old Rice Krispie treats with red food coloring. I tried a few different recipes and I found this one worked the best. Red Velvet Rice Krispie Treats Runs with Spatulas Ingredients 3 tablespoons butter 1 (10.5 ounce) bag mini marshmallows 1 teaspoon vanilla extract 1/2 cup red velvet cake mix 6 cups Rice Krispies cereal 1 tablespoon sprinkles 4 ounces white chocolate chips, melted Directions Line a 9x13-inch pan with wax paper; coat well with cooking spray. Set aside. In a large saucepan, melt the butter over low heat. Add marshmallows, stirring frequently, until melted. Stir in vanilla and cake mix until fully combined and no lumps remain. Stir in cereal, making sure it is well-coated with marshmallow mixture. Transfer Rice Krispie mixture to the prepared pan, pressing down until the top is level. Top with sprinkles and drizzle with melted white chocolate. Valentine's have come so far since I was a kid, especially now with pinterest the possibilities are endless. No longer are the days when you drive to the store and pick out your favorite cards to give out to your classmates. Although when I was a kid we rarely did that. My mom always ordered them from what I'm guessing was some teacher magazine. Our's were always a little extra special I clearly remember having ones that turned into cootie catchers one year! I was having fun searching for cute DIY valentine ideas the other day and thought I would share some of my favorites with you!
I can't stand maraschino cherries. Honestly I think they are cherry trash! Maybe it's because I was raised in Michigan which is home to the cherry capital of the world. Maybe it's because I spent many years pondering if they even start out as real cherries...they do if you were wondering. Frankly I think its because they taste so fake and sugary and I am very fond of eating real cherries. I hate them in drinks and on desserts...you name it and I can't stand them! Until now. I do love them in these cherry & chocolate shortbread cookies. And I do remember my aunt telling me once that back in her college days they would drain out the liquid from the cherries and fill it with vodka, back when I was 21 this sounded like a good idea. Today, however, one shot of vodka and Scott would be carrying me home.
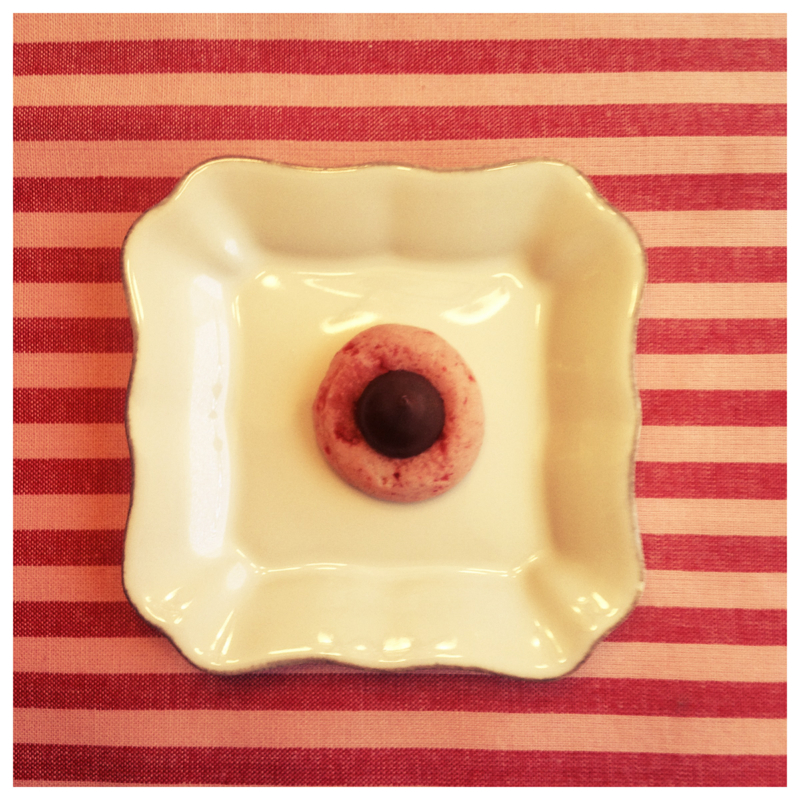
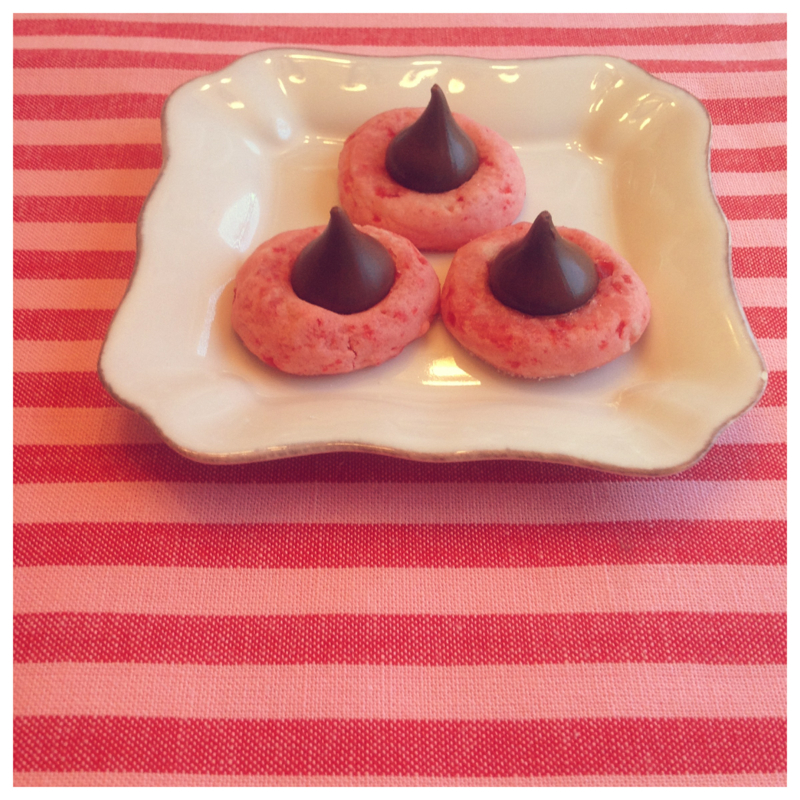
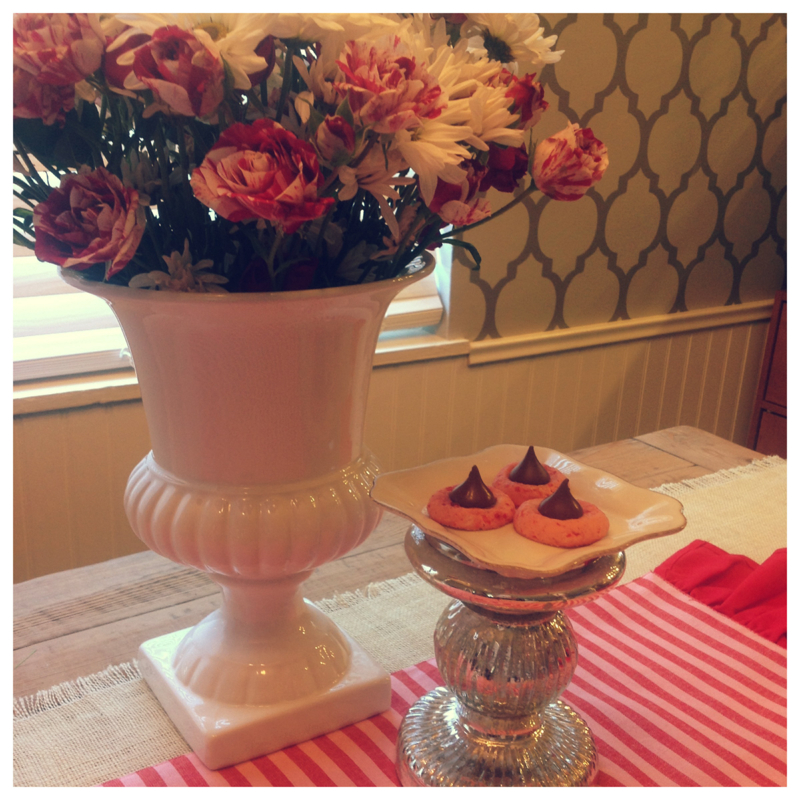
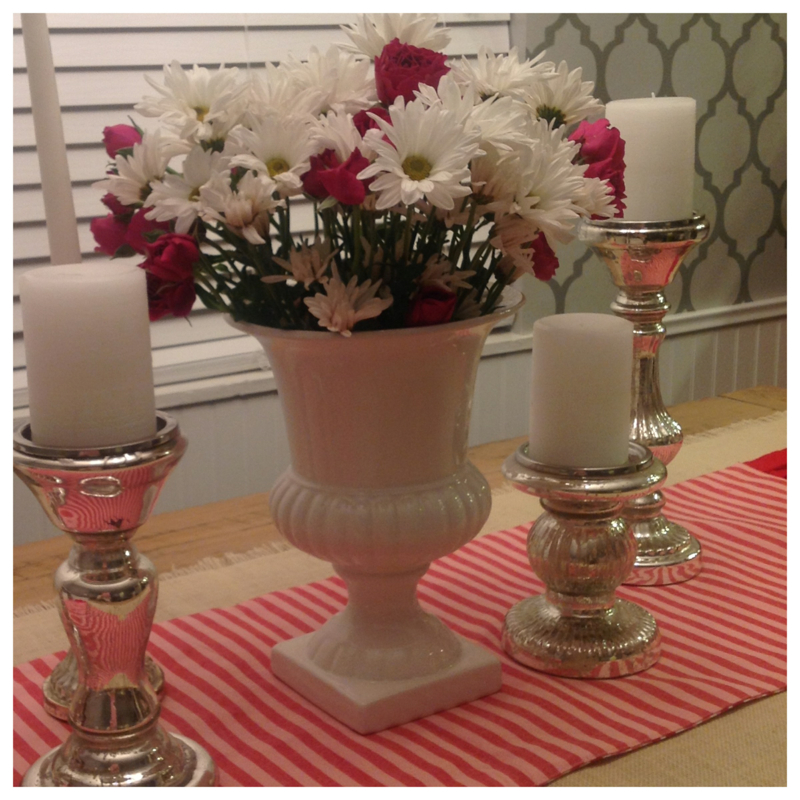
When I went to the grocery store to buy the ingredients for this recipe I stared at that jar of cherries for a minute and thought how much I was going to hate putting them in my cart and bringing them home. I did it anyway! Turns out I was actually pretty pleased with this recipe. I think it's a great twist on a classic shortbread cookie and a great way to celebrate Valentine's Day, bakers style. The biscuit like texture pairs perfectly with the sweetness of the maraschino cherries. Katie's Notes: -The dough is a little tough to work with while mixing because it is a short bread. Don't be surprised when you keep adding dry ingredient after dry ingredient and you begin to wonder...how in the h*#$ is this exactly going to turn in to a nice soft dough...it eventually does. - I stuck my cherries in the food processor and chopped them up into smaller pieces than the original blogger did. This made me feel better about using the Maraschino Cherries. I couldn't fathom biting into those cookies and finding a huge piece of maraschino. -For Christmas I make a similiar cookie, Peanut Butter Blossoms. When I make those I bake them for a minute less than the recipe calls for, pull them out, press the chocolate kisses into each cookie, and place them back into the oven for a minute. This makes the chocolate kisses stay somewhat soft and easier to eat. Just be careful. It will take a while for the kisses to cool and harden before you can move and stack them. Click here for the link to the Curvy Carrot's Cherry Chocolate Kisses recipe. I found this white vase at Cost Plus a few weeks ago and I'm obsessed. It's no secret I'm very fond of the color white. Scott is the only thing standing in my way from a house decorated entirely in white. Oh a girl can dream.
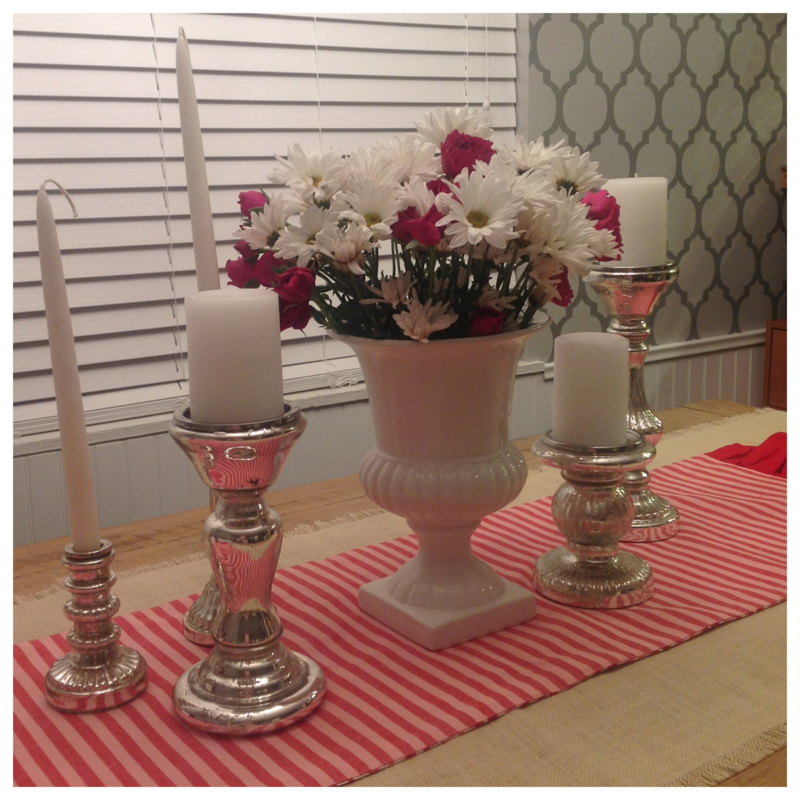
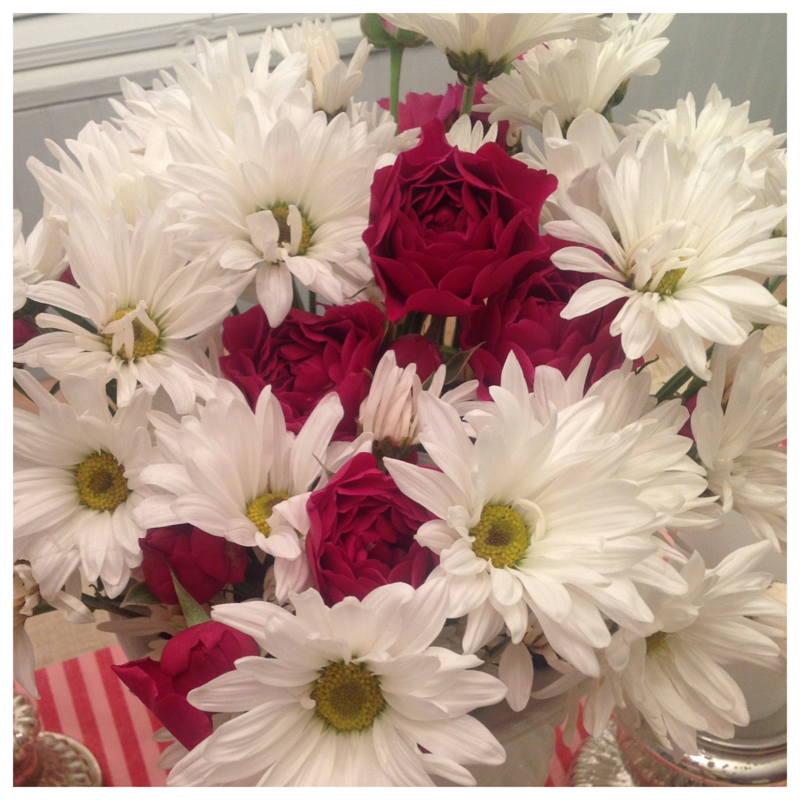
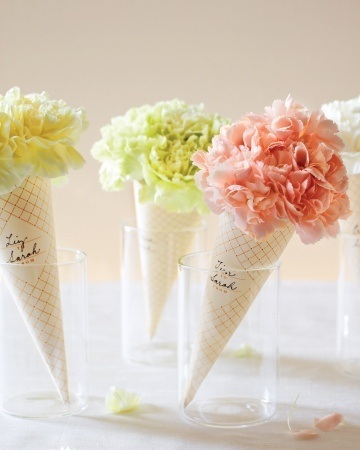
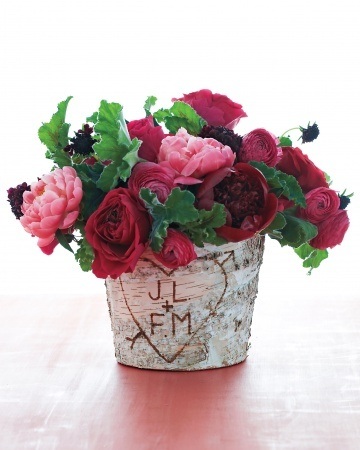
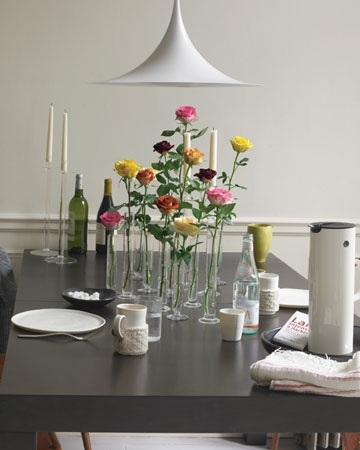
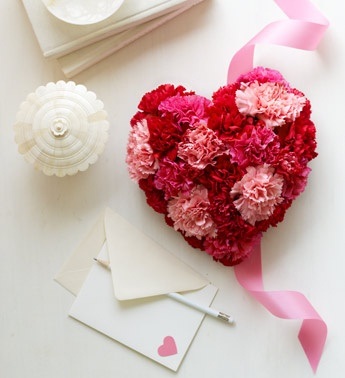
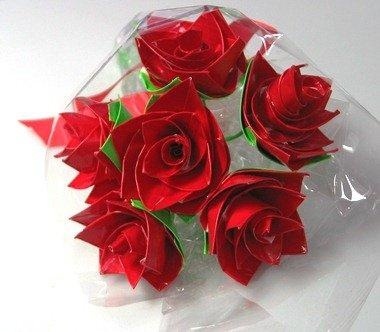
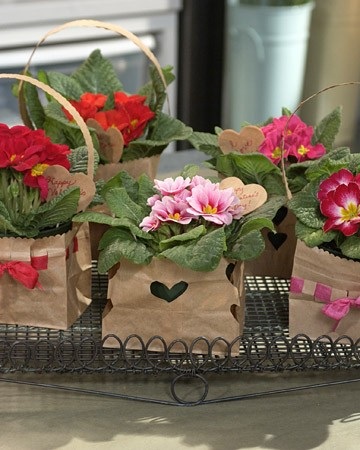
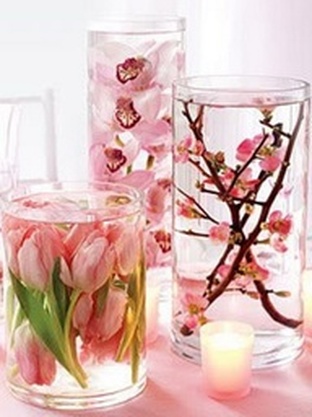
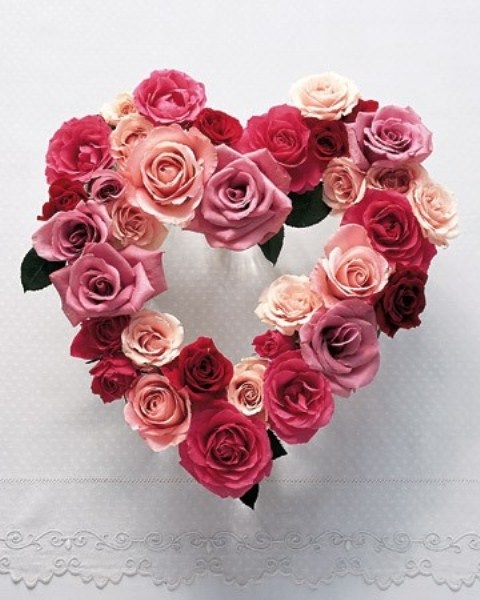
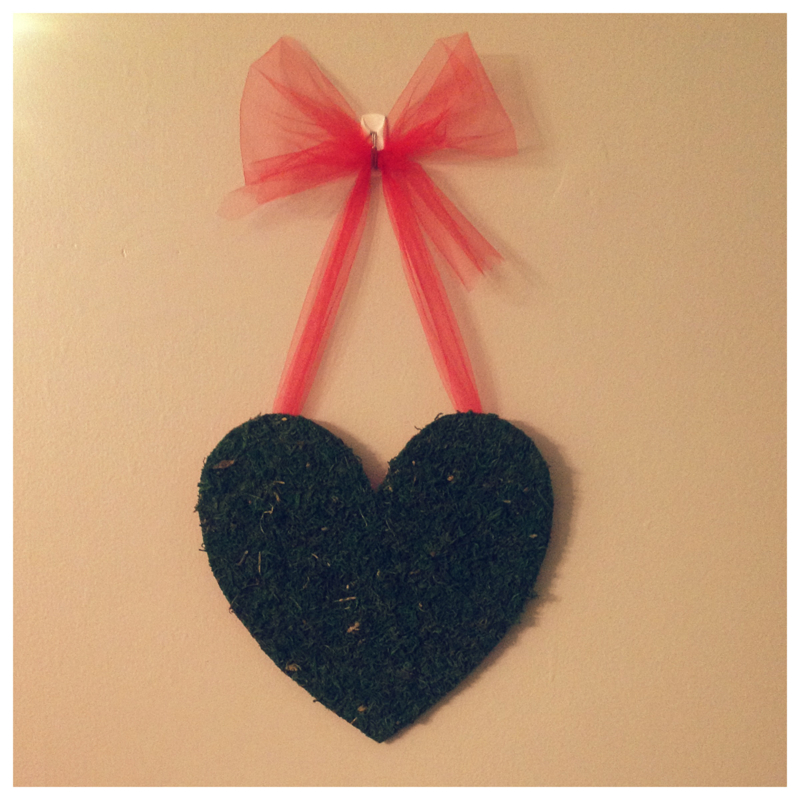
Anyway I was very excited to get some flowers into the new vase. My favorite flowers were MIA at the grocery store, go figure, peonies & hydrangeas. Instead I had to go with fuschia spray roses and white daises. I loved the way this vase full of flowers looked on my pink and red table runner and next to the silver mercury candlesticks. Below are more floral ideas for Valentine's Day! Anyone with a pinterest account has seen something covered in moss hanging goregously at a wedding, on a door, or displayed on a table. Crafters around the country rejoiced at the sight of these and now probably have their very own moss covered hanging displayed somewhere throughout their house. Mine just so happens to be a Valentine's Day heart. Aside from making a small mess it may have been the easiest and quickest craft I've ever made.
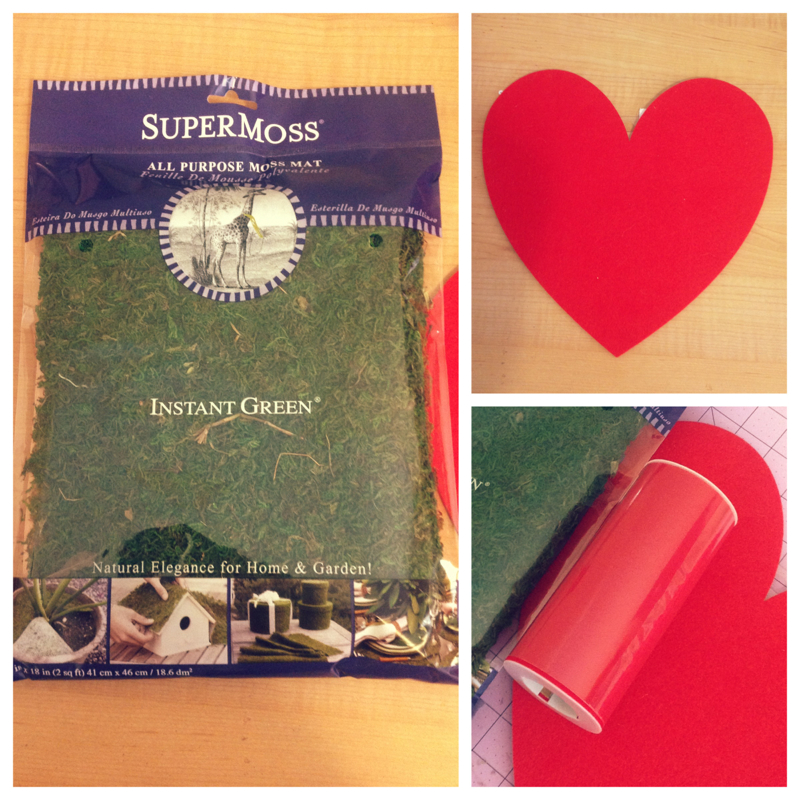
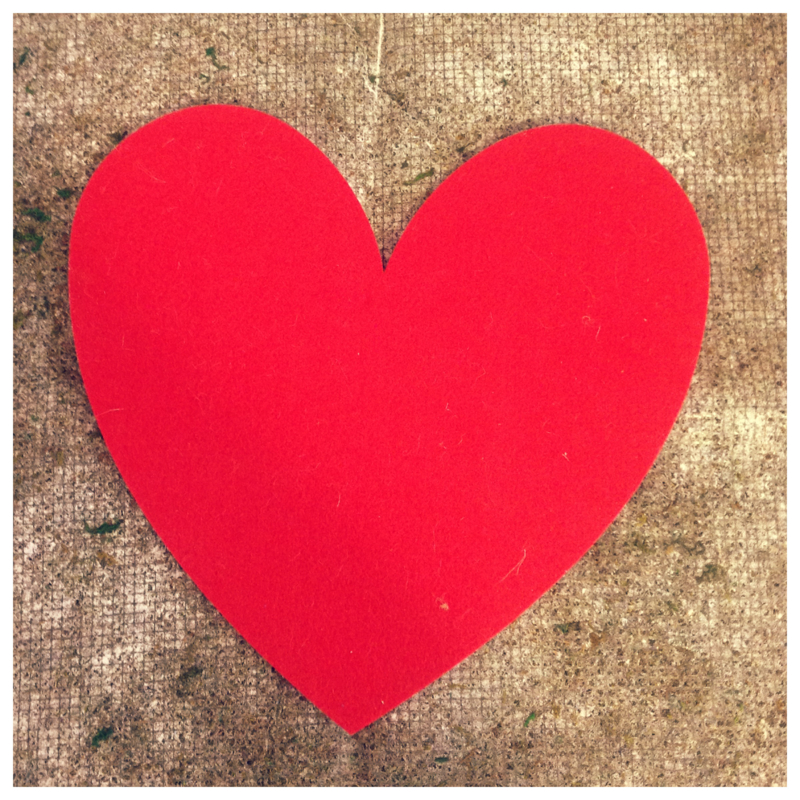
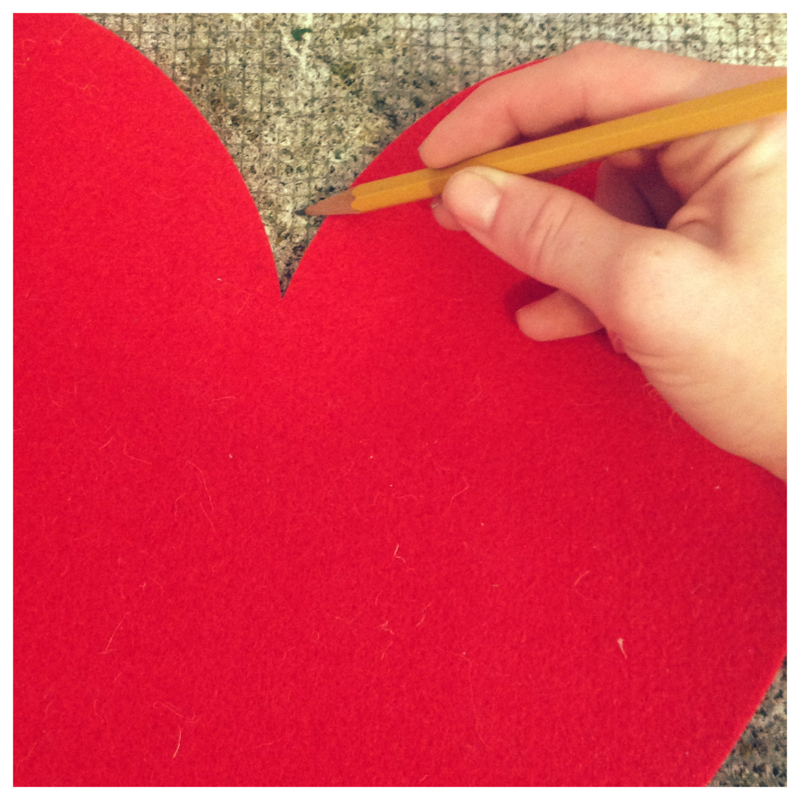
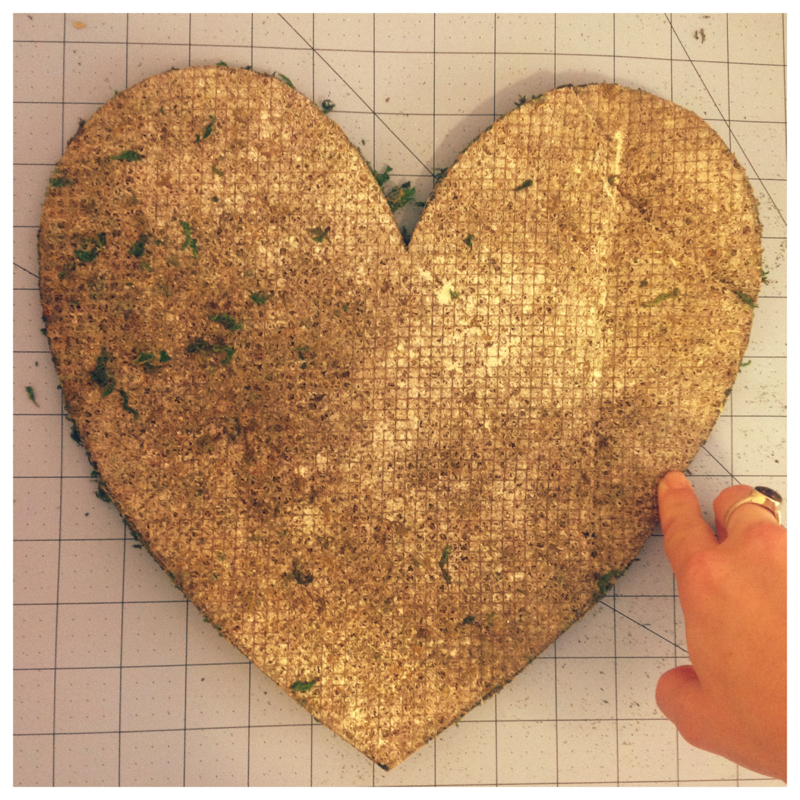
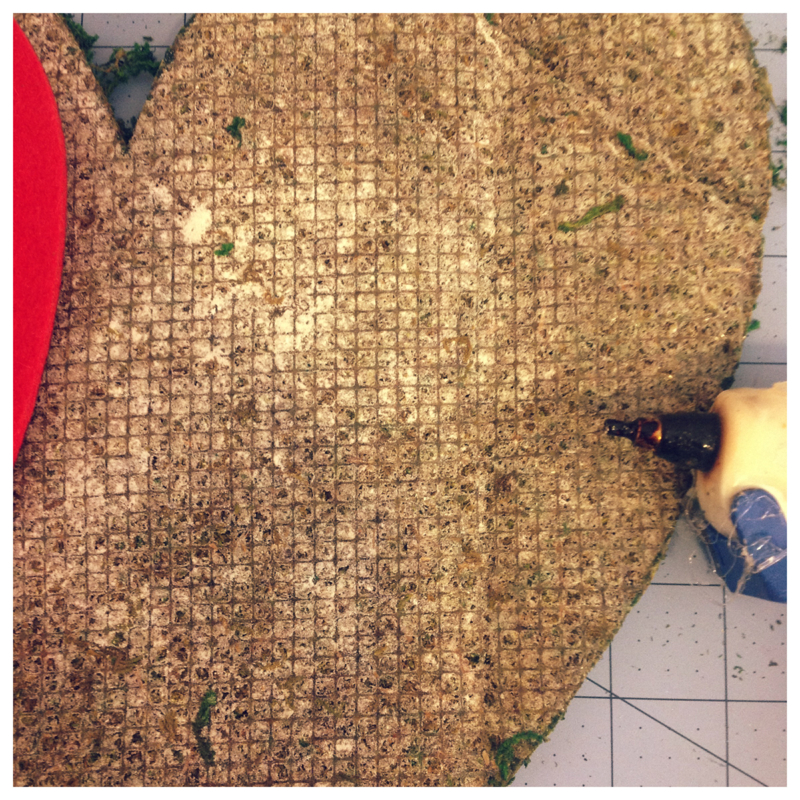
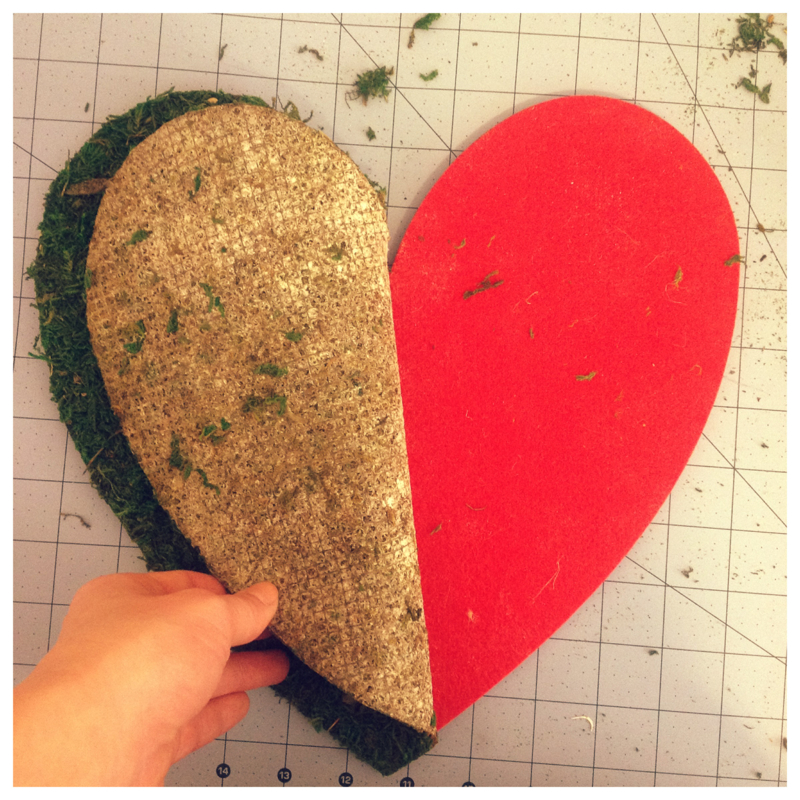
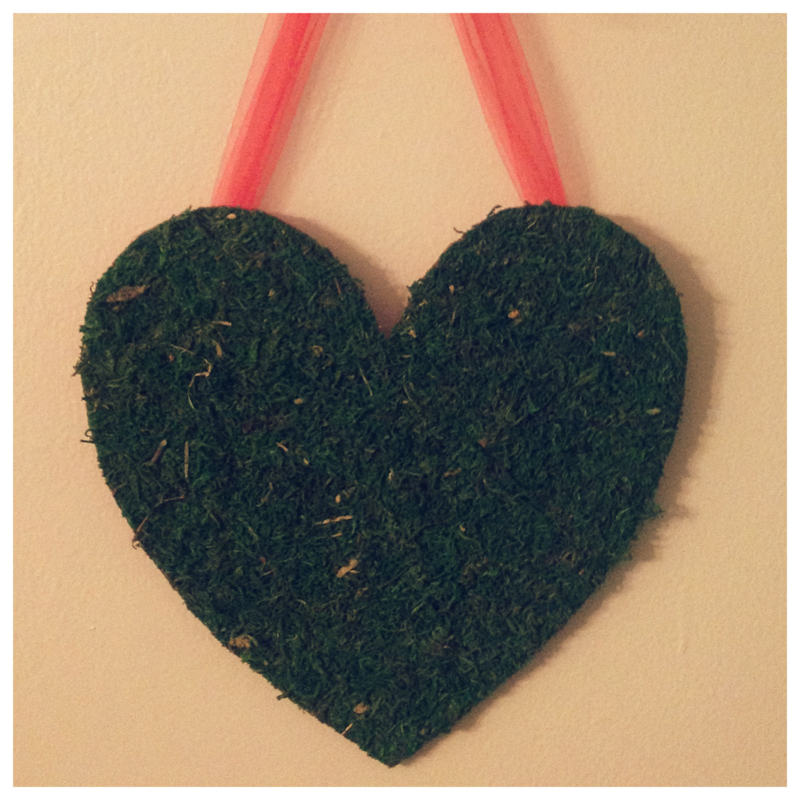
In other big news I had my FIRST Hobby Lobby expierence. I was "that" person aimlessy walking around in awe. In fact I was in such a state of shock that I actually only walked the perimiter of the store for about an hour. As a first timer I was trying to get my bearings but instead I ended up making a trip after trip across the store, to one side for burlap, forgot the scrapbook paper back to the other side again, and of course there were many spur of the moment purchases. All in all I am hooked! Great prices, almost anything you could ever need, great finds for a new homeowner, and just another place that crafters like me can aimlessy walk and think of the possibilites. Moss Heart Hanging - Instructions Supplies - Moss Mat (don't bother with the loose kind...you'll thank me later) - Shape of your choice (I used a stiff felt heart, for a more two dimensional look use the cardboard paper mache letters & shapes, alos a wooden cut out would work.) - Hot Glue - Tulle or Ribbon to hang Step 1. Unfold your moss mat and carefully lay it upside down. Step 2. Lay your design upside down on the mat and trace around it. Step 3. Using a pair of "not nice/not your favorite scissors" cut your shape out. Step 4. If you are using a two dimensional shape you will need to trace the sides to cut pieces to cover them. Step 5. Using hot glue, glue the moss mat to your object. I glued half of my heart from the back then flipped it over and glued the other half. This was helpful in ensuring I covered each half with enough glue before it hardened. Step 6. Glue ribbon or tulle to the back and tie in a bow. TA-DA...done! Now you'll just need to spend a minute cleaning up the moss that has fallen off. The wait is finally over my homemade vanilla is done and ready to use. It was so fulfilling to open those bottles and smell that sweet creamy vanilla smell.
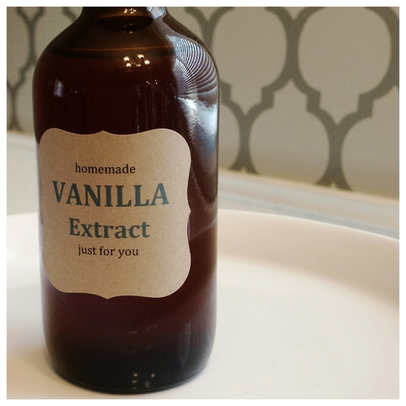
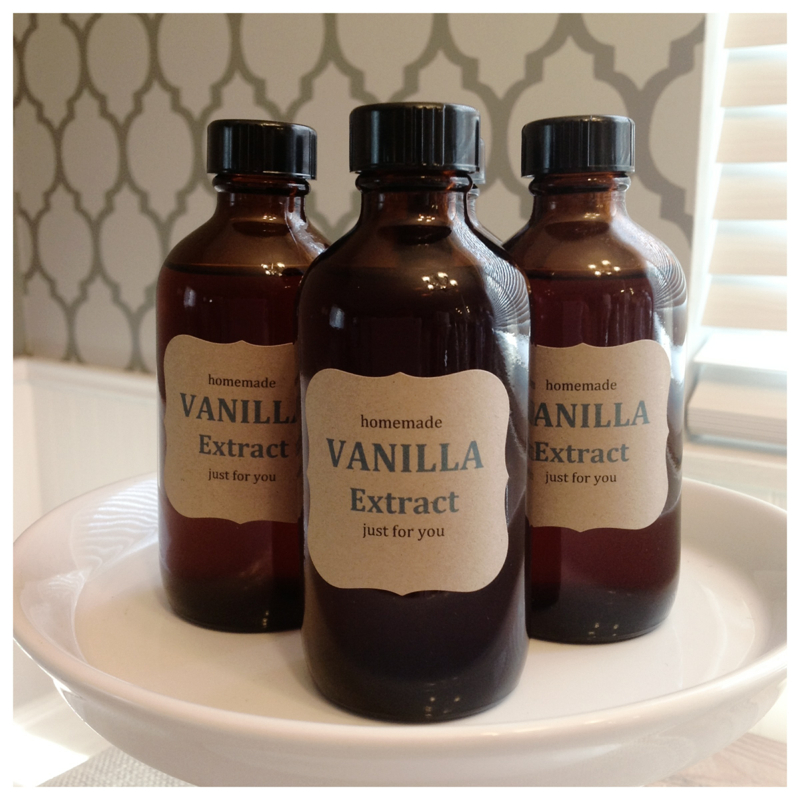
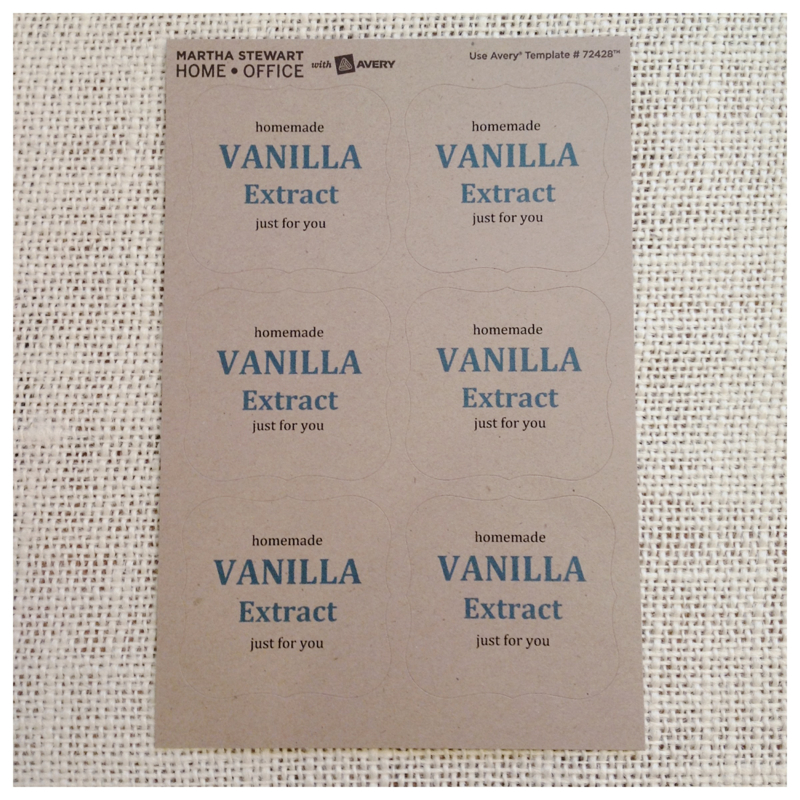
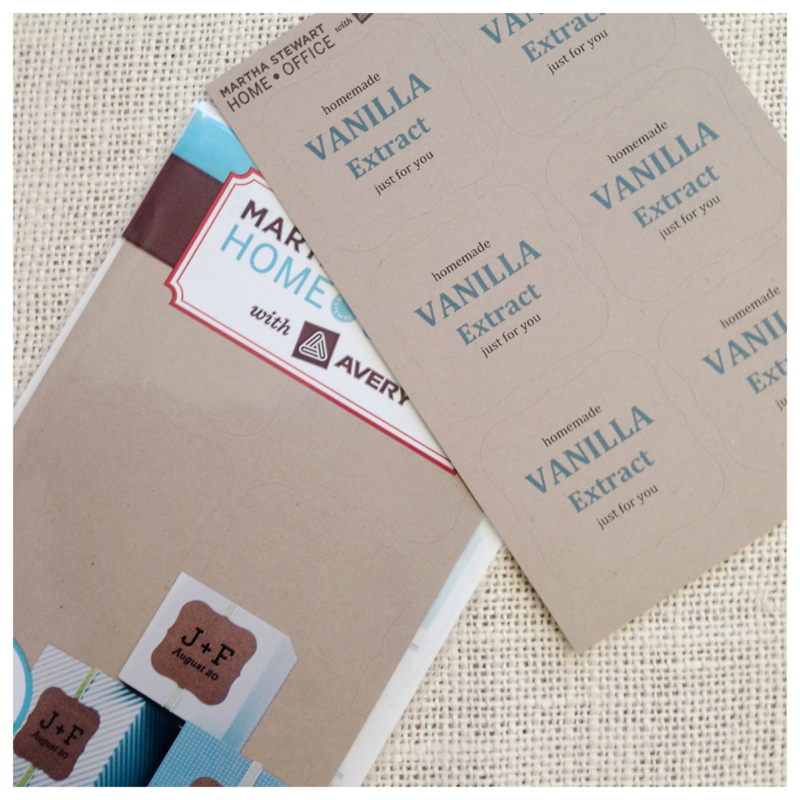
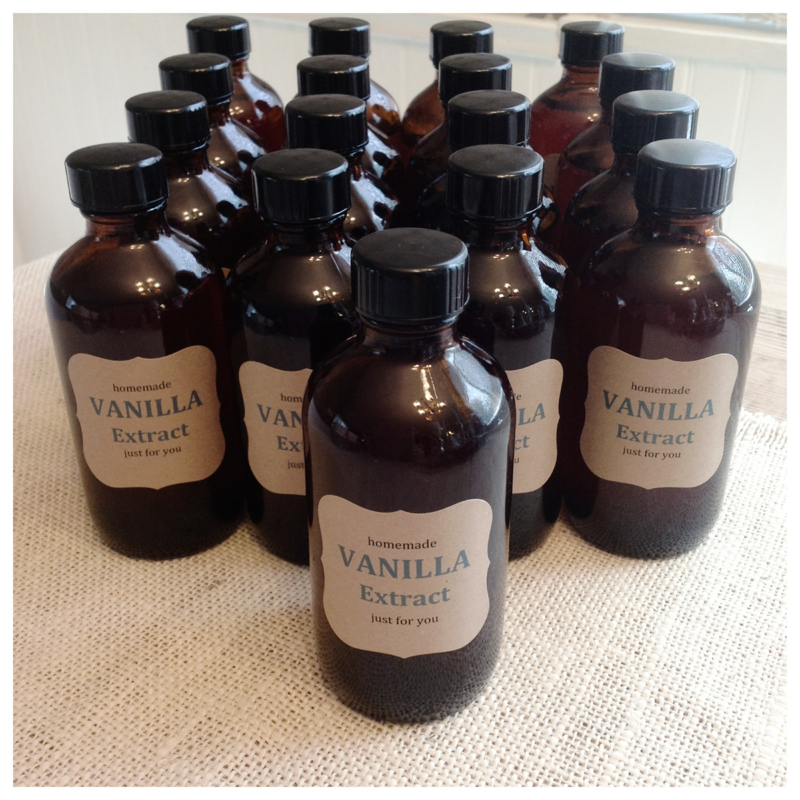
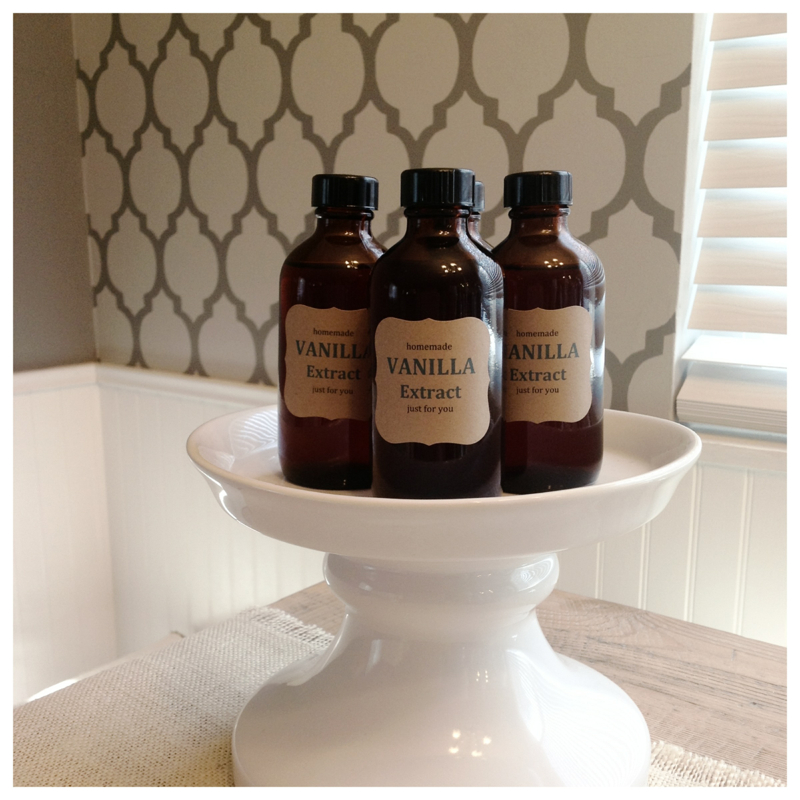
I found a couple of free printable Homemade Vanilla labels online but wasn't able to make them work with really cute Martha Stewart labels I bought at Staples. Yes it's true Martha is now EVERYWHERE, grocery stores, office supplies stores, and craft stores. There was a huge selection of labels in her line at staples. Labels that were dishwasher safe and perfect for canning, removable adhesive labels, and an array of colors, shapes and sizes. I was beyond excited to find kraft paper labels, these were the ones I decided on. After many attempts at trying to make one of the pre-designed labels fit I finally chose my sanity over a trendy homemade vanilla label design. After a slight meltdown over wireless printers and printer cartridges I was able to complete my labels, and I love them. If you could have seen the care I took in cleaning each bottle before applying the label you would have died laughing. One thing remains clear...I need a life! Here is the link to my original post with instructions included, click here. Supplies: Vanilla beans from Beanilla 4oz amber bottles from Rose Mountain Herbs Labels from Martha Stewart Office (available at Staples) Note: I used 3 bottles of 750ml bottles of vodka and got 17 4 oz bottles of vanilla from them. I did have to dump some vodka out when I put the vanilla beans in the jar. Next time I would transfer the vodka and beans to mason jars. Below are some links to the free labels templates I found: Style Me Pretty Marry This Live Laugh Rowe Simply Notable Whipperberry |
Blog
AuthorI'm a ginger with a love for heels & all things crafty. Receive e-mail updates:Archives
November 2013
Categories
All
|
|

 RSS Feed

