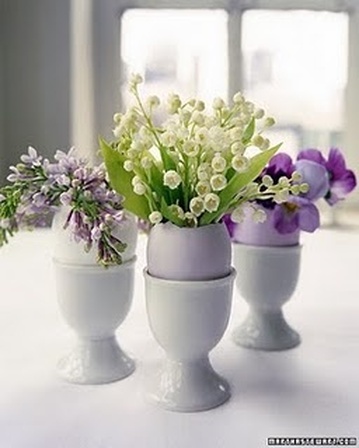
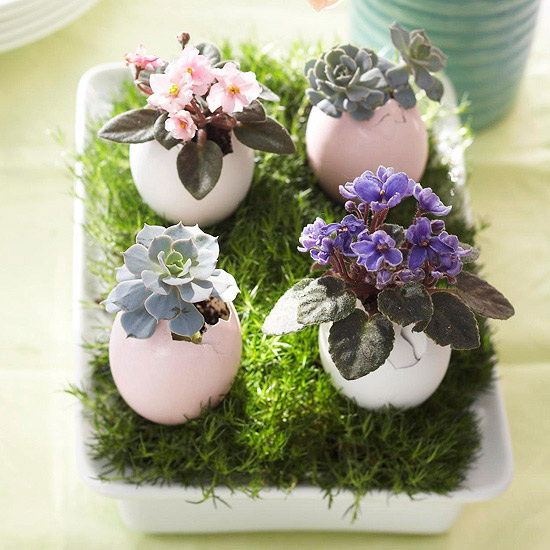
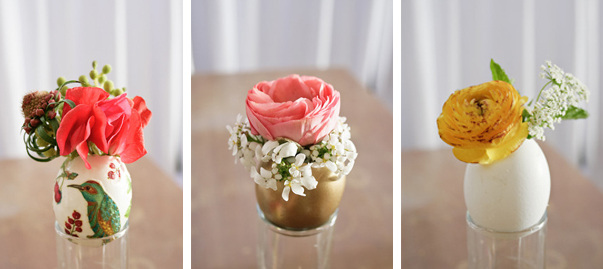
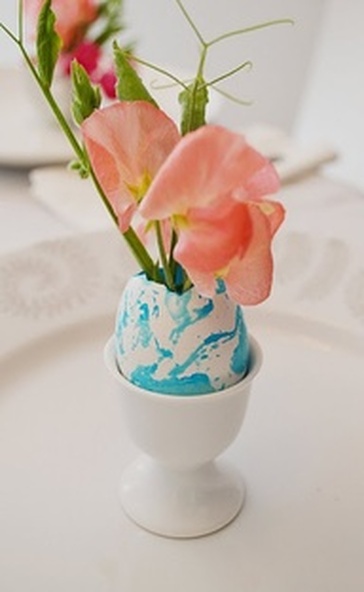
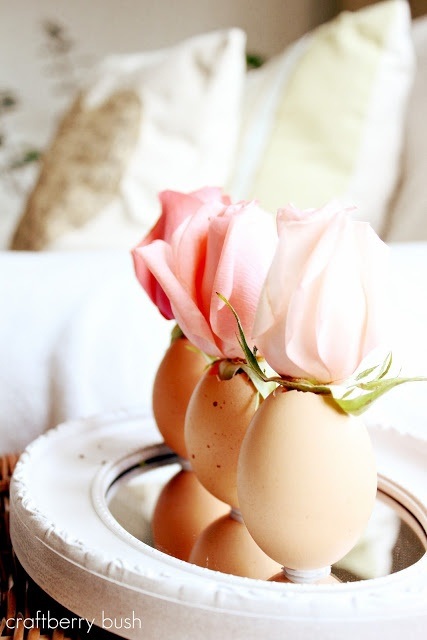
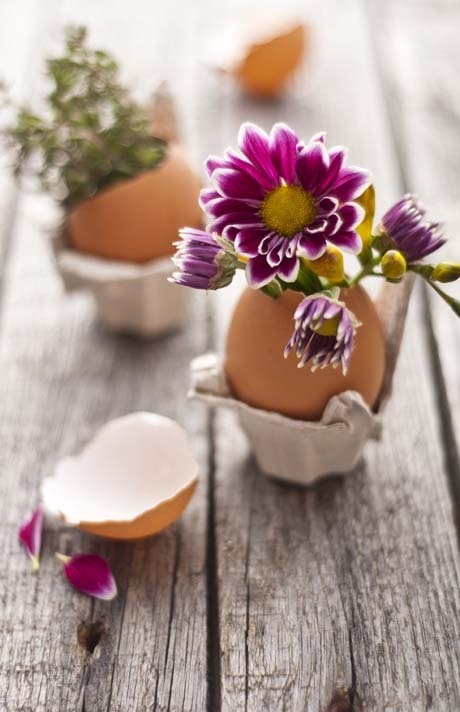
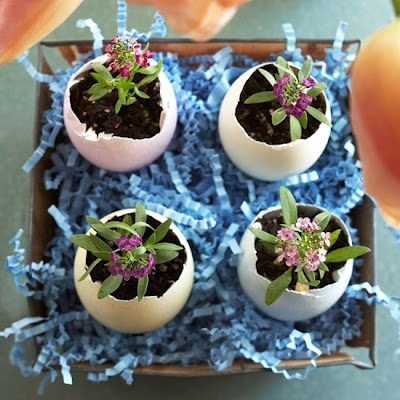
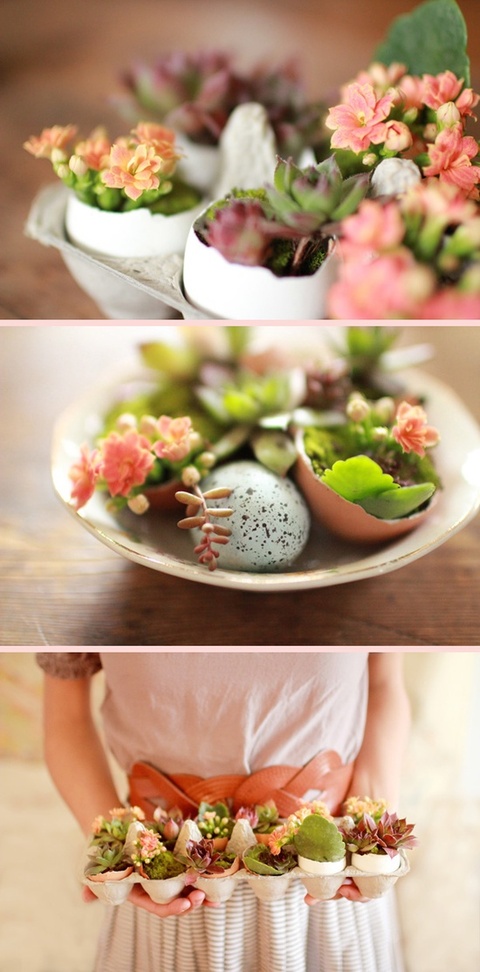
If your interested in making your own eggs planters there is a great video below which will show you how to blow your eggs out. Check out some of my egg shell planter inspirations below!
|
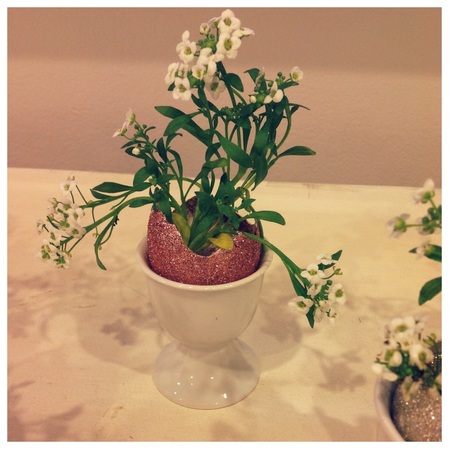
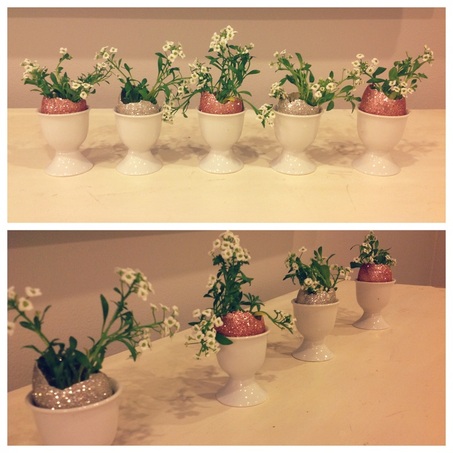
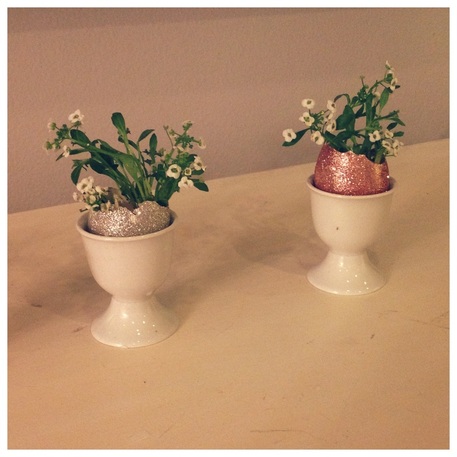
In my desperate search for some Easter decorations that don't involve plastic bunnies and chicks covered in tinsel I ran across these beautiful egg shells filled with flowers. I love how simple and modern they look especially in terms of Easter decor. I was excited to find some white egg cups at Cost Plus World Market to put my freshly glittered and planted shells. A great DIY Easter decoration that is keeping it classy! If your interested in making your own eggs planters there is a great video below which will show you how to blow your eggs out. Check out some of my egg shell planter inspirations below! Instructions: Wash & dry eggs. Following instructions from the youtube video below, blow out your eggs. Rinse and let dry. Crack and remove the top portion of your egg shell, leaving and opening big enough to plant your flowers. Using small flowers or plants carefully plant your flowers in the egg shells. Another options is to us some white glue to close the pin hole in the bottom of your egg shell and use this shell as a vase. Fill with water and add your favorite flowers! Note: I used Modge Podge and glitter to add a little sparkle to my shells!
0 Comments
Where do I even begin? It's been so long. These past few weeks have been filled with traveling, dancing, more dancing, a quick trip to Santa Barbara and visits from family. Needless to say its left very little time for crafting. Finally yesterday I was able to steal a few minutes of quality Pinterest time.
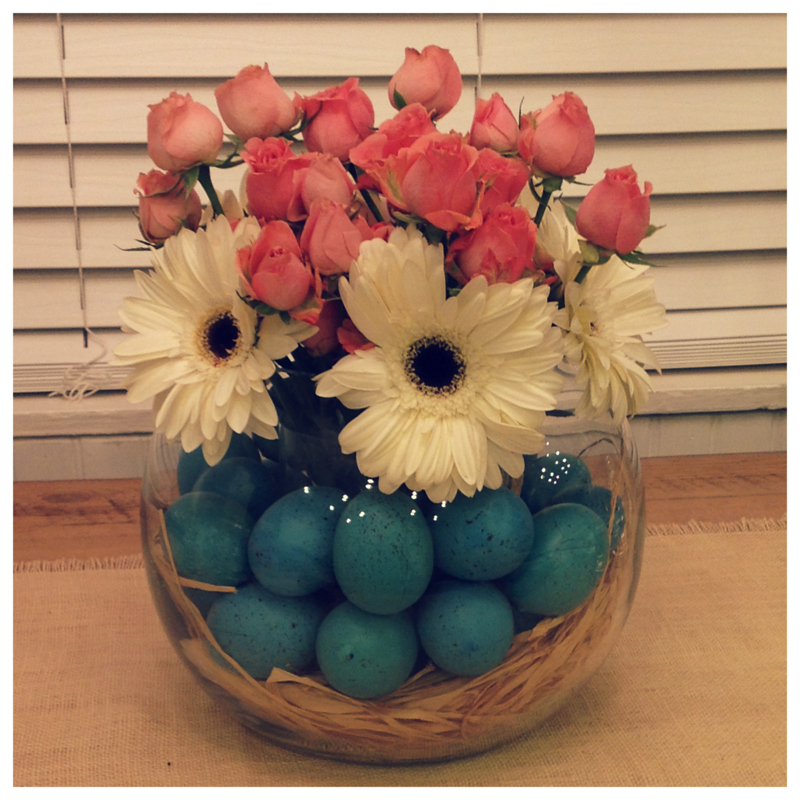
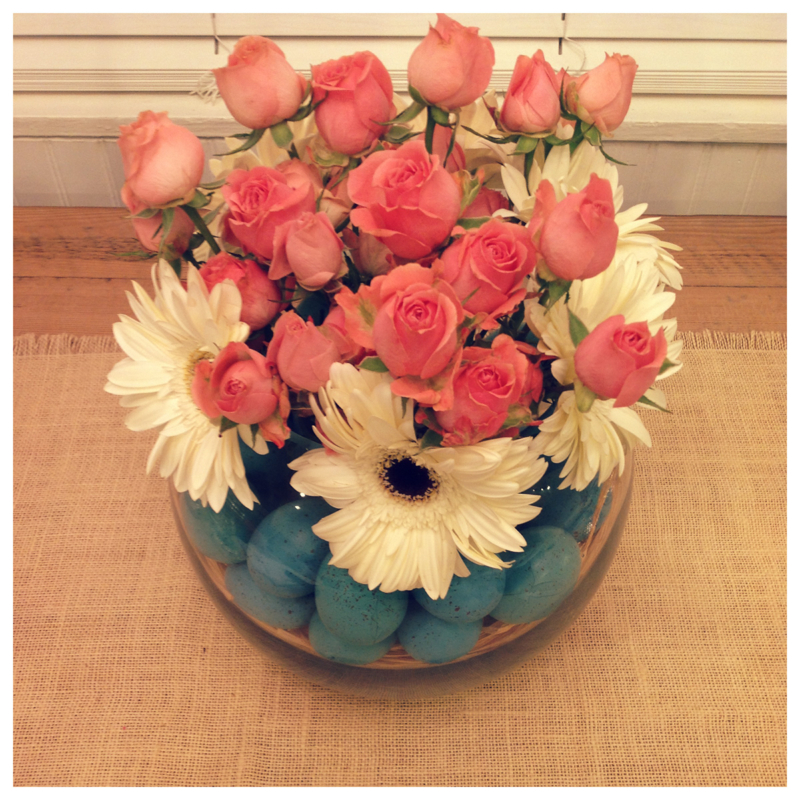
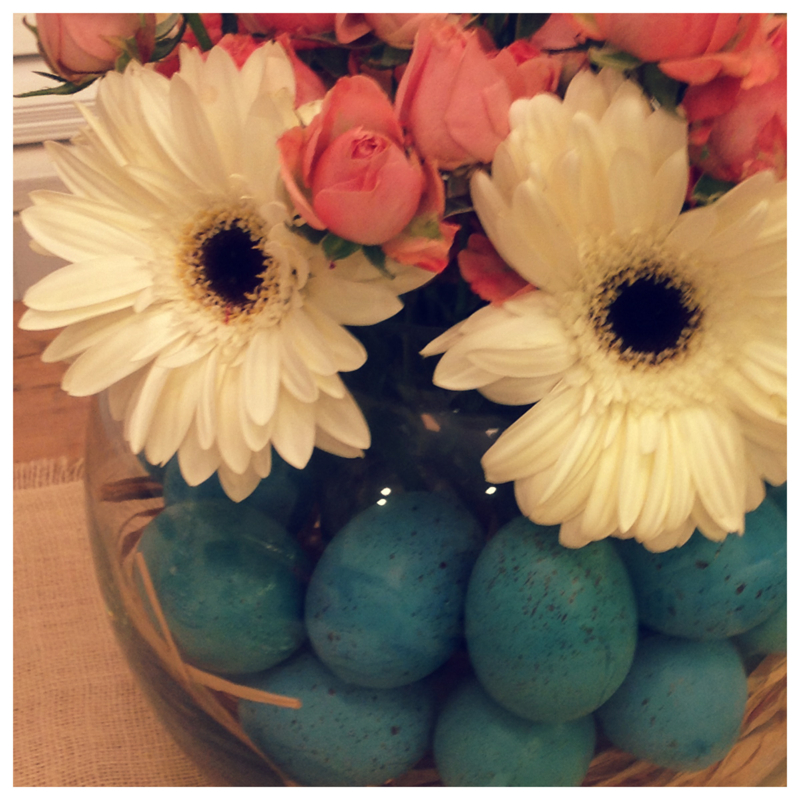
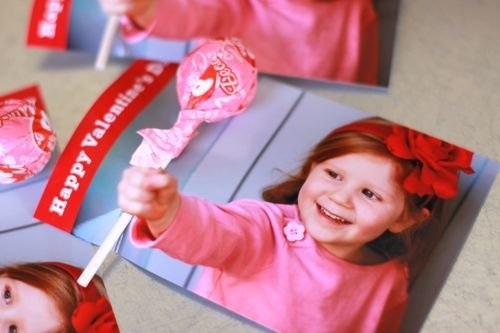
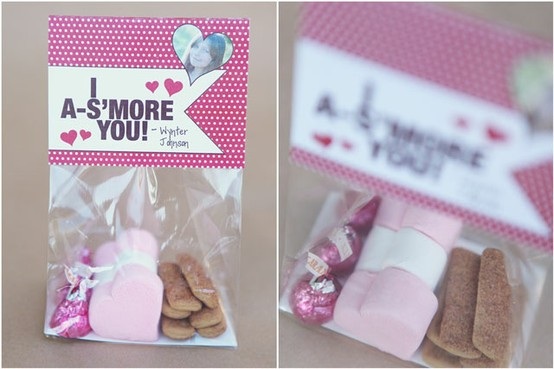
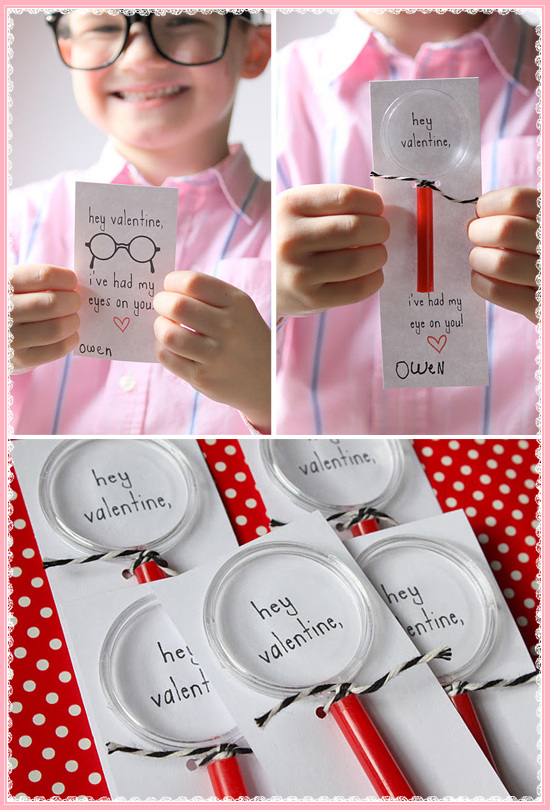
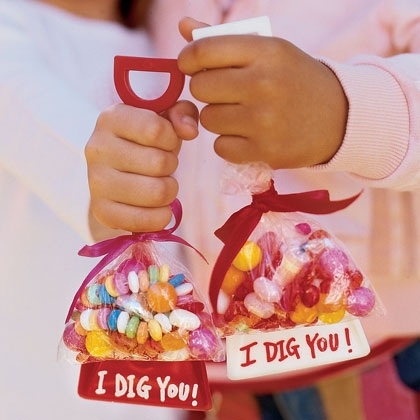
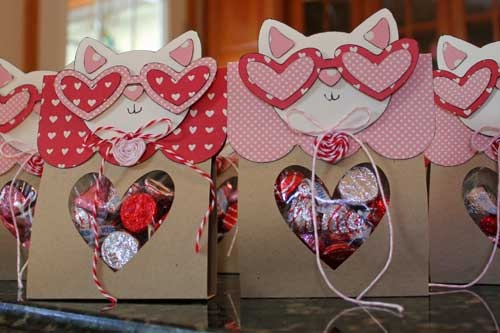
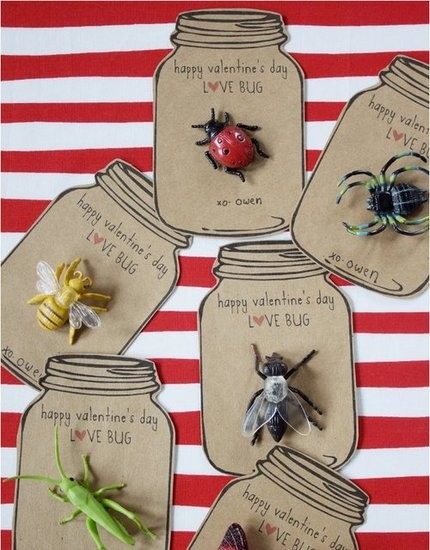
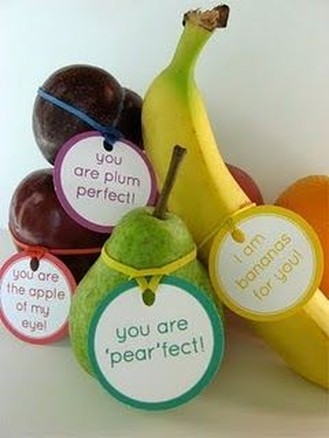
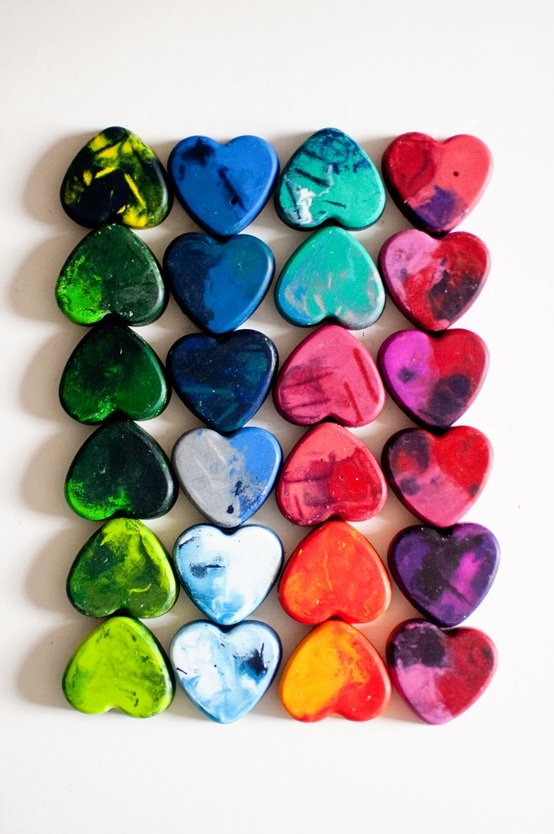
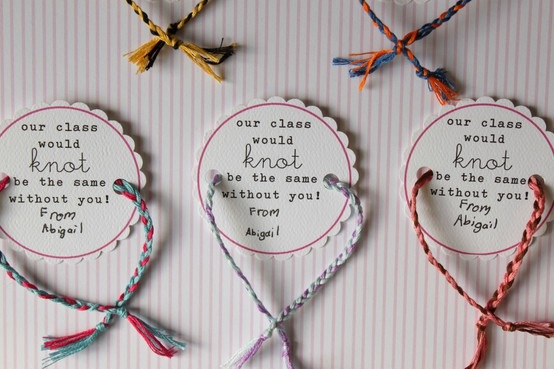
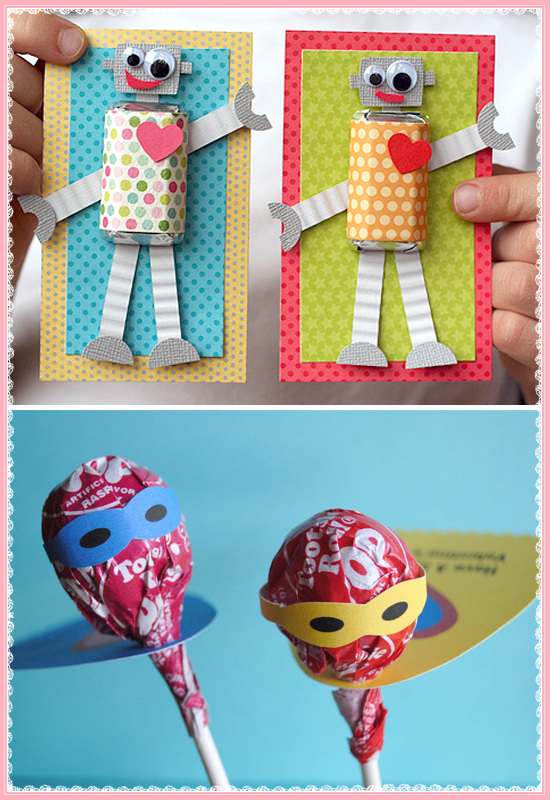
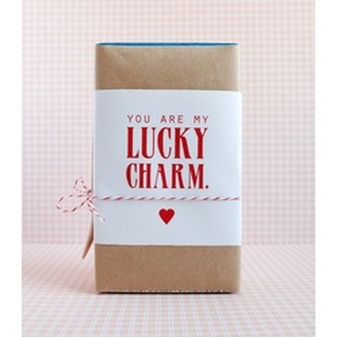
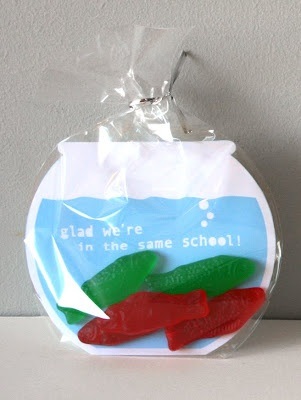
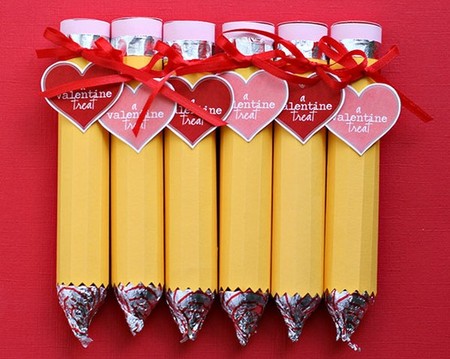
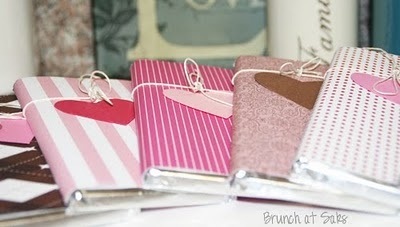
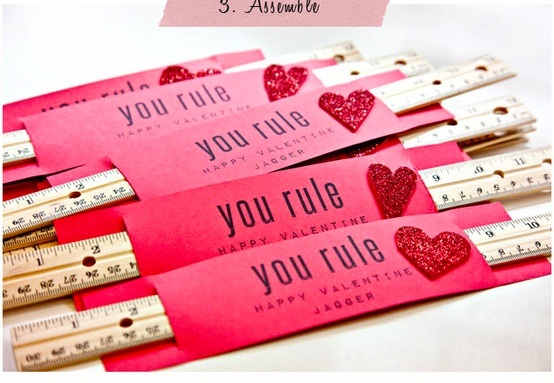
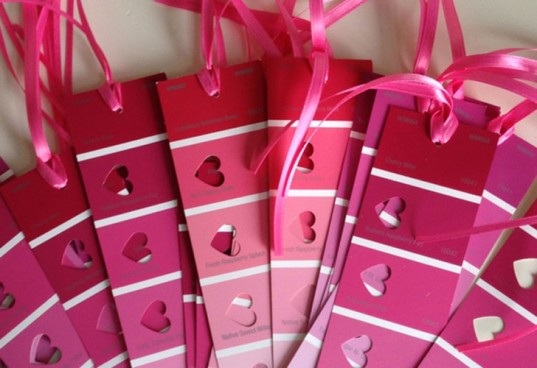
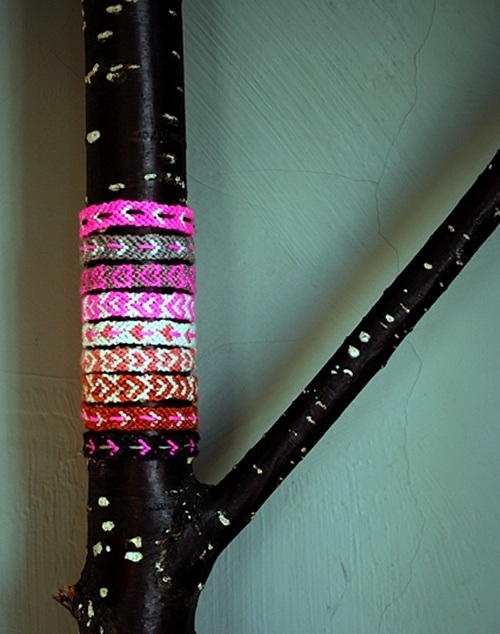
I've always struggle with Easter decorations, there is a very fine line between trashy and classy. The house down the street with gillter bunnies lining their driveway, pastel tinsel garland around the porch and light up bunny lights...trashy! I always have a hard time with Easter decor, we don't have kids so we don't need plastic bunnies all over, we're not very religious and frankly my favorite thing about Easter would have to be pastel colors, flowers, and the candy. In case you haven't noticed Easter offers the best candy over every other holiday. Cadbury Mini Eggs, Robin's Eggs, Satrburst Jelly Beans, Sweet Tart Chicks, Reese's Eggs, Butterfinger Eggs...do I need to continue? Anyway after an hour of pinning I decided to kick off the Easter season by putting together an Easter centerpiece for our dining room table. I got a great new vase from my cousin for Christmas. It has a vase inside a vase so you can fill it with anything you'd like a still put flowers in the middle. Aka I no longer have to cut a plastic cup in half to insert into a filled vase.. I usually fill a vase with conversation hearts then pink roses in the middle for Valentine's Day. For Easter I added blue & teal speckled eggs with a little raffia in the bottom. Then I added white daises and pink spray roses to the center. I'm in love. Let spring begin! Valentine's have come so far since I was a kid, especially now with pinterest the possibilities are endless. No longer are the days when you drive to the store and pick out your favorite cards to give out to your classmates. Although when I was a kid we rarely did that. My mom always ordered them from what I'm guessing was some teacher magazine. Our's were always a little extra special I clearly remember having ones that turned into cootie catchers one year! I was having fun searching for cute DIY valentine ideas the other day and thought I would share some of my favorites with you!
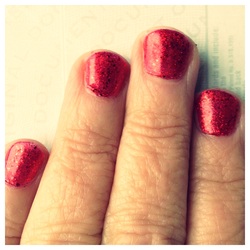
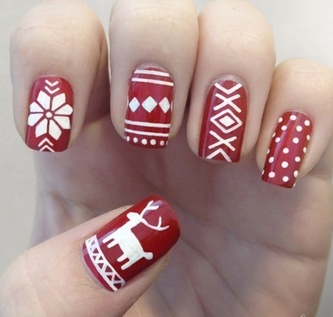
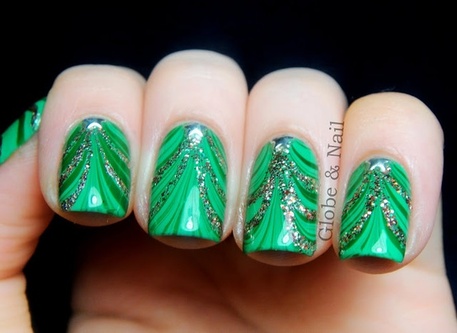
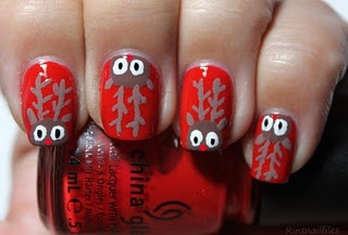
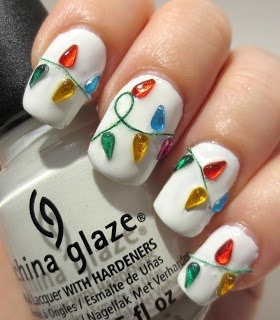
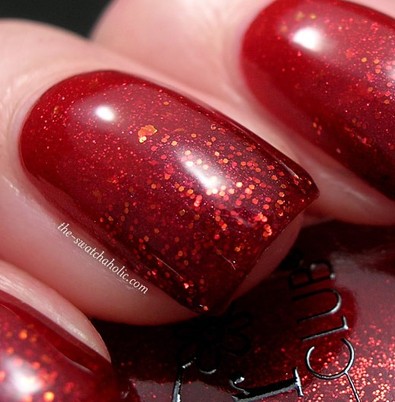
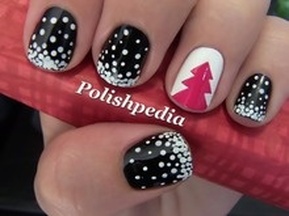
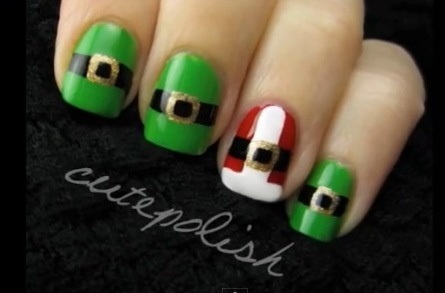
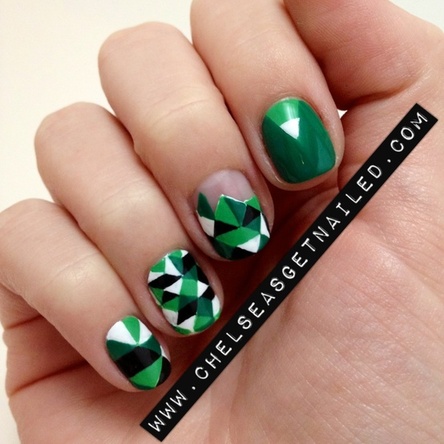
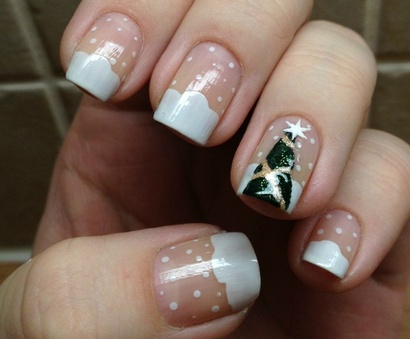
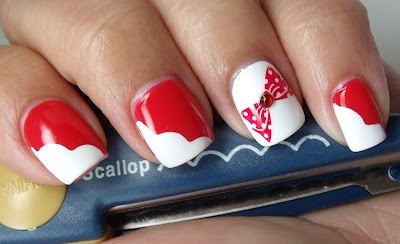
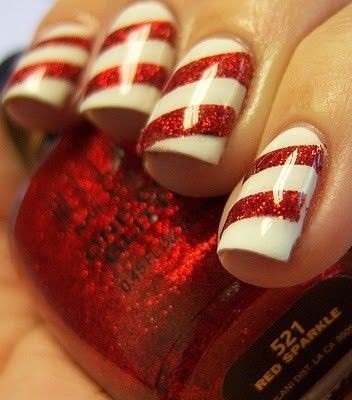
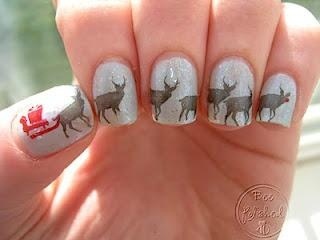
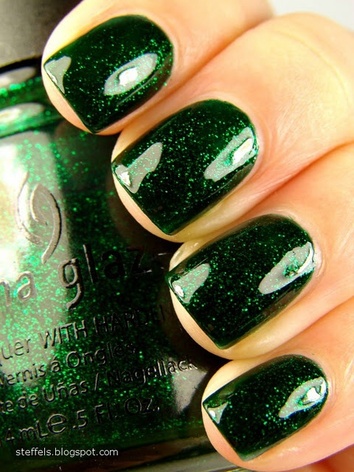
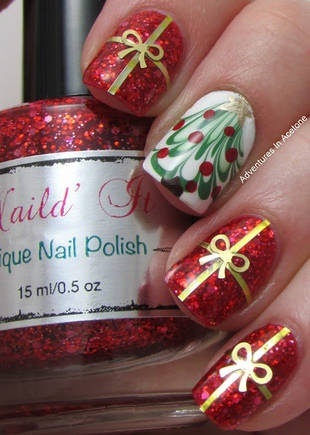
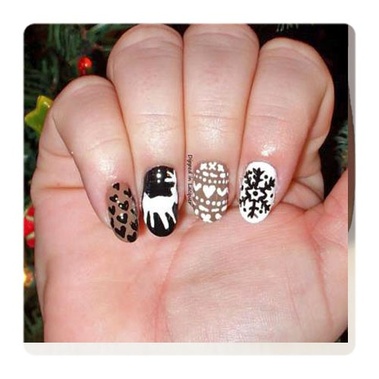
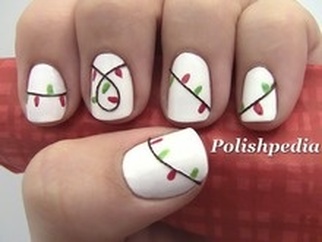
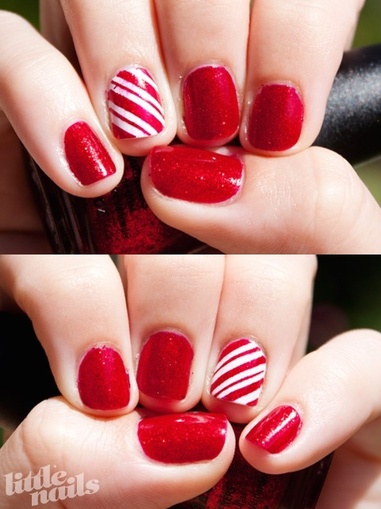
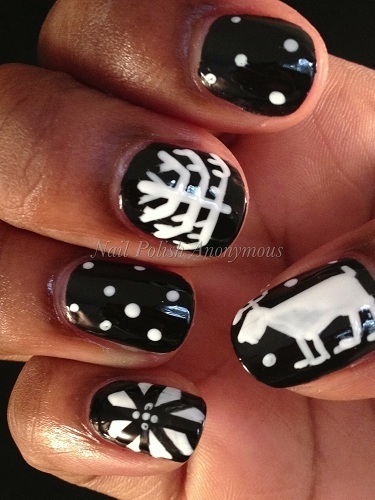
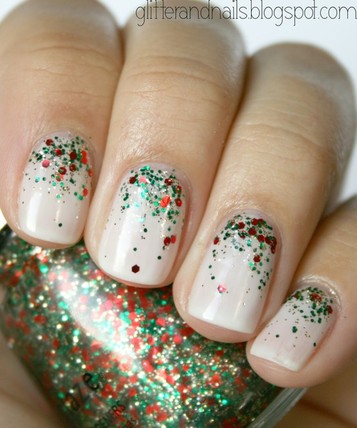
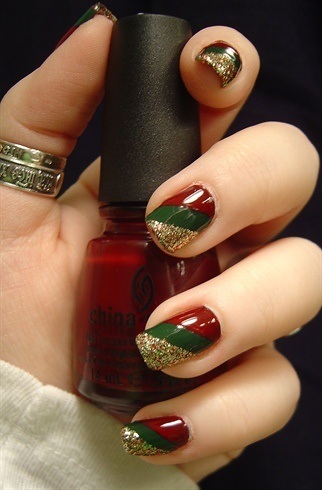
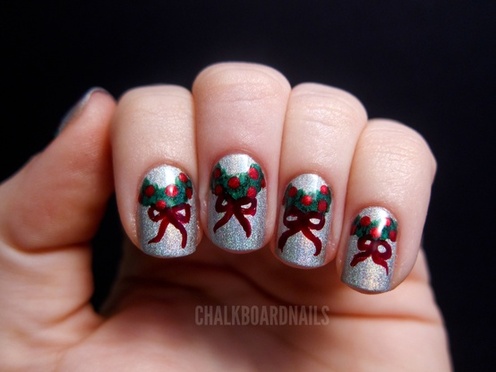
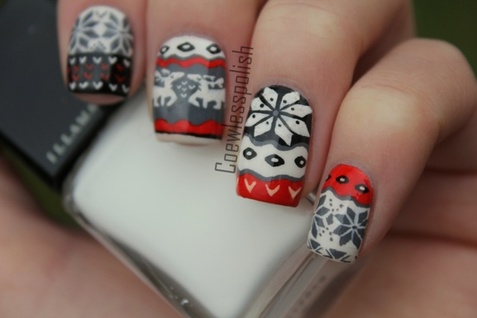
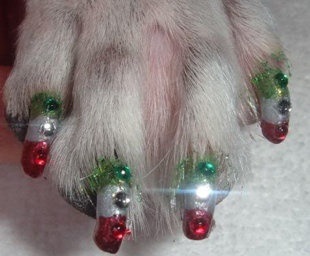
This week I received a picture from my Aunt Barbara of her sparkly red nails all ready for Christmas. Of course I was inspired and feeling the holiday spirit and decided to find some fun holiday nail art. Now this weekend when you're getting ready to celebrate the holidays maybe you can squeeze in a little extra time for a manicure! Aunt Barbara's glittery red nails! And just because I couldn't help myself....doggie Christmas nailpolish.
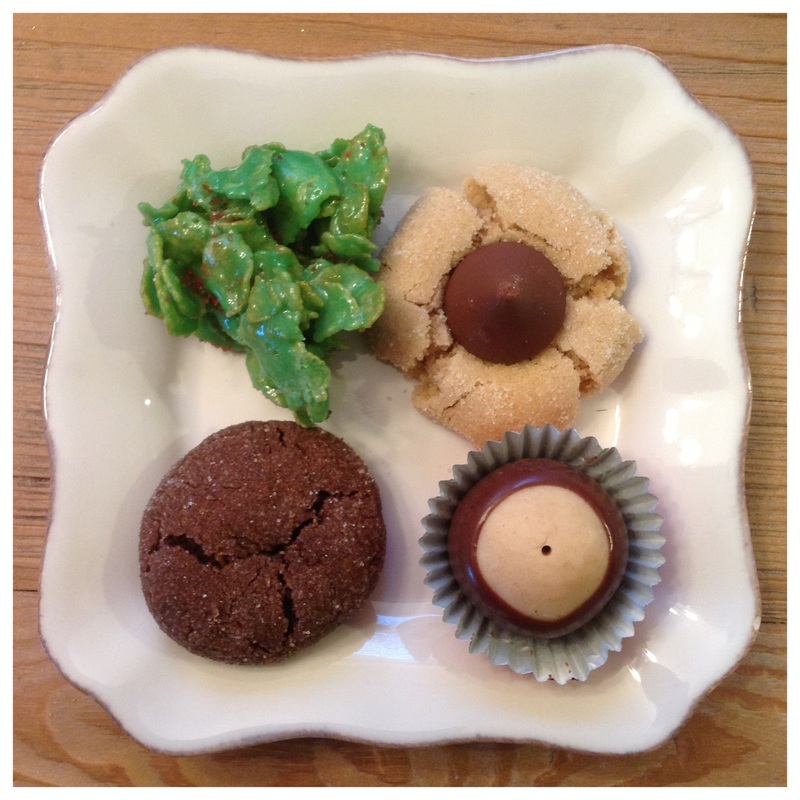
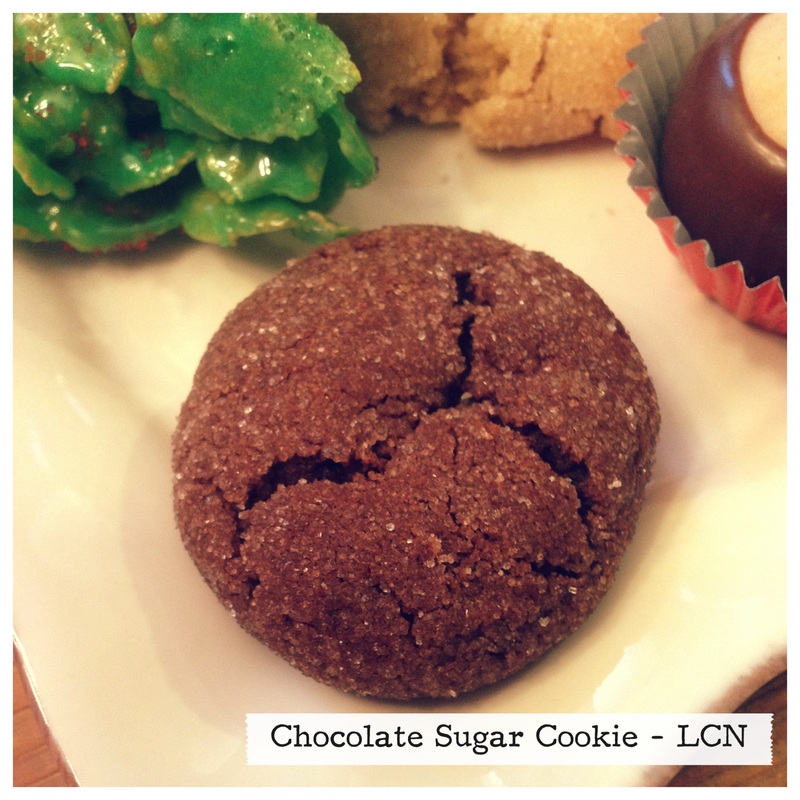
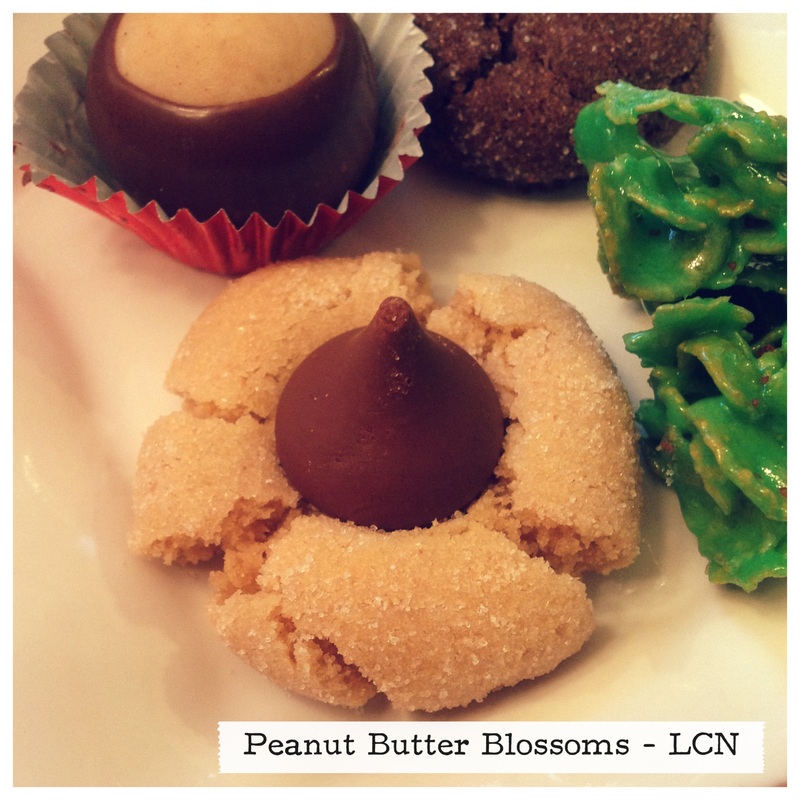
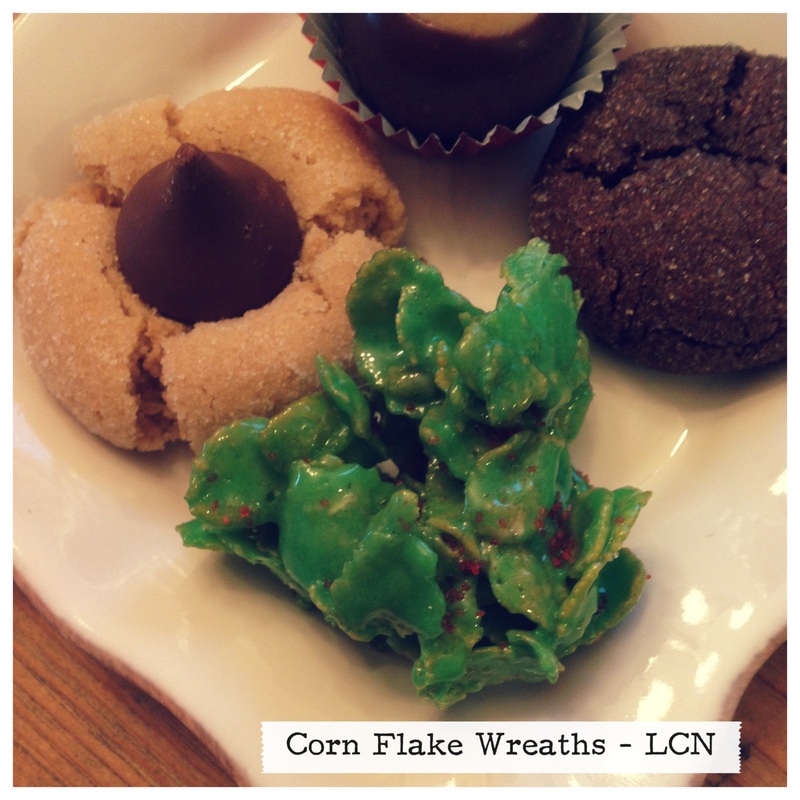
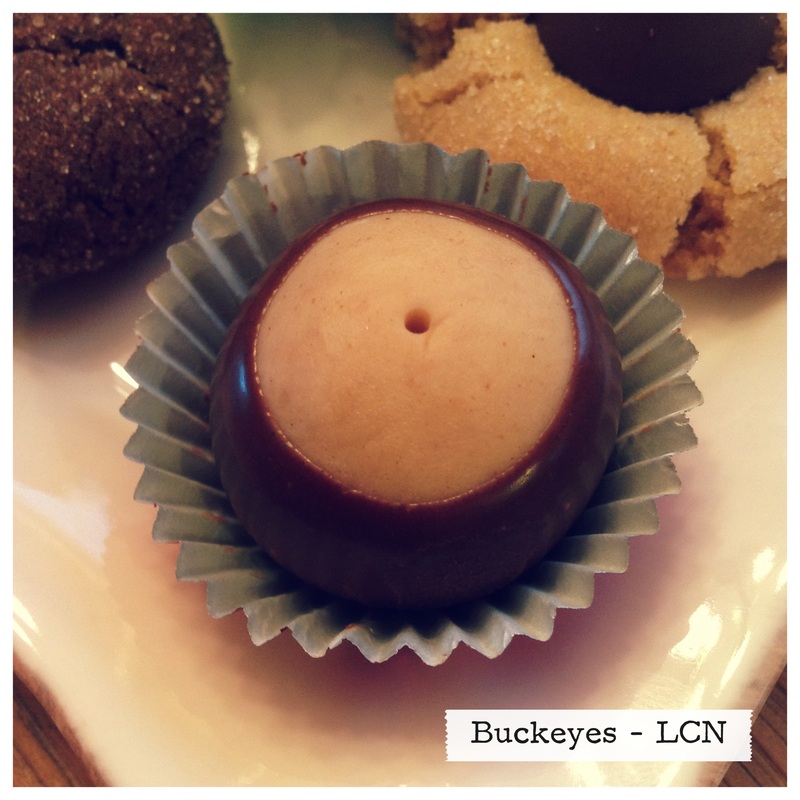
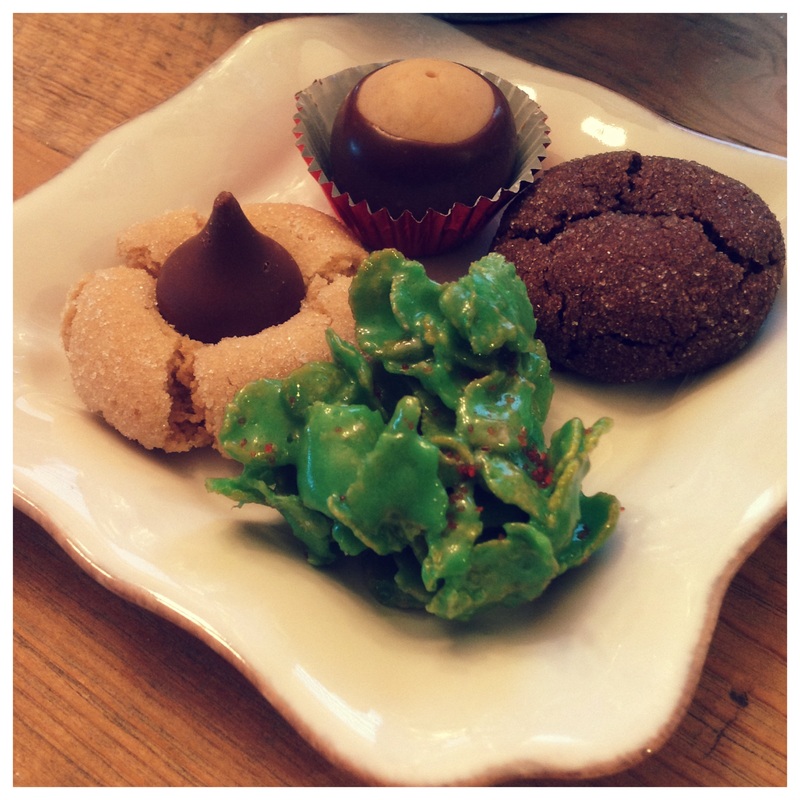
It's the most wonderful time of the year, the time of year when I stop eating real food or meals and live solely on holiday treats and coffee alone! I consider this my own personal Christmas tradition whereas Scott considers this me eating like a 5 year old. He loves to remind me that his 4 year old niece does indeed eat better than I do. What can I say, I'm a stickler for traditions. Scott and I did all of our holiday baking this past weekend. That's right, hold on to your seats kids because Scott actually offered to help me this year and I actually allowed him in the kitchen. If you know us you know that the thought of Scott in the kitchen is enough to push me over the edge. I can't stand watching him slowly fumble around as he tries to figure out how to do something. It takes me about .5 seconds before I throw my hands in the air and shout "THAT'S IT..move move move..just let me do it". Watching him stir the marshmallows for the corn flake wreaths this year took all of my will power, I was in constant search of my "happy place" for 5 minutes. So much so that I am considering this my good deed for all mankind in 2012. However he does bake a mean frozen pizza. I have included our baking list along with the recipes for each cookie below. Katie & Scott's Holiday Baking List 2012
Chocolate Sugar Cookies - RecipeChocolate Sugar Cookies by Kraft Ingredients 2 cups flour 1 tsp.baking soda 1/4 tsp. salt 4 squares BAKER'S Unsweetened Chocolate 1 cup butter or margarine 1-1/2 cups sugar, divided 1 egg 1 tsp. vanilla Directions MIX flour, baking soda and salt; set aside. Microwave chocolate and butter in large microwaveable bowl on HIGH 2 min. or until butter is melted. Stir until chocolate is completely melted. Add 1 cup sugar, egg and vanilla; mix well. Stir in flour mixture until well blended. Refrigerate 15 min. or until dough is easy to handle. HEAT oven to 375°F. Shape dough into 1-inch balls; roll in remaining sugar. Place, 2 inches apart, on baking sheets. BAKE 8 to 10 min. or until centers are set. Cool on baking sheets 1 min. Remove to wire racks; cool completely. Peanut Butter Blossoms - RecipePeanut Butter Blossoms by All Recipes Ingredients 1/2 cup shortening 1/2 cup peanut butter 1/2 cup firmly packed brown sugar 1/2 cup sugar 1 large egg 2 tablespoons milk 1 teaspoon vanilla 1 3/4 cup flour 1 teaspoon baking soda 1/2 teaspoon salt Extra Sugar 48 Hershey Kisses Directions Heat oven to 375 degrees F. Mix together shortening, peanut butter, brown sugar and 1/2 cup sugar. Add egg, milk and vanilla. Beat well. Stir together flour, baking soda and salt. Add to creamed mixture. Beat on low speed until stiff dough forms. Shape into 1-inch balls. Roll in sugar. Place 2 inches apart on ungreased cookie sheet. Bake for 10 to 12 minutes or until golden brown. Top each cookie immediately with an unwrapped chocolate piece, pressing down firmly so that cookie cracks around edge. Remove from cookie sheets to cool. Corn Flake Wreaths - RecipeCorn Flake Wreaths by Kelloggs Ingredients 1/3 cup margarine or butter 1 package (10 oz. about 40) regular marshmallows or 4 cups miniature marshmallows 1 teaspoon green food coloring 6 cups Corn Flakes Red Sprinkles Directions Mix - Melt margarine in large saucepan over low heat. Add marshmallows and stir until completely melted. Remove from heat. Stir in food coloring. Add corn flakes cereal. Stir until well coated. Portion warm cereal mixture evenly by using a 1/4 cup dry measure coated with cooking spray. Using sprayed fingers and or spoon, quickly shape into individual wreaths. Top with red sprinkles. Buckeyes - RecipeBuckeyes
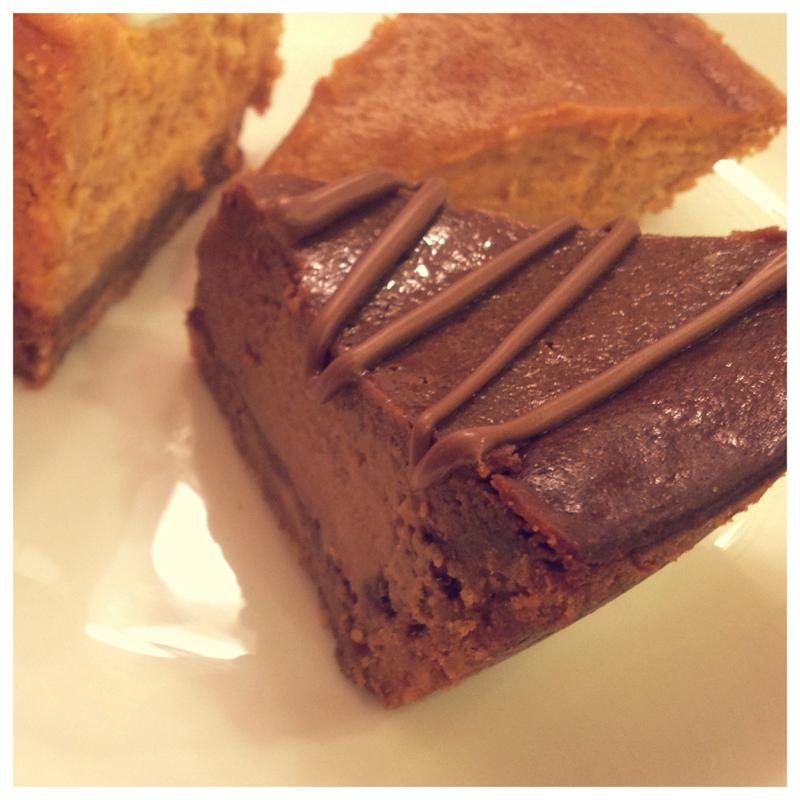
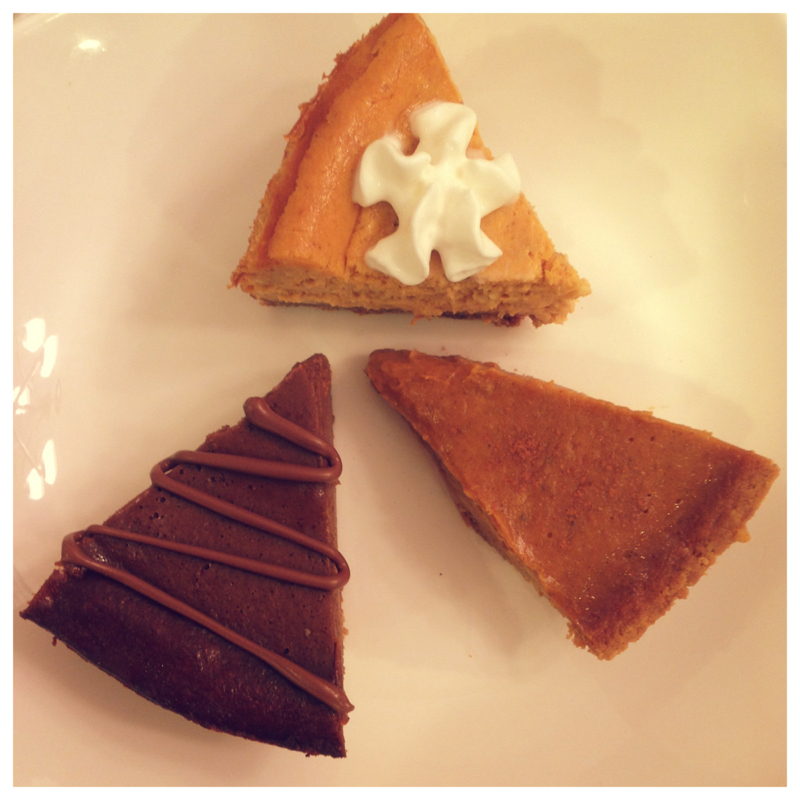
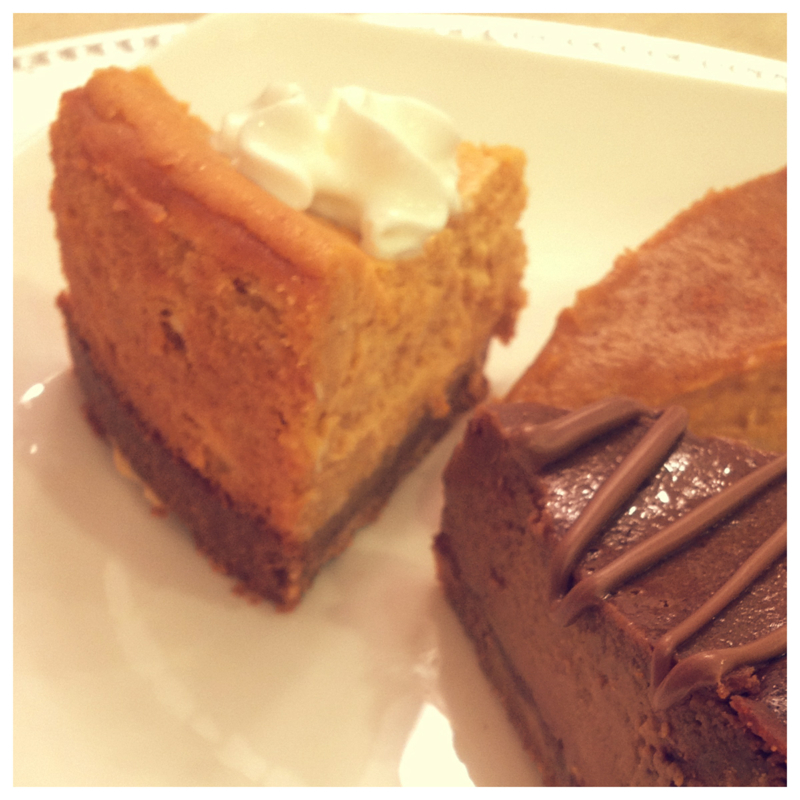
by All Recipes Ingredients 1 1/2 cups creamy peanut butter 1/2 cup butter, softened 1 teaspoon vanilla extract 4 cups sifted confectioners sugar 6 ounces semi sweet chocolate chips 2 tablespoons shortening Directions Mix peanut butter, butter, vanilla, and confectioners' sugar with hands to form a smooth stiff dough. Shape into balls using 2 teaspoons of dough for each ball. Place on baking sheet lined with wax paper and refrigerate. Melt shortening and chocolate together in a metal bowl over a pan of lightly simmering water. Stir occasionally until smooth, and remove from heat. Dip balls into melted chocolate using a wooden toothpick. Return to wax paper, chocolate side down, and remove toothpick. Repeat with remaining balls and refrigerate for 30 minutes to set. *Note: I doubled the melted chocolate mixture to cover all of my prepared balls. To get into the Thanksgiving holiday spirit I decided to host a pumpkin pie bake off this weekend. Just me, three recipes, a little cursing, and lot's of pumpkin. I didn't want to do the plain old recipe so I went in search of recipes that incorporated different flavors and textures. Finally I settled on a Pumpkin Cheesecake by Paula Deen, a Ginger Pumpkin Pie by The Kitchn, and a Tripe Chocolate Pumpkin Pie by Martha Stewart. Literally I spent the better two days of my weekend in the kitchen. The last time I did that many dishes was when we baked 220 cupcakes for a cupcake contest....worst idea ever. My brother still hasn't forgiven me for making him frost all 220 by himself. The winner....drum roll please...Triple Chocolate Pumpkin Pie by Martha Stewart. Good old Martha never lets me down. My plan was to cut three slices for Scott to try and let him pick. What ended up happening was I ate his triple chocolate piece and saved him the last bite. I loved the flavor, texture, and overall idea of this pie. This pie has a graham cracker crust topped with a thin layer of chocolate, filled with a pumpkin chocolate filling, and topped off with drizzled chocolate. What a great spin on a traditional pumpkin pie. The layer of chocolate separating the crust from the actual pie filling was tasty and looked really cute when you cut into the pie. Second was almost a tie but if I had to pick I would put the Ginger Pumpkin Pie by The Kitchn. Unfortunately the consistency of the pie didn't turn out quite right. It ended up being a bit more pudding like rather than the traditional pie texture. I read some of the reviews and no one else had the same problem so my guess was bakers error. This has a great ginger taste to it and a little kick in the after taste. This pie has a graham cracker crust filled with a ginger pumpkin pie filling. This filling has ground ginger and three tablespoons of fresh ginger. They suggested baking one day in advance because the ginger flavor is more pungent the following day. If you don't like ginger than this is probably not your kind of pie. In the reviews people suggested making this pie with a gingersnap crust, sounds like a great addition to me. Third is the Pumpkin Cheesecake by Paula Deen. A graham cracker crust filled with a pumpkin cheesecake filling. I loved the flavor of the pumpkin in the cheesecake and this graham cracker crust turned out great. This was actually a great cheesecake but in comparison to the other two it was just ok. However if you like cheesecake this would be a great addition to your Thanksgiving dessert table. The recipes are below the pie photos! Happy Thanksgiving! Triple-Chocolate Pumpkin Pie
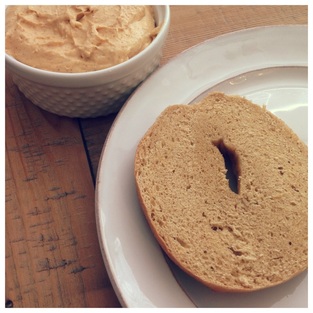
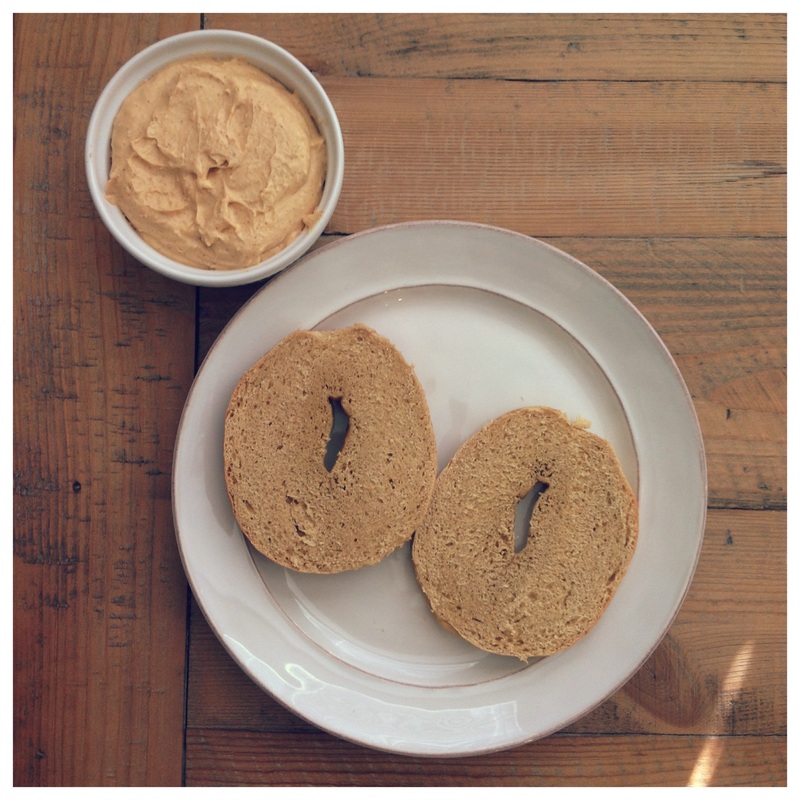
Ingredients:Crust: 2 cups finely ground graham cracker crumbs (about 16 crackers) 3 ounces (6 tablespoons) unsalted butter, melted 1 tablespoon granulated sugar 2 tablespoons packed light-brown sugar 1/2 teaspoon coarse salt 1/2 teaspoon ground cinnamon 3 ounces bittersweet chocolate (preferably 61 percent cacao), finely chopped Filling: 6 ounces semisweet chocolate (preferably 55 percent cacao), chopped 2 ounces (4 tablespoons) unsalted butter, cut into small pieces 1 can (15 ounces) solid-pack pumpkin 1 can (12 ounces) evaporated milk 3/4 cup packed light-brown sugar 3 large eggs 1 tablespoon cornstarch 1 teaspoon pure vanilla extract 1 1/2 teaspoons coarse salt 3/4 teaspoon ground cinnamon 3/4 teaspoon ground ginger 1/4 teaspoon ground nutmeg 1/8 teaspoon ground cloves Topping: 1 ounce milk chocolate, melted whipped cream, optional Directions:Make the crust: Preheat oven to 350 degrees. Combine graham cracker crumbs, butter, sugars, salt, and cinnamon in bowl. Firmly press mixture into bottom and up sides of a deep, 9 1/2-inch pie dish. Bake until firm, 8 to 10 minutes. Remove from oven, and sprinkle bittersweet chocolate over bottom of crust. Return to oven to melt chocolate, about 1 minute. Spread chocolate in a thin layer on bottom and up sides. Let cool on a wire rack. Reduce oven temperature to 325 degrees. Make the filling: In a large heatproof bowl set over a pot of simmering water, melt semisweet chocolate and butter, stirring until smooth. Remove from heat. Mix pumpkin, milk, brown sugar, eggs, cornstarch, vanilla, salt, cinnamon, ginger, nutmeg, and a pinch of cloves in a medium bowl. Whisk 1/3 pumpkin mixture into chocolate mixture. Whisk in remaining pumpkin mixture until completely incorporated. Transfer pie dish to a rimmed baking sheet, and pour pumpkin mixture into crust. Bake until center is set but still a bit wobbly, 55 to 60 minutes. Let cool in pie dish on a wire rack. Refrigerate until well chilled, at least 8 hours (preferably overnight). Before serving, drizzle melted milk chocolate on top. Serve immediately. Recipe from Martha Stewart. Ginger Pumpkin Pie 1 graham cracker pie crust (see instructions and recipe here) 15-ounce can pumpkin puree OR just under 2 cups homemade pumpkin puree 2 large eggs 1 large egg yolk 2/3 cup dark brown sugar 3 tablespoons grated fresh ginger 1 teaspoon ground cinnamon 1 teaspoon ground ginger 1/2 teaspoon salt 1/4 teaspoon black pepper 1 cup whipping cream 1/2 cup whole milk Heat the oven 375°F. Bake the graham cracker crust for 10 minutes then remove and let cool in the refrigerator while you make the filling. . Whisk the pumpkin puree with the eggs, egg yolk, and brown sugar. To grate the ginger, use a piece of ginger about 4 inches long and grate to a pulp using a Microplane or fine grater. Discard the tough fibers; just use the milky juice and puree. Whisk the grated ginger, cinnamon and ginger spices, salt, and pepper into the pumpkin mixture. Add the cream and milk and whisk until smooth. Pour into the graham cracker crust. Bake for about 50 minutes at 375°F, or just until set. Check after 30 minutes and tent with foil if the edges seem to be browning quickly. (I let mine get fairly dark, as I like the flavor!) The filling will continue to firm up after it comes out of the oven. Refrigerate the pie after it is just cool to the touch. Let cool for at least two hours before slicing and serving. Recipe by The Kitchn Pumpkin Cheesecake Ingredients Crust: 1 3/4 cups graham cracker crumbs 3 tablespoons light brown sugar 1/2 teaspoon ground cinnamon 1 stick melted salted butter Filling: 3 (8-ounce) packages cream cheese, at room temperature 1 (15-ounce) can pureed pumpkin 3 eggs plus 1 egg yolk 1/4 cup sour cream 1 1/2 cups sugar 1/2 teaspoon ground cinnamon 1/8 teaspoon fresh ground nutmeg 1/8 teaspoon ground cloves 2 tablespoon all-purpose flour 1 teaspoon vanilla extract Directions Preheat oven to 350 degrees F. For crust: In medium bowl, combine crumbs, sugar and cinnamon. Add melted butter. Press down flat into a 9-inch spring form pan. Set aside. For filling: Beat cream cheese until smooth. Add pumpkin puree, eggs, egg yolk, sour cream, sugar and the spices. Add flour and vanilla. Beat together until well combined. Pour into crust. Spread out evenly and place in oven for 1 hour. Remove from the oven and let sit for 15 minutes. Cover with plastic wrap and refrigerate for 4 hours. Recipe from Paula Deen Is there anything better than sleeping in on a Saturday morning, waking up with a house full of family, your beautiful niece, and sitting around the table eating breakfast together? Not much! We've got family in town visiting and it's been so nice to finally have a house of our own for them to stay. I of course saw an opportunity to try out a new recipe I've been dying to make, pumpkin cream cheese by Pinch My Salt. For breakfast this morning it was pumpkin bagels, pumpkin cream cheese, turkey bacon, fruit, and of course coffee. The cream cheese was a hit and was very simple to make. I managed to pull it together by 8am after a long work week and before my first cup of coffee...success!!! if your looking for some fun food ideas check out their blog, click here.
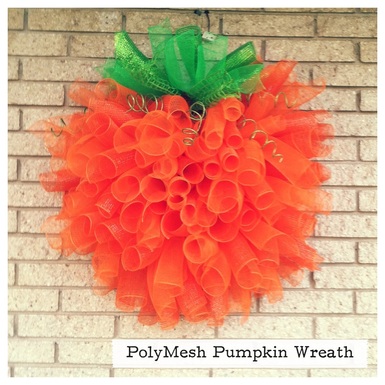
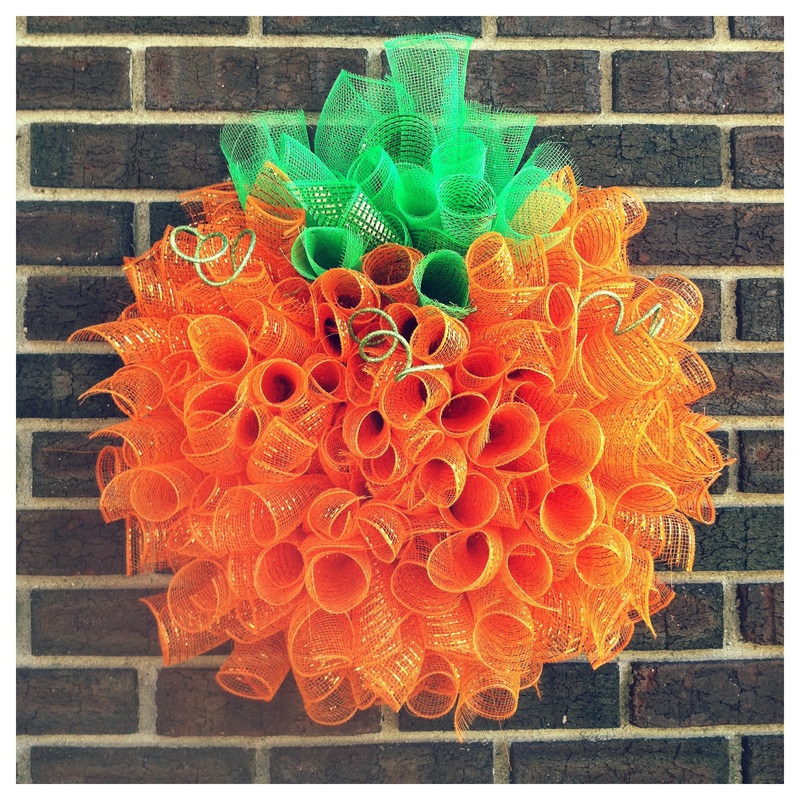
Pumpkin Spice Cream Cheese Spread by Pinch My Salt 4 oz. cream cheese, softened 3 tablespoons brown sugar 2 tablespoons pure maple syrup 1/4 cup canned pumpkin 1/2 teaspoon pumpkin pie spice 1/4 teaspoon cinnamon 1/4 teaspoon vanilla extract 1. In a small bowl, beat softened cream cheese, sugar, and syrup til creamy. 2. Add pumpkin, spices and vanilla and beat til smooth. 3. Refrigerate for at least an hour. 4. Enjoy! I spent the last week teaching & choreographing in Michigan, where it actually feels like fall. Of course while I was home my mother and I had to get in some crafting. Back in June I found this wreath and as soon as I saw it I thought it would look adorable on my grandma's door. So naturally I sent the link to my mother, she tracked it down to the company that sells the polymesh. They were not able to give her directions but could of course sell her the supplies. Finally in September we were able to sit down together and make it.
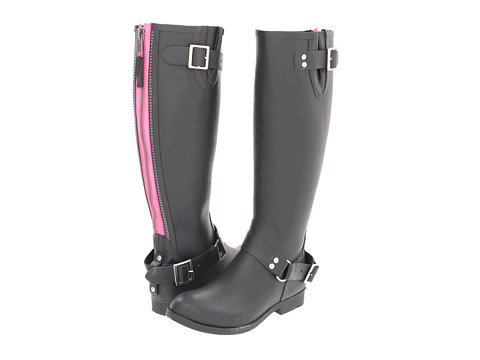
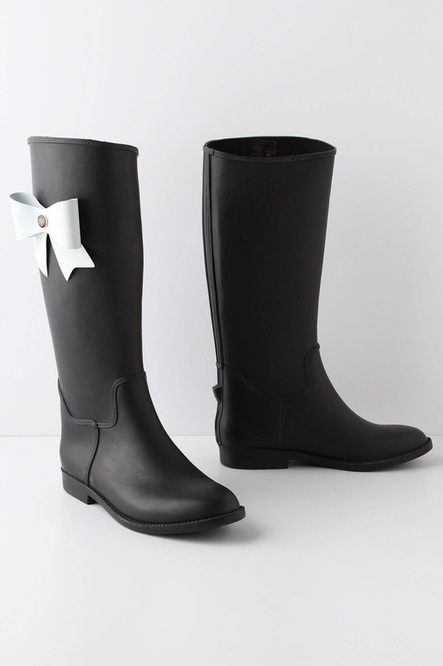
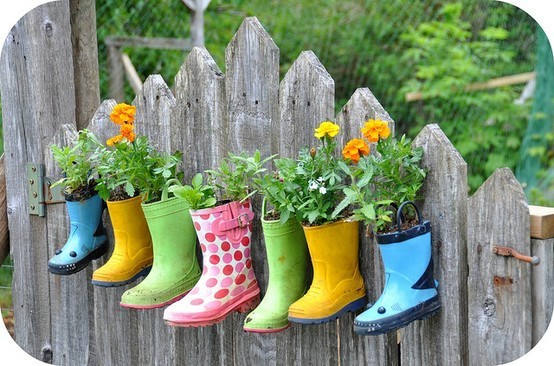
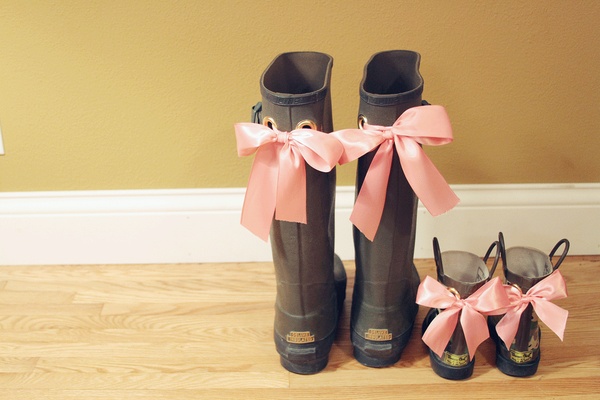
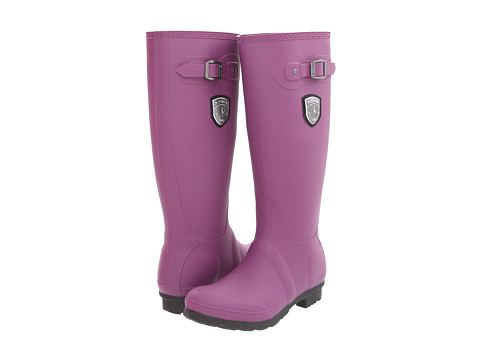
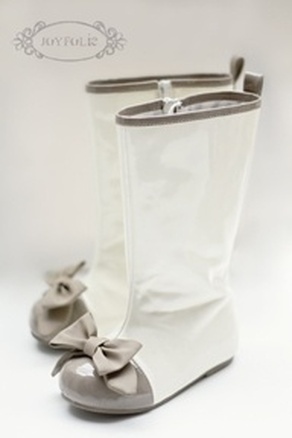
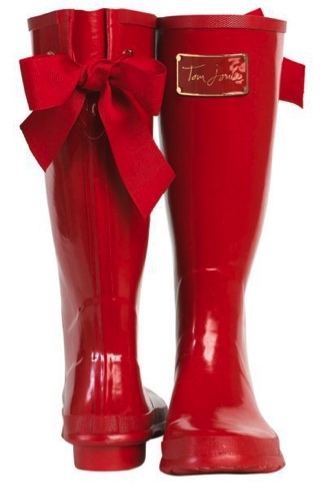
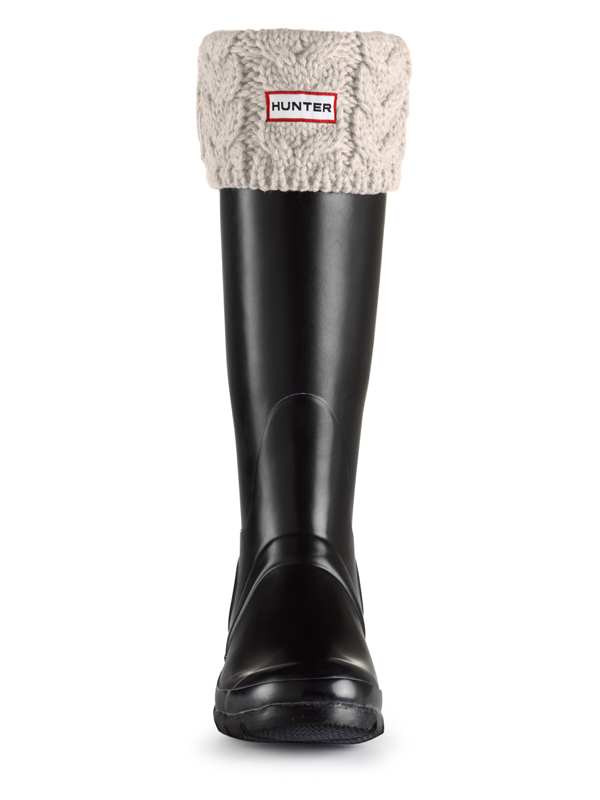
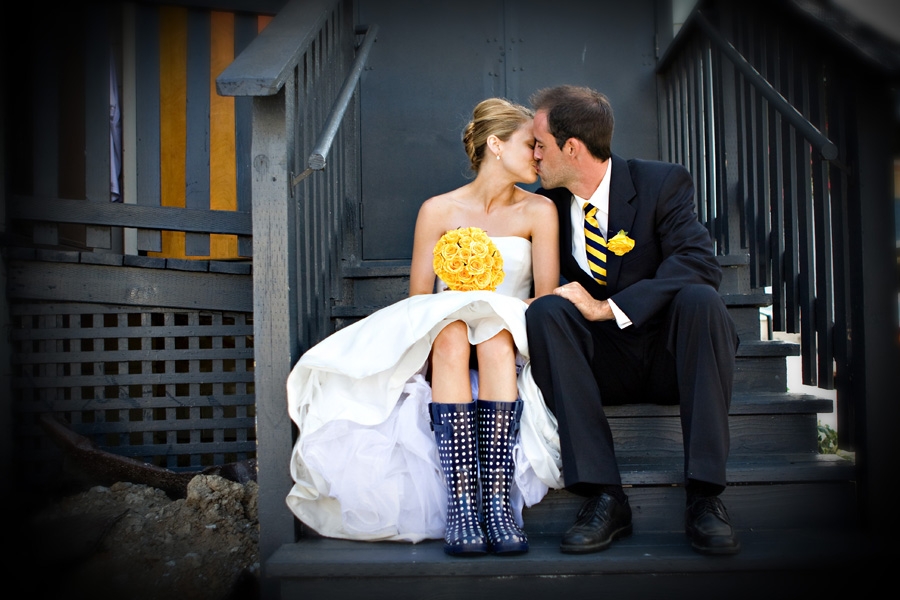
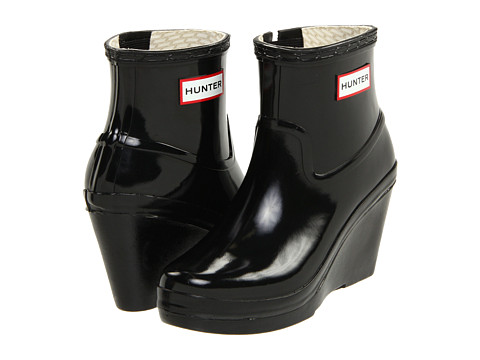
We actually ended up making two, one that was so large it wouldn't fit on the front door but looks great hanging on the side of my grandma's house. After we brought it to her house the first thing she said is "Ohhhh now everyone will want one after they see it on my house!", needless to say she was excited about it. The second one we made is smaller in size and fits perfectly on my mom's front door. Now I have an obsession with polymesh, Scott will be thrilled to store all the colors I started ordering. I'm excited to announce that LCN will soon start carrying a polymesh pumpkin kit! This kit will include all of the supplies needed along with step by step instructions! Check back soon and we'll keep you updated! Finally Fall is here...unfortunately it feels nothing like fall in California. Luckily I'm spending some time in Michigan this week, the wind is blowing and there is a chill in the air, fall is definitely here. I love wearing a sweater when I leave the house. I love searching the internet for new pumpkin recipes to try. I love a visit to a cider mill complete with cider and donuts. I love a trip to an apple orchard to pick my own apples. I love the crispness in the air. I love Halloween. I love seeing pumpkins everywhere I go. I love watching the leaves change. I love pulling out all of my rain boots and matching them to the perfect outfit. I love fall and lets face it even a cup of coffee tastes better in fall. Here is some inspiration to give you a head start on rain boot season! Bridal party rain boots by Heather Parker Photography. Charlie Rain Boots by Anthropologie. Rain boot box planter by Modern Parents Messy Kids. Dress up your rainboots by Hayseed Homemaking. Rain Boots by Kamik Jennifer in Plum. Joy Folie boots for kids by Joy Folie. Tom Jones rain boots featured on Lauren Conrad. Welly socks by Hunter. Bride in rain boots by Bridesmaid Trade Blog.
It's no secret I love to shop and I'm extremely gifted when it comes to the art of spending money. In fact the ease in which I am able to swipe my card is alarming. Although thanks to my domestic partner Scott and our joint checking account I've had to learn to be "crafty" when it comes to making purchases go unnoticed. I'm no expert but I'm thinking one of the keys to a happy marriage must be a Macy's credit card. As long as I still have my Macy's card and as long as Scott is never able to see the bill, the rest must be cake...right? Haha, as if that's not a dead giveaway to my unmarried status.
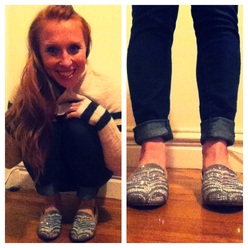
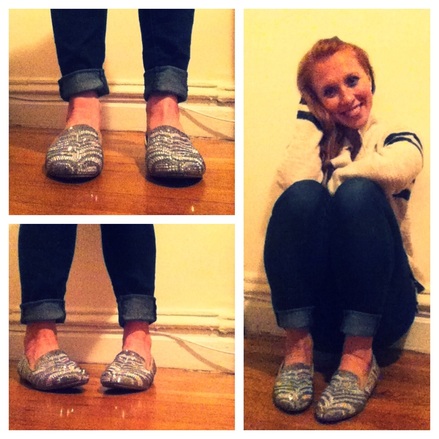
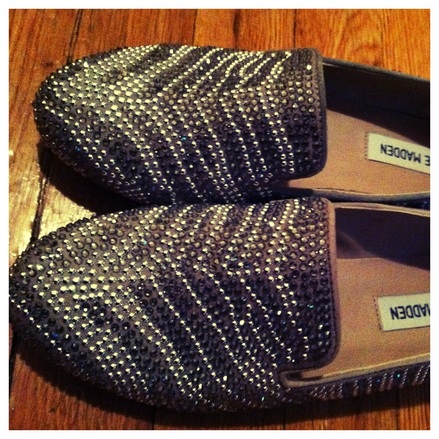
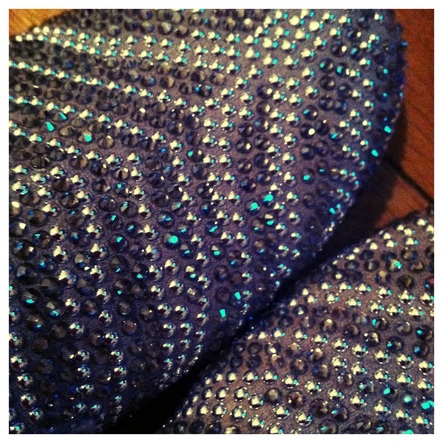
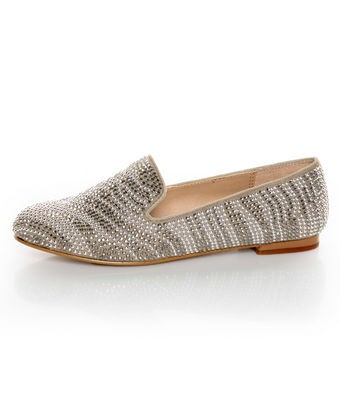
Needless to say I'm an oddball when it comes to shopping; as much as I love it I almost consider it a religious experience. One I do not like to share. That's right I like to go shopping alone. Lucky Scott because in the past 7 years he has only had to endure this painful event once. I've always been this way; it's like the one moment that I completely dedicate to myself. I take as much or as little time as I like, I don't worry about anyone else's opinions, and I am able to make decisions with ease. The only woman I typically include in this fun is of course my mother and as much as I don't like to admit it, I actually enjoy having her along. On a recent visit home we made our annual trip to one of the local department stores. As soon as we walked in I spotted them. A pair of Steve Madden rhinestone studded flats. Their shape is a little retro shoe but the stones and studs make them completely obnoxious and completely me. I happily added them to my collection and have put off wearing them, instead I've been admiring them on display in my room. However that only lasted about a week until I broke them in and I'm even more in love with them today. I may have also snagged a super cute Free People sweater...Cheers! Shoes: Steve Madden Concord in Pewter Sweater: Free People Earned Stripes Jacket in Natural / Charcoal |
Blog
AuthorI'm a ginger with a love for heels & all things crafty. Receive e-mail updates:Archives
November 2013
Categories
All
|
|




 RSS Feed

