|
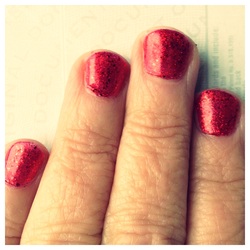
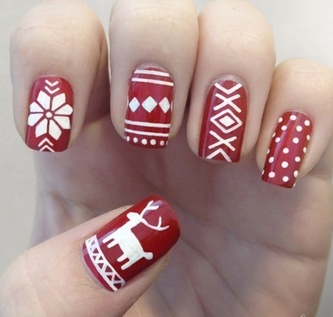
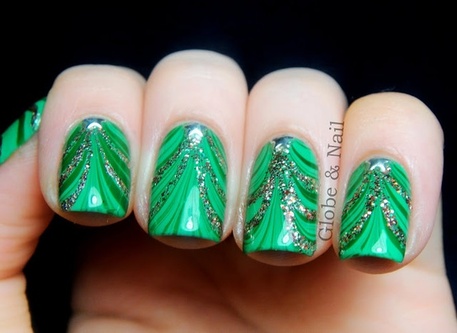
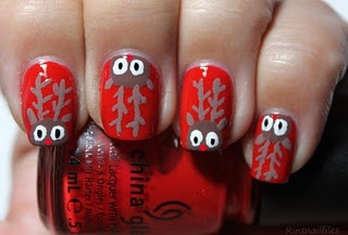
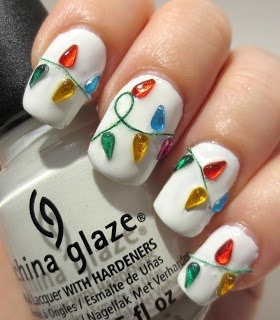
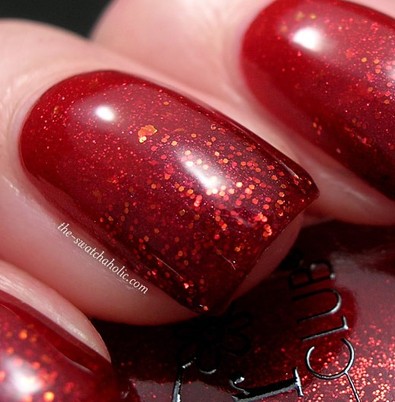
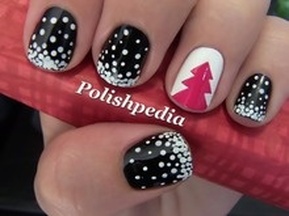
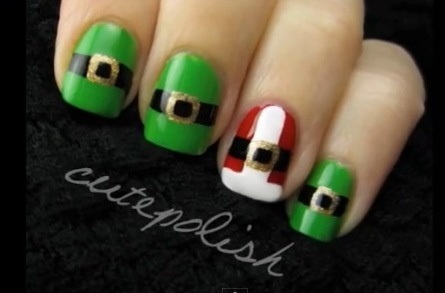
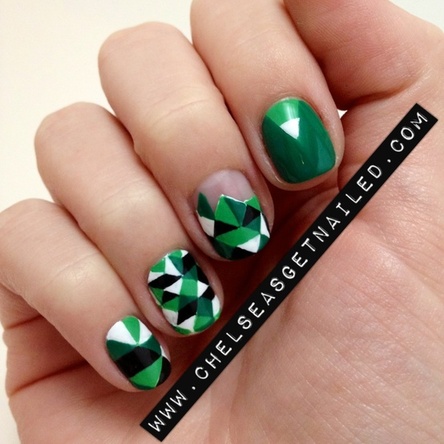
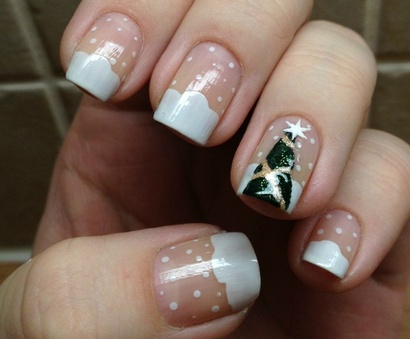
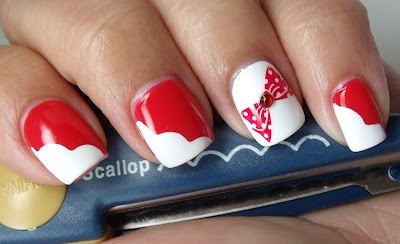
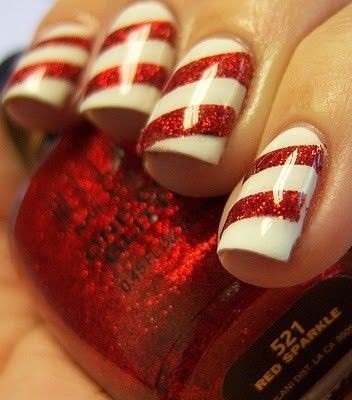
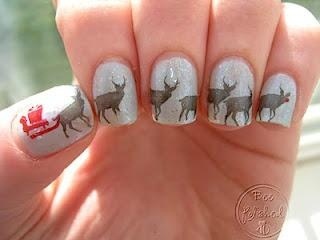
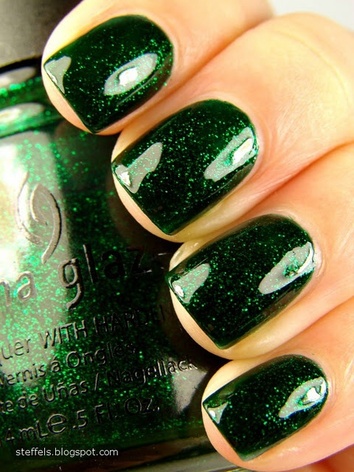
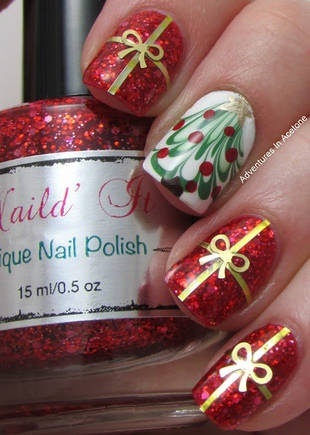
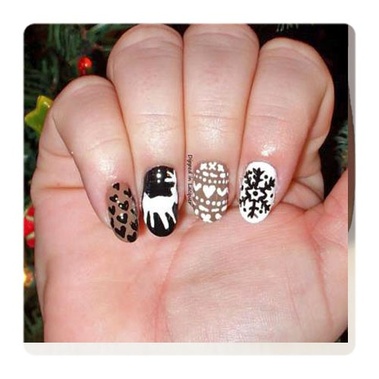
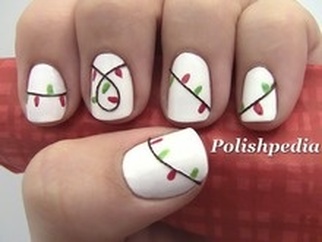
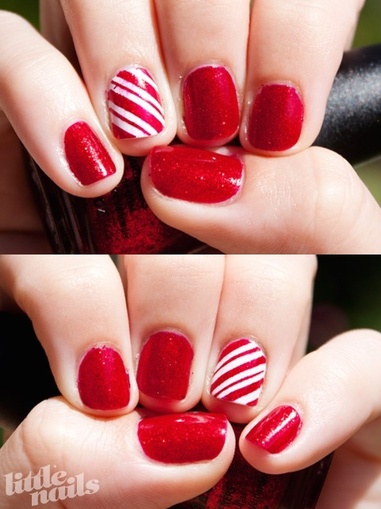
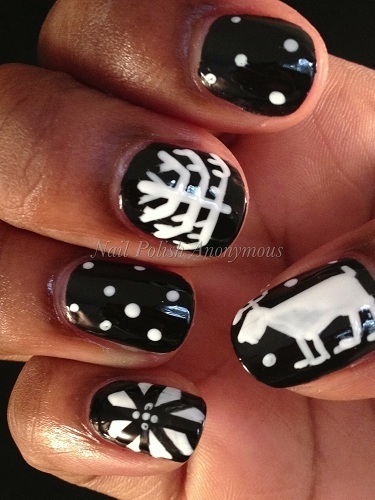
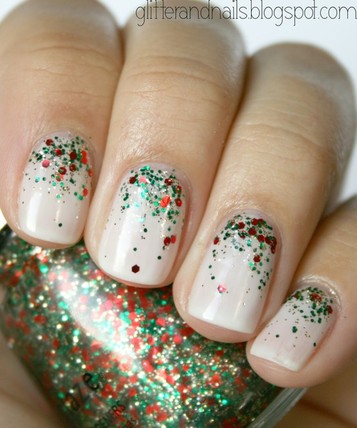
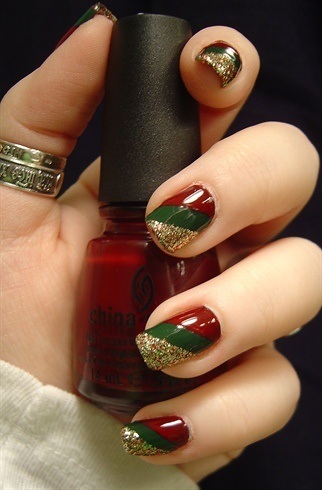
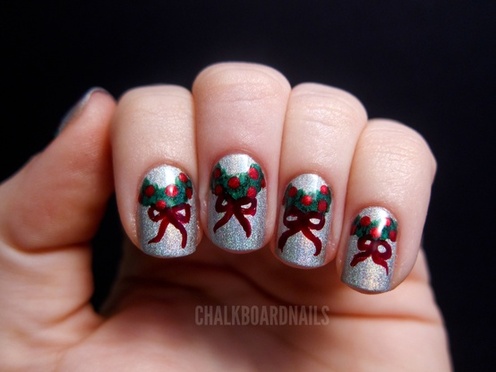
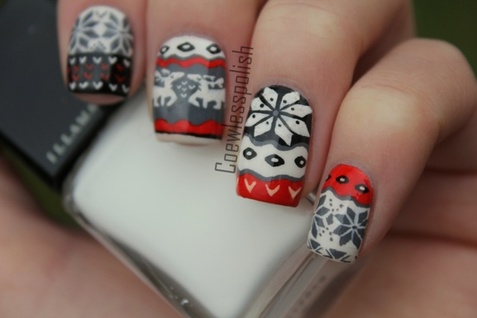
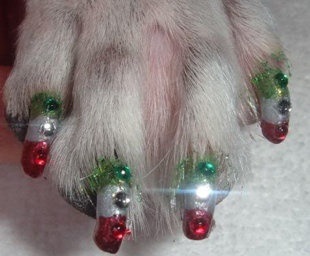
This week I received a picture from my Aunt Barbara of her sparkly red nails all ready for Christmas. Of course I was inspired and feeling the holiday spirit and decided to find some fun holiday nail art. Now this weekend when you're getting ready to celebrate the holidays maybe you can squeeze in a little extra time for a manicure! Aunt Barbara's glittery red nails! And just because I couldn't help myself....doggie Christmas nailpolish.
0 Comments
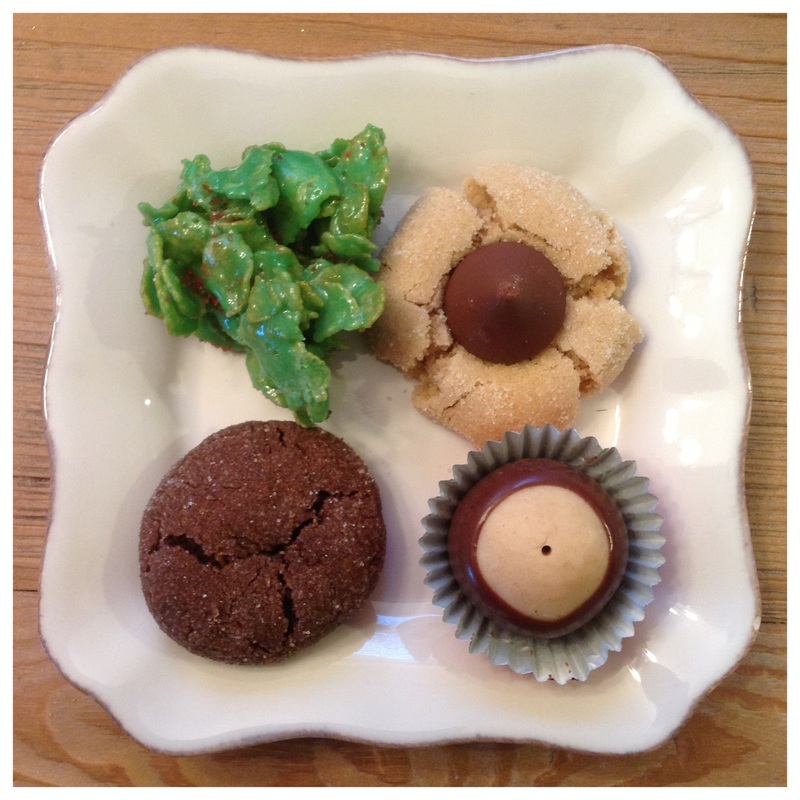
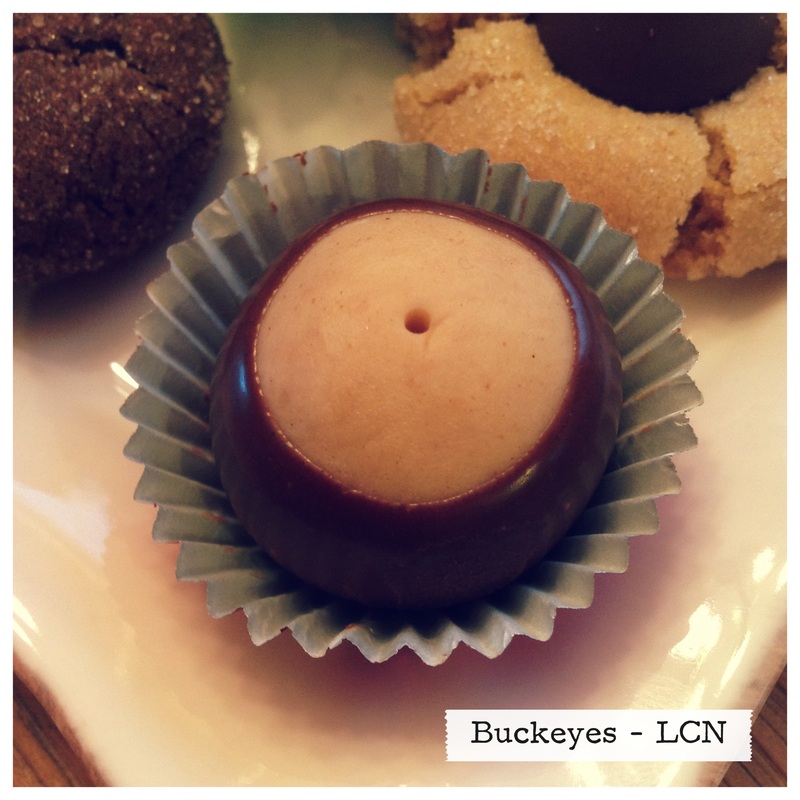
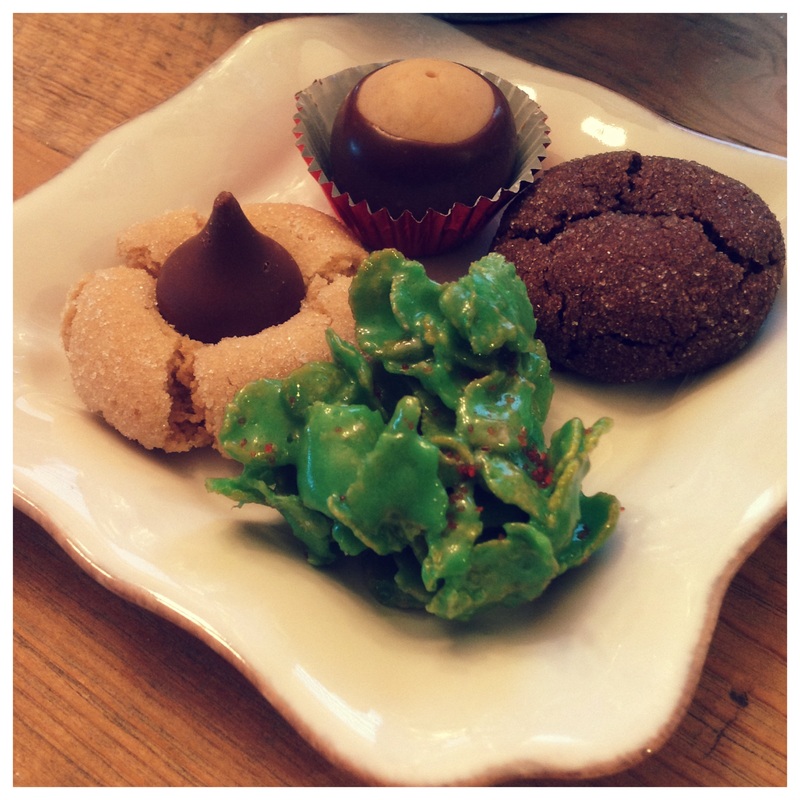
It's the most wonderful time of the year, the time of year when I stop eating real food or meals and live solely on holiday treats and coffee alone! I consider this my own personal Christmas tradition whereas Scott considers this me eating like a 5 year old. He loves to remind me that his 4 year old niece does indeed eat better than I do. What can I say, I'm a stickler for traditions. Scott and I did all of our holiday baking this past weekend. That's right, hold on to your seats kids because Scott actually offered to help me this year and I actually allowed him in the kitchen. If you know us you know that the thought of Scott in the kitchen is enough to push me over the edge. I can't stand watching him slowly fumble around as he tries to figure out how to do something. It takes me about .5 seconds before I throw my hands in the air and shout "THAT'S IT..move move move..just let me do it". Watching him stir the marshmallows for the corn flake wreaths this year took all of my will power, I was in constant search of my "happy place" for 5 minutes. So much so that I am considering this my good deed for all mankind in 2012. However he does bake a mean frozen pizza. I have included our baking list along with the recipes for each cookie below. Katie & Scott's Holiday Baking List 2012
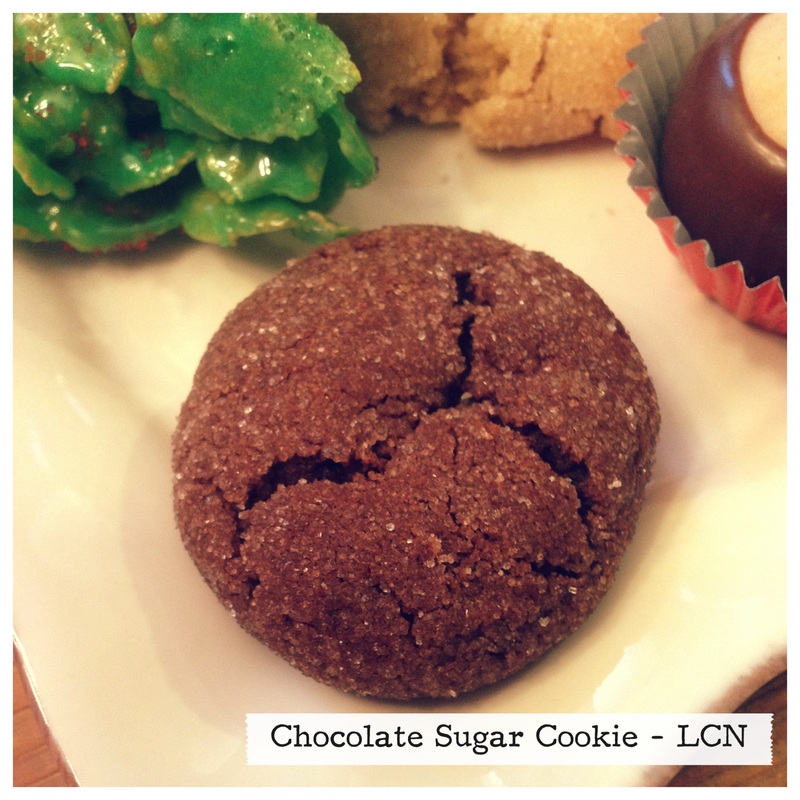
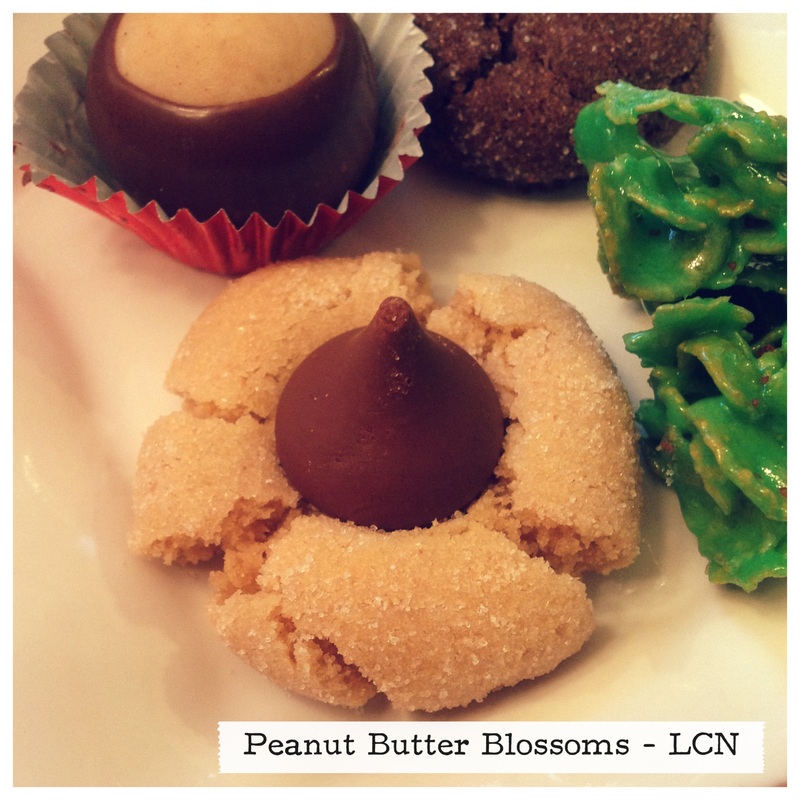
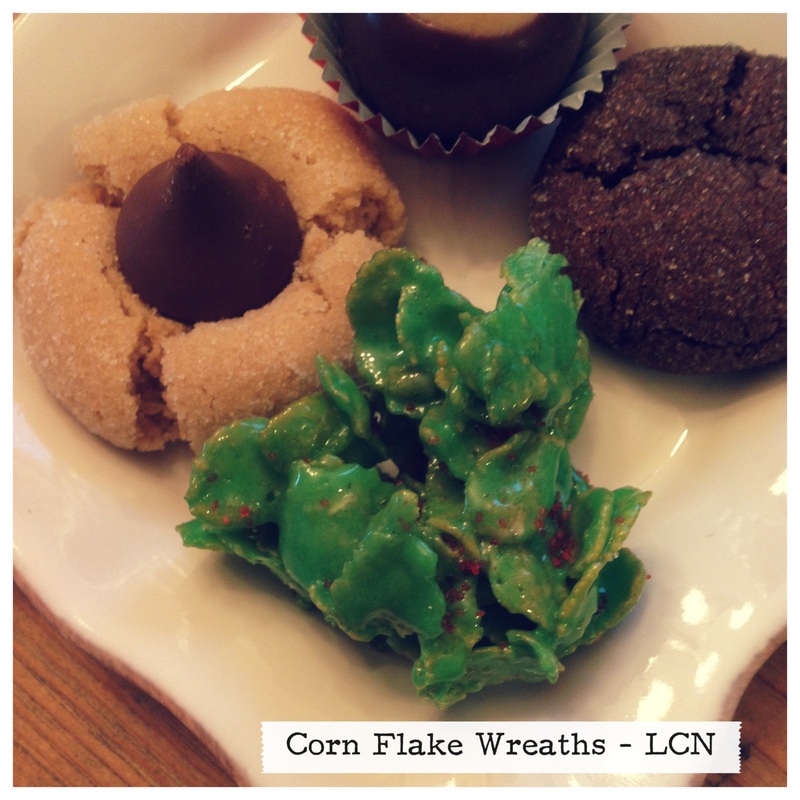
Chocolate Sugar Cookies - RecipeChocolate Sugar Cookies by Kraft Ingredients 2 cups flour 1 tsp.baking soda 1/4 tsp. salt 4 squares BAKER'S Unsweetened Chocolate 1 cup butter or margarine 1-1/2 cups sugar, divided 1 egg 1 tsp. vanilla Directions MIX flour, baking soda and salt; set aside. Microwave chocolate and butter in large microwaveable bowl on HIGH 2 min. or until butter is melted. Stir until chocolate is completely melted. Add 1 cup sugar, egg and vanilla; mix well. Stir in flour mixture until well blended. Refrigerate 15 min. or until dough is easy to handle. HEAT oven to 375°F. Shape dough into 1-inch balls; roll in remaining sugar. Place, 2 inches apart, on baking sheets. BAKE 8 to 10 min. or until centers are set. Cool on baking sheets 1 min. Remove to wire racks; cool completely. Peanut Butter Blossoms - RecipePeanut Butter Blossoms by All Recipes Ingredients 1/2 cup shortening 1/2 cup peanut butter 1/2 cup firmly packed brown sugar 1/2 cup sugar 1 large egg 2 tablespoons milk 1 teaspoon vanilla 1 3/4 cup flour 1 teaspoon baking soda 1/2 teaspoon salt Extra Sugar 48 Hershey Kisses Directions Heat oven to 375 degrees F. Mix together shortening, peanut butter, brown sugar and 1/2 cup sugar. Add egg, milk and vanilla. Beat well. Stir together flour, baking soda and salt. Add to creamed mixture. Beat on low speed until stiff dough forms. Shape into 1-inch balls. Roll in sugar. Place 2 inches apart on ungreased cookie sheet. Bake for 10 to 12 minutes or until golden brown. Top each cookie immediately with an unwrapped chocolate piece, pressing down firmly so that cookie cracks around edge. Remove from cookie sheets to cool. Corn Flake Wreaths - RecipeCorn Flake Wreaths by Kelloggs Ingredients 1/3 cup margarine or butter 1 package (10 oz. about 40) regular marshmallows or 4 cups miniature marshmallows 1 teaspoon green food coloring 6 cups Corn Flakes Red Sprinkles Directions Mix - Melt margarine in large saucepan over low heat. Add marshmallows and stir until completely melted. Remove from heat. Stir in food coloring. Add corn flakes cereal. Stir until well coated. Portion warm cereal mixture evenly by using a 1/4 cup dry measure coated with cooking spray. Using sprayed fingers and or spoon, quickly shape into individual wreaths. Top with red sprinkles. Buckeyes - RecipeBuckeyes
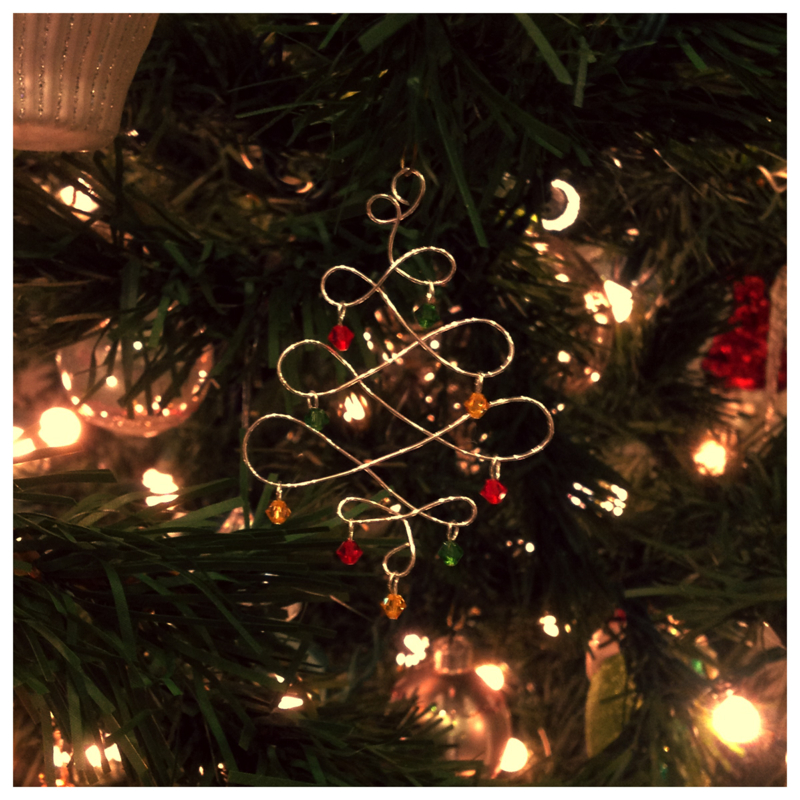
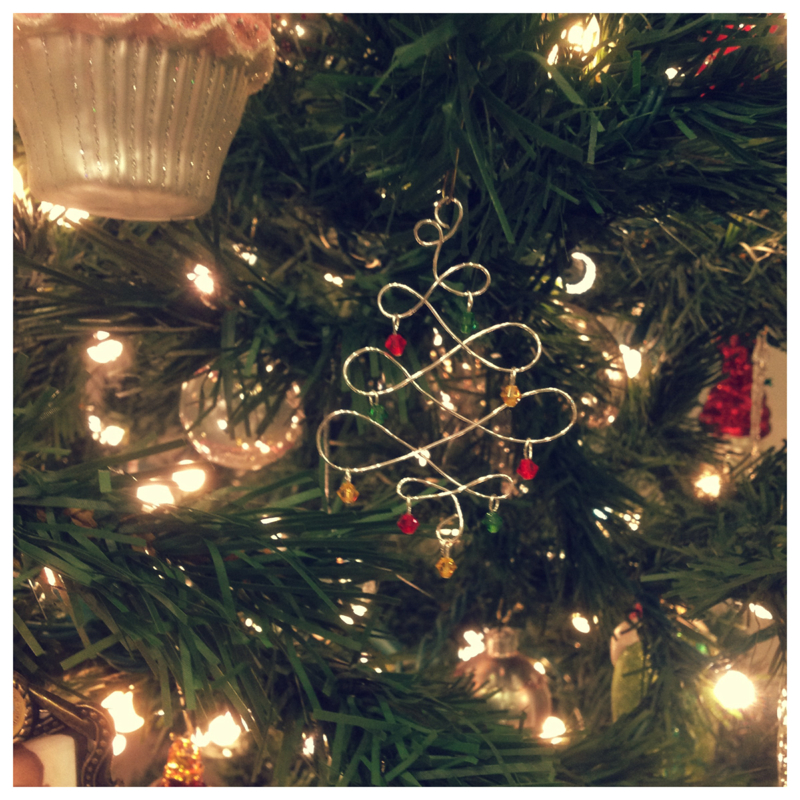
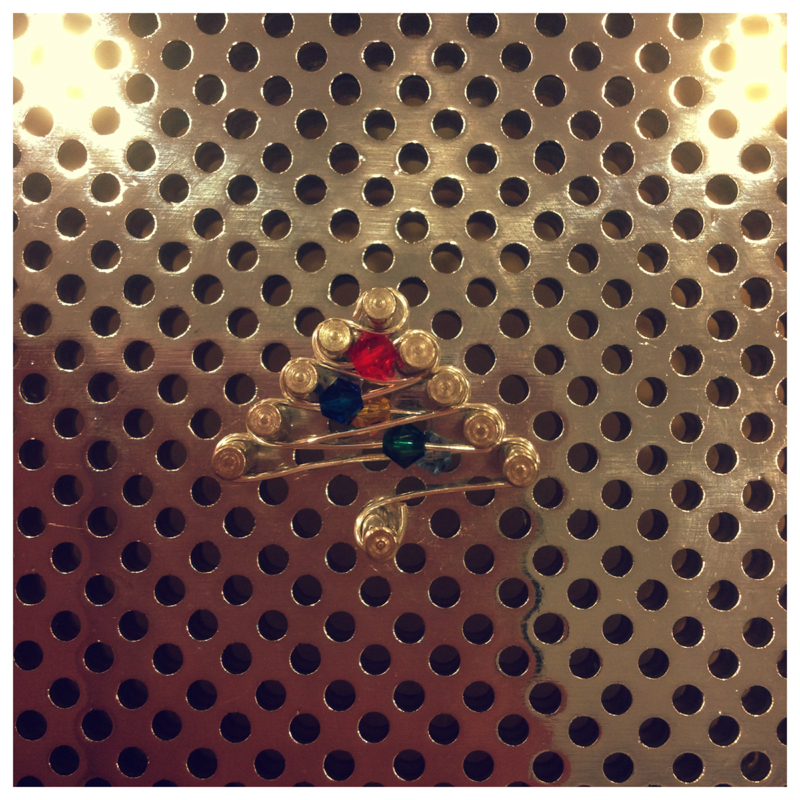
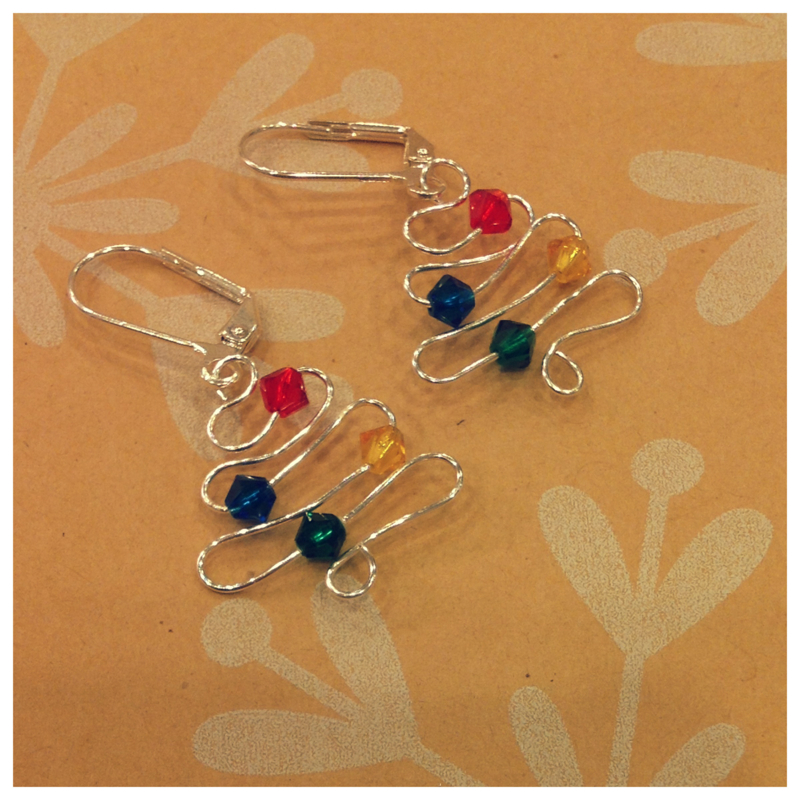
by All Recipes Ingredients 1 1/2 cups creamy peanut butter 1/2 cup butter, softened 1 teaspoon vanilla extract 4 cups sifted confectioners sugar 6 ounces semi sweet chocolate chips 2 tablespoons shortening Directions Mix peanut butter, butter, vanilla, and confectioners' sugar with hands to form a smooth stiff dough. Shape into balls using 2 teaspoons of dough for each ball. Place on baking sheet lined with wax paper and refrigerate. Melt shortening and chocolate together in a metal bowl over a pan of lightly simmering water. Stir occasionally until smooth, and remove from heat. Dip balls into melted chocolate using a wooden toothpick. Return to wax paper, chocolate side down, and remove toothpick. Repeat with remaining balls and refrigerate for 30 minutes to set. *Note: I doubled the melted chocolate mixture to cover all of my prepared balls. After I made my Christmas tree earrings out of wire I was inspired. I had seen a couple of different ways to loop the wire and was a huge fan of this big swirly pattern. Of course I thought it would look gorgeous on my tree with crystals hanging off of it.
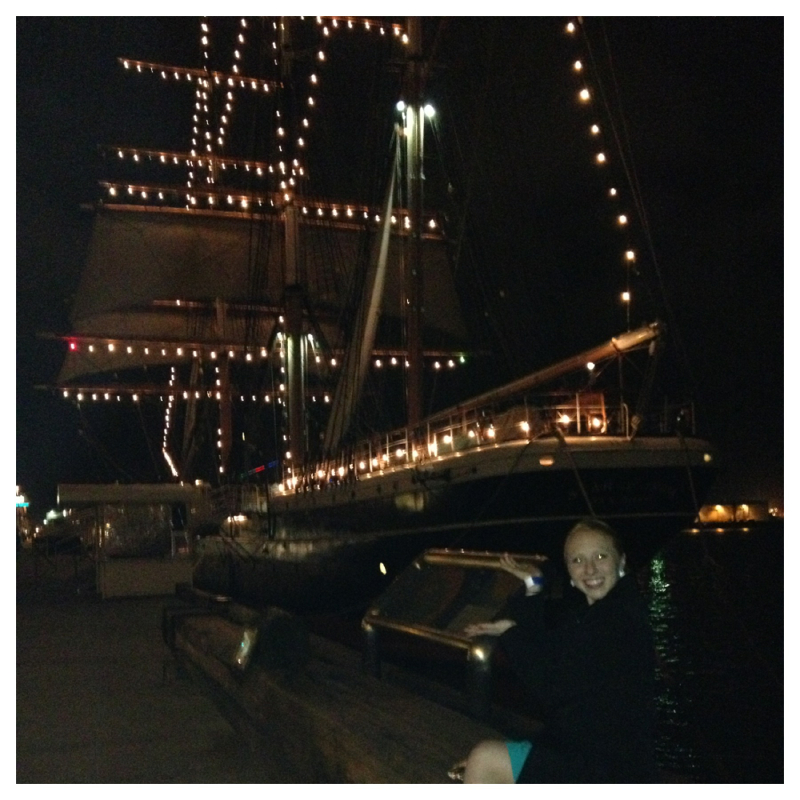
For this one I didn't use the thing-a-ma-jig I did it by hand with my round nose pliers. Then I added green, red, and yellow Swarovski crystals. It's gorgeous and I love how it catches the light! My mother will be jealous! This week Scott and I attended his dad's wedding. We were so happy for him and his new wife Karen. It was a great group of people and such a great time. After the ceremony all the guests boarded a dinner cruise in San Diego. I was so happy to see all the boats strung with christmas lights when we got there that I'm sure Scott felt like he was dealing with a small child.
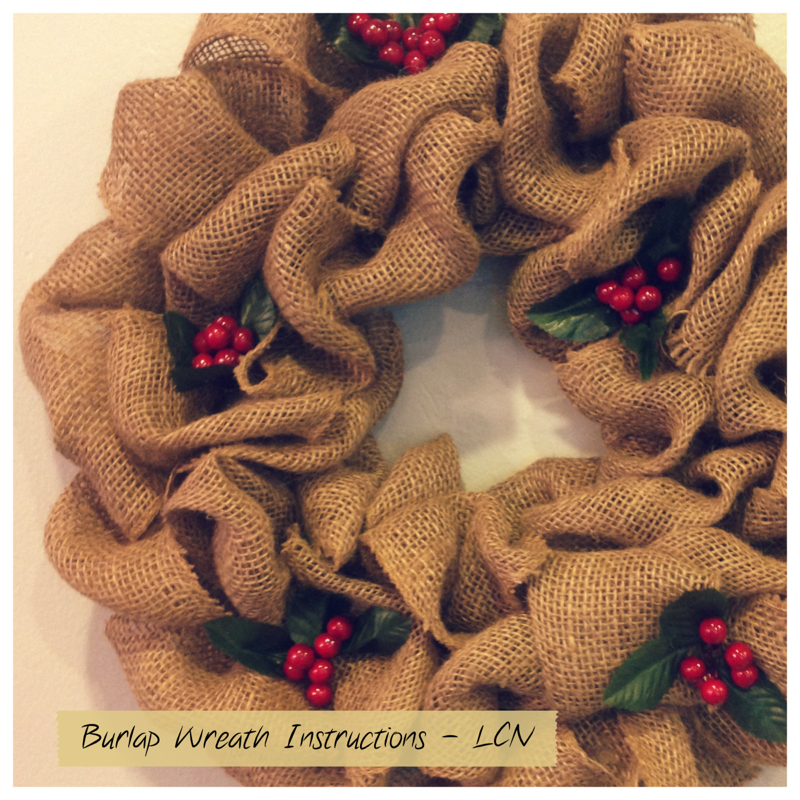
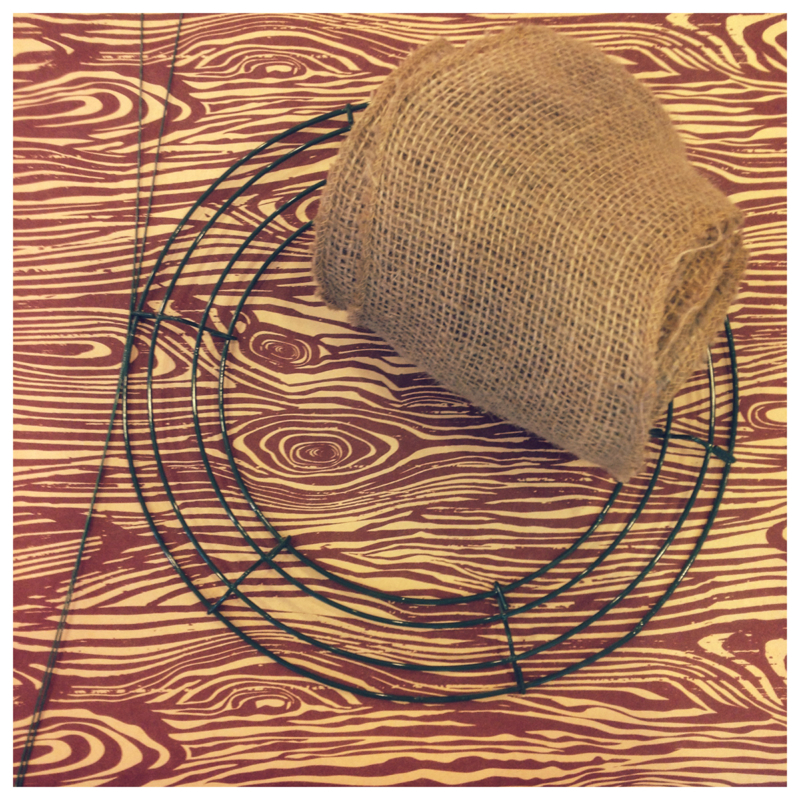
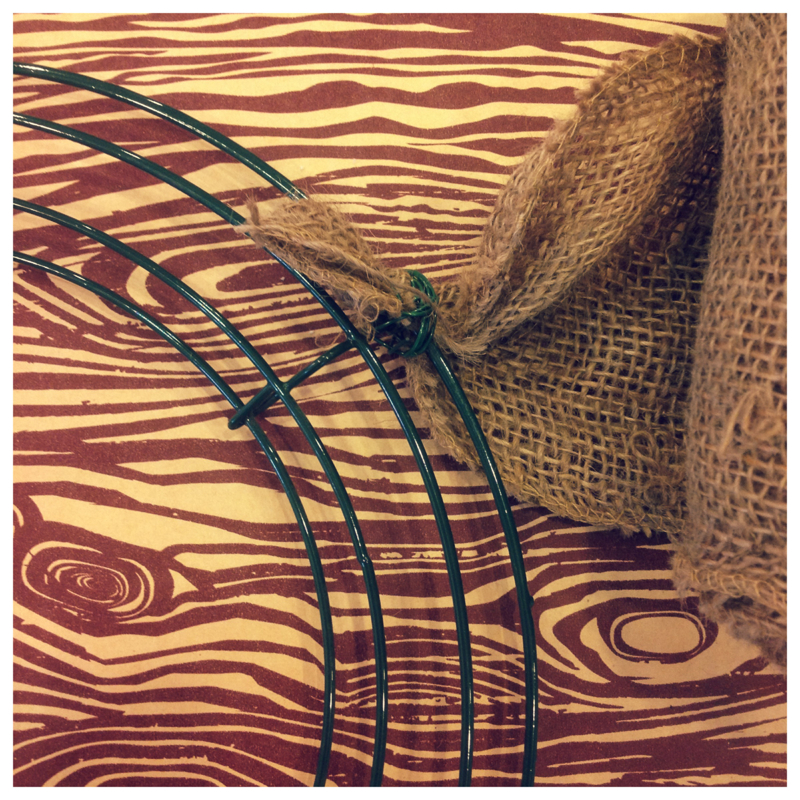
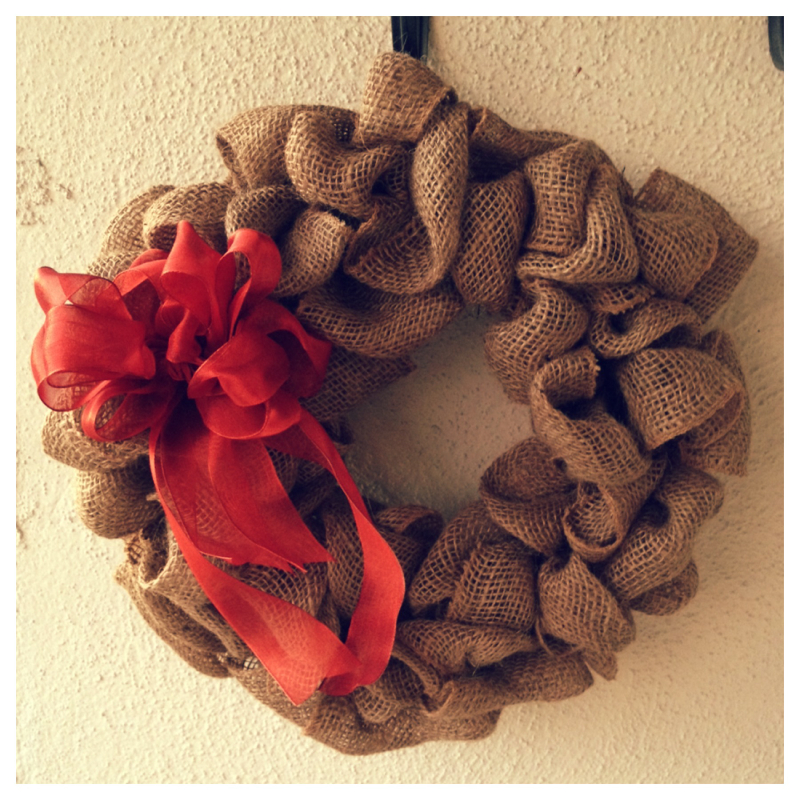
Scott's cousin Amanda was there and we had a great time catching up. Her girlfriends get together every christmas and this year their gift theme was going to be "Pinterest" crafts. Amanda decided to make a burlap wreath and after she finished she sent me a photo. Immediately I had major craft jealousy! One day later there I was in Joann's buying burlap. I am now completely in love with my burlap wreath and everyone will absolutely love how quick and easy it is! Burlap Wreath DIY Supplies - Wire wreath form - Burlap (it comes on a roll, typically in the floral department) - Floral Wire *Note: I used a little less than one roll of burlap. However some people use up to two depending on the size of their wreath and how many loops they make. Using your floral wire attach the end of your burlap to the wire wreath frame.
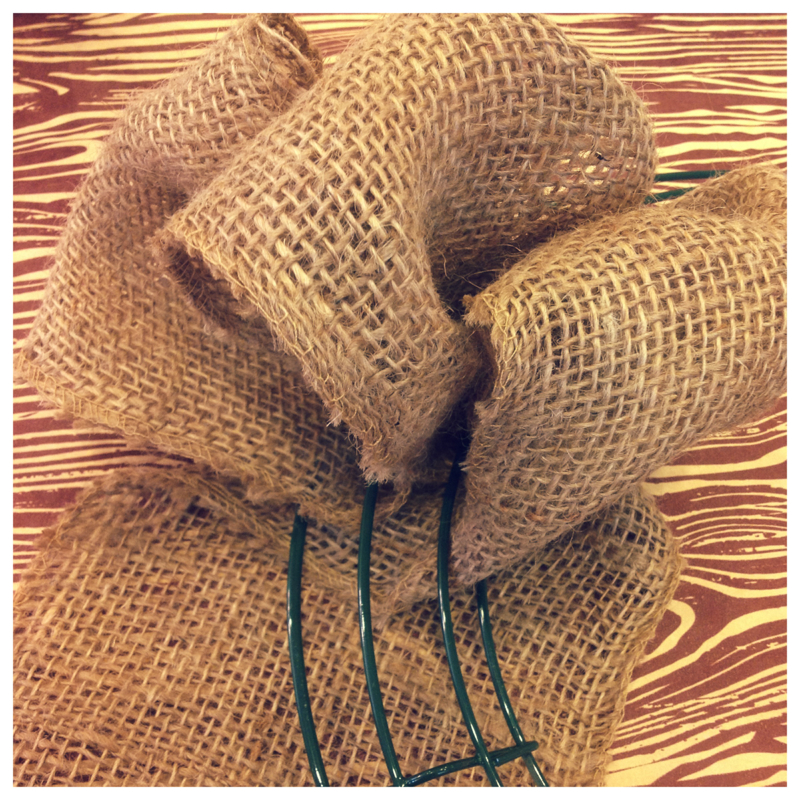
Pull some burlap through the top section of your wire wreath frame.
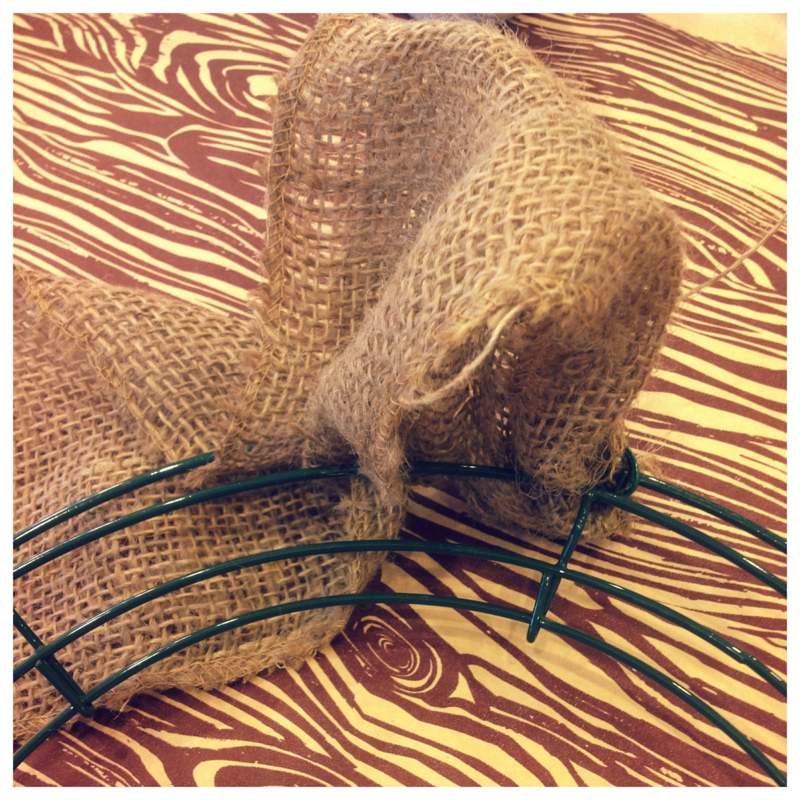
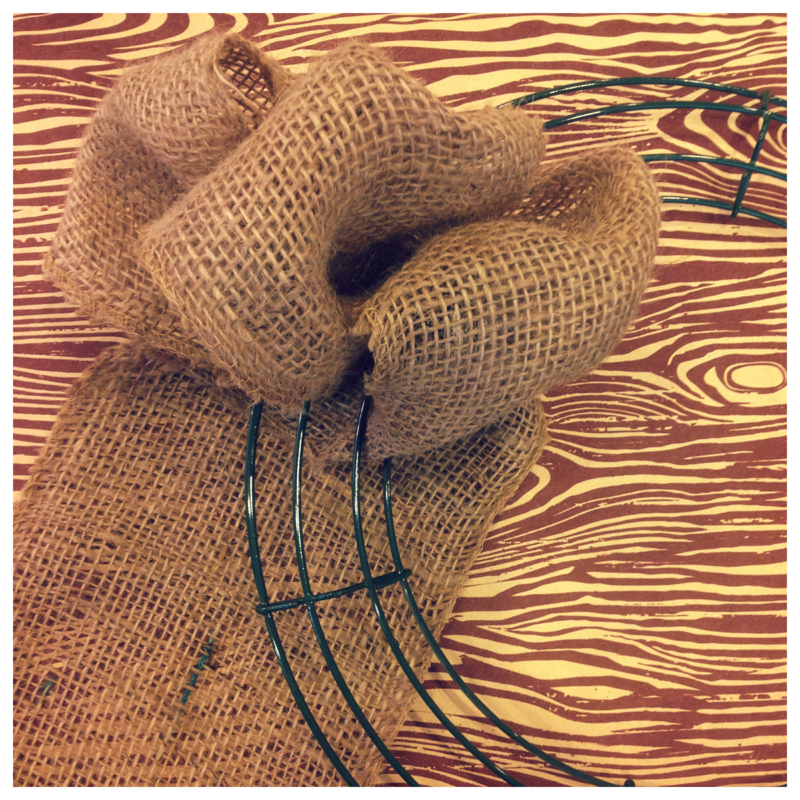
Continue to make loops by pulling burlap through the sections of your wire wreath frame, working towards the center of the frame. You can make your loops as big or as little as you would like.
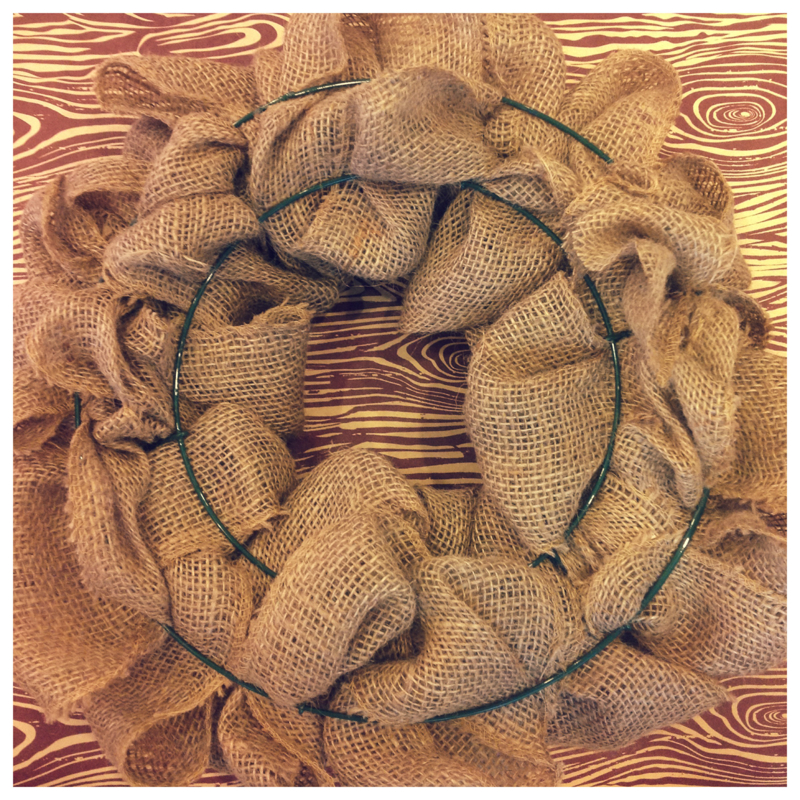
Twist and scrunch your burlap so it begins to look like ruffles. Then starting from the outside begin making loops of burlap working into the center of the frame. Twisting as you go.
My wreath frame was divided into 6 large sections. I used 6-7 loops of burlap per section. After you have finished, cut off any excess burlap and use the floral wire to attach the end of your burlap to the wreath.
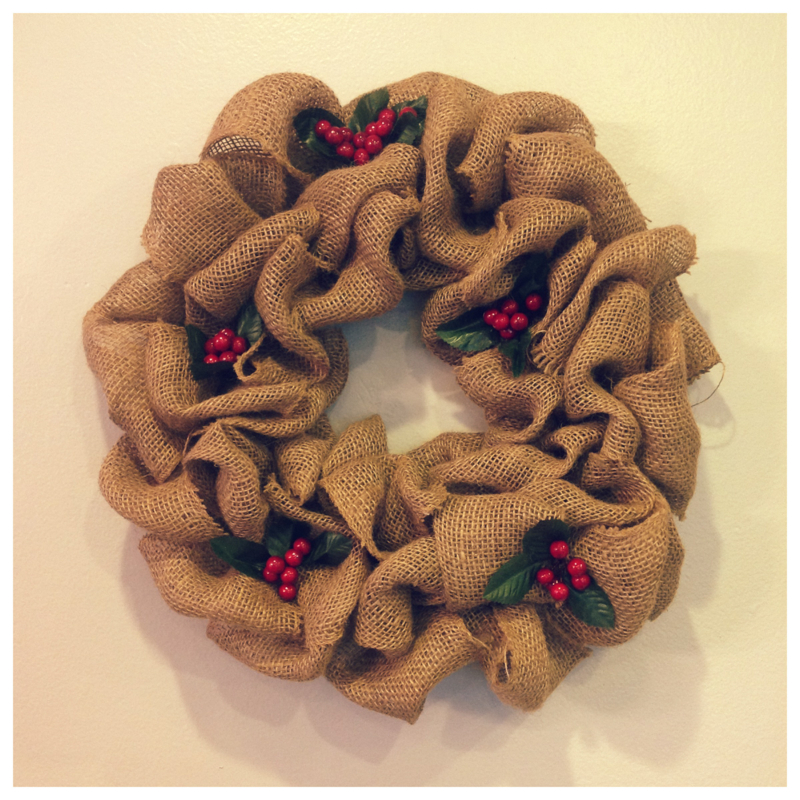
I added holly berries to my wreath for winter that I found at Joann's for less than a dollar. I'm excited to change out the holly berries for other seasonal items throughout the year.
Amanda's burlap wreath!
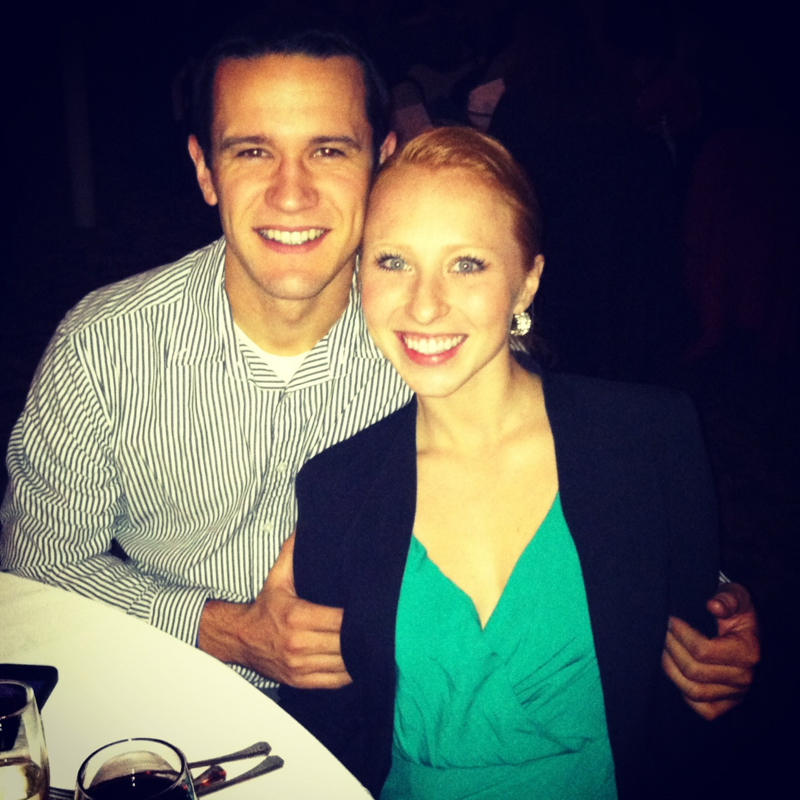
Scott & I at the wedding.
Some of the boat lights!
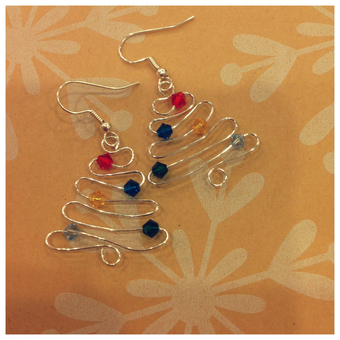
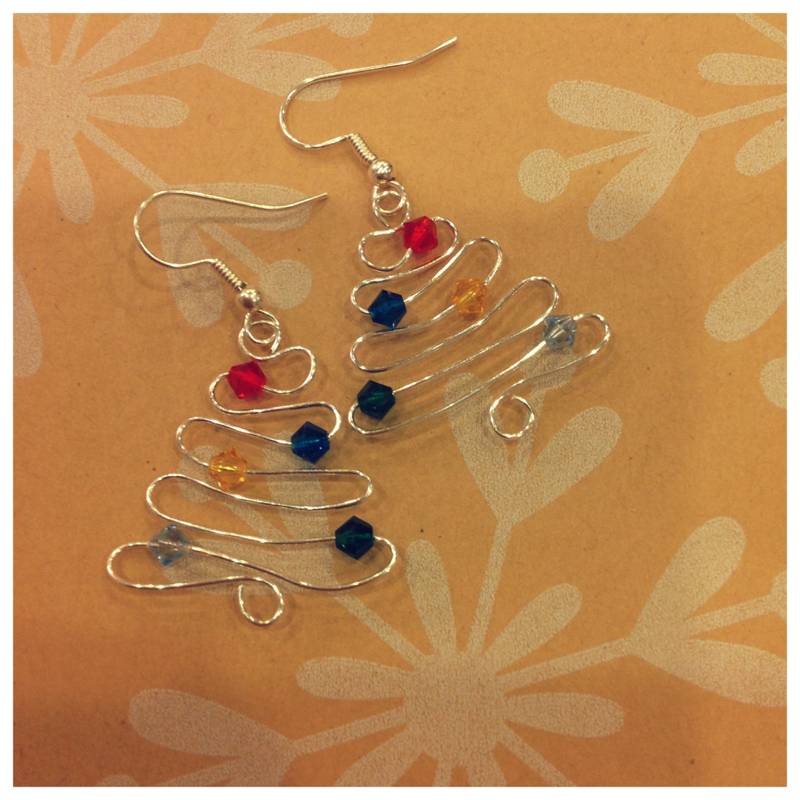
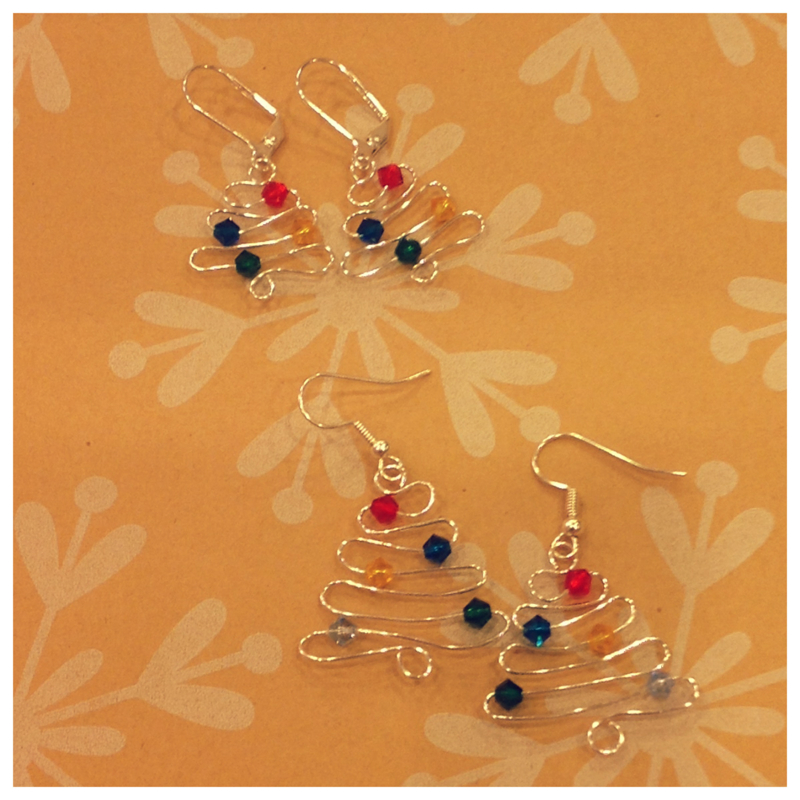
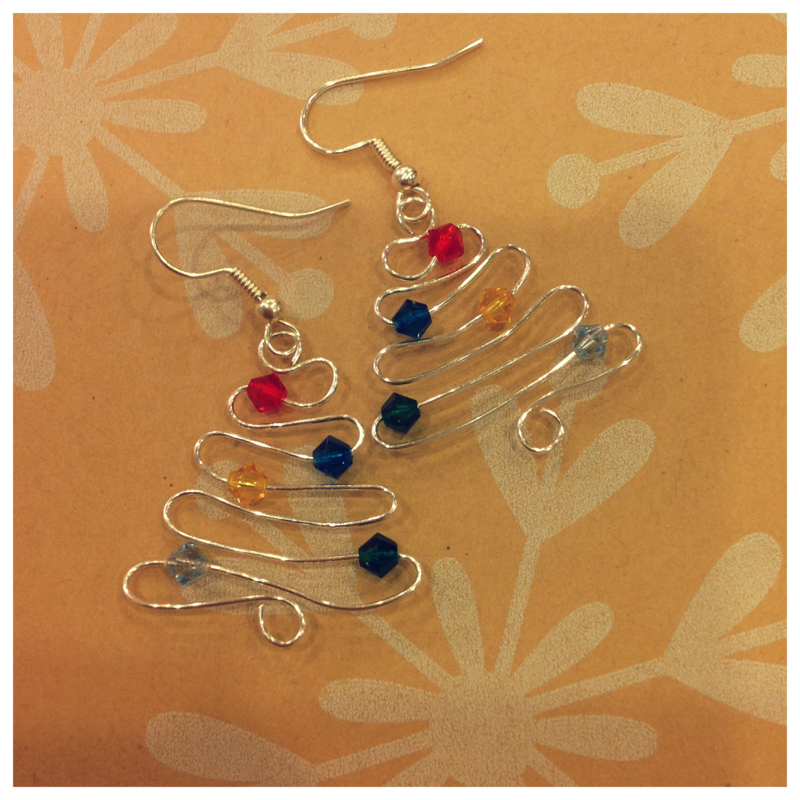
LCN is now selling these wire Christmas tree earrings in our shop. Each pair of earrings are handmade using 22 gauge wire and adorned with five swarovski crystals. Treat yourself to a cute new pair of holiday earrings or grab them as gifts for family & friends! All earring purchases will ship USPS Priority mail to ensure a speedy delivery!
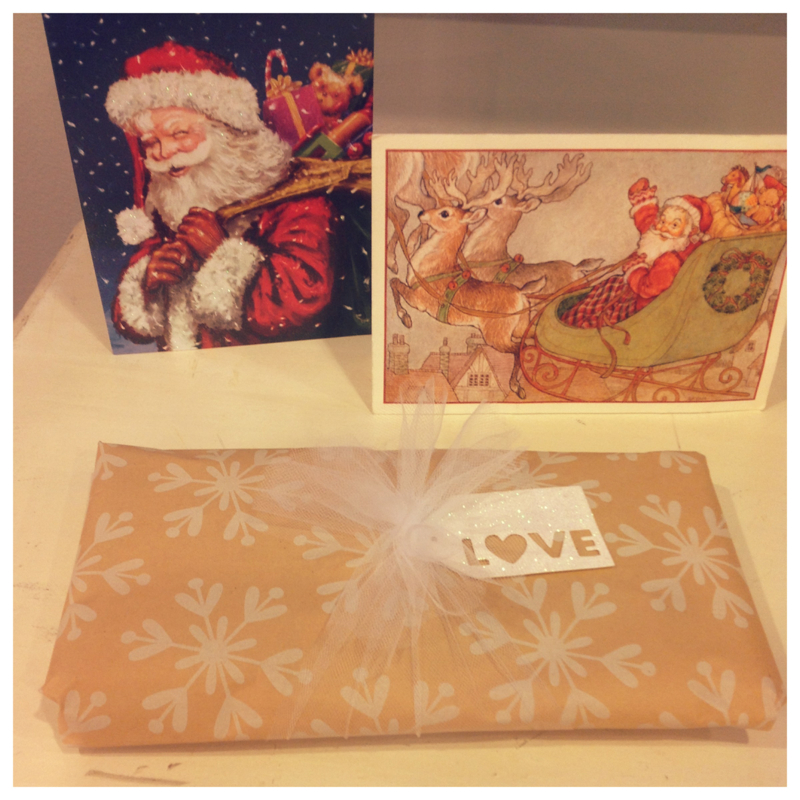
$12.00 - click here! After seeing so many cute wrapping ideas on Pinterest I really thought about doing some fancy wrapping this year. Then December approached and like every other year things all of a sudden got crazy. I decided this year I did not want to stress about every little detail and instead wanted to have a much more "simple" approach to the holidays. Even when I was shopping I didn't spend hours wracking my brain for the perfect gift. Instead I just enjoyed walking through the stores and finding something that made me think of someone and something I thought they might enjoy.
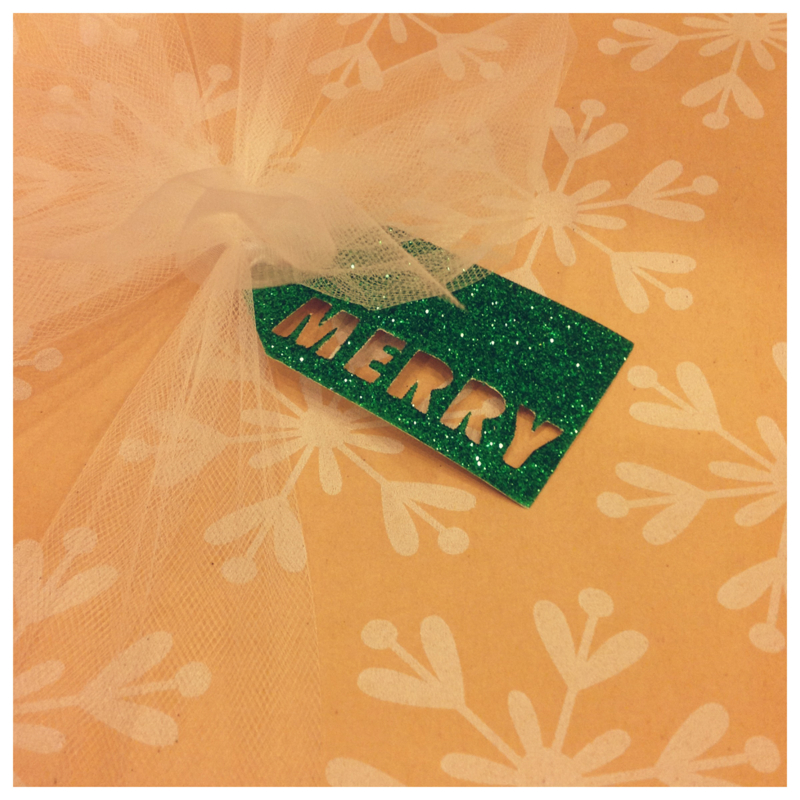
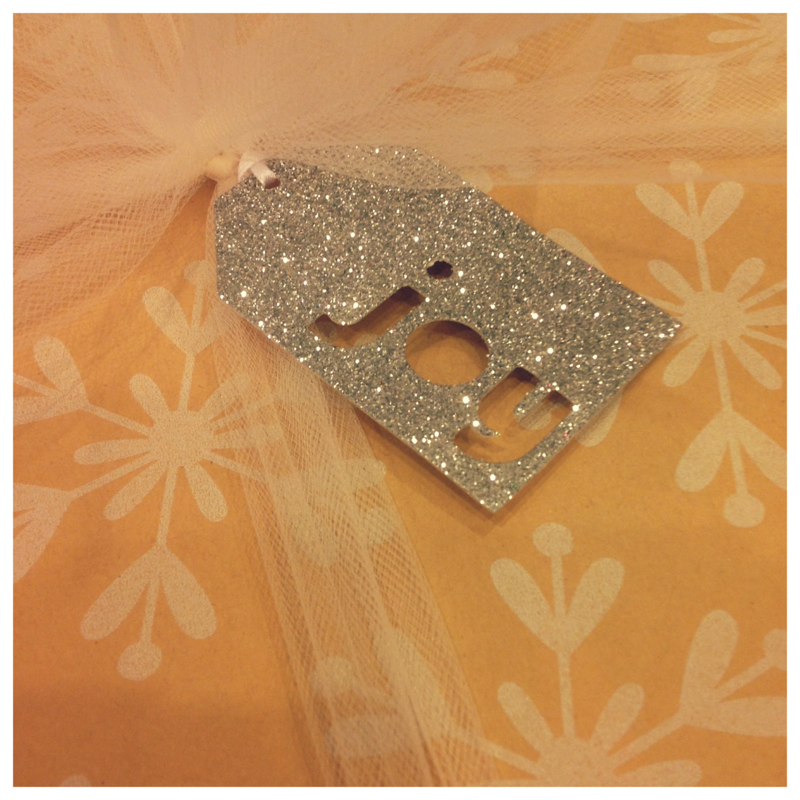
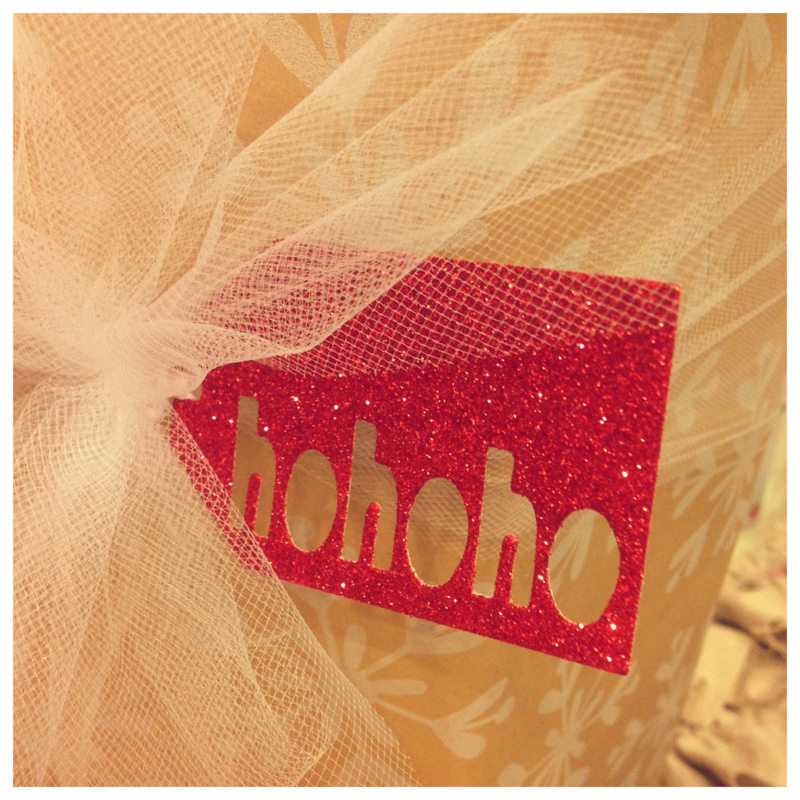
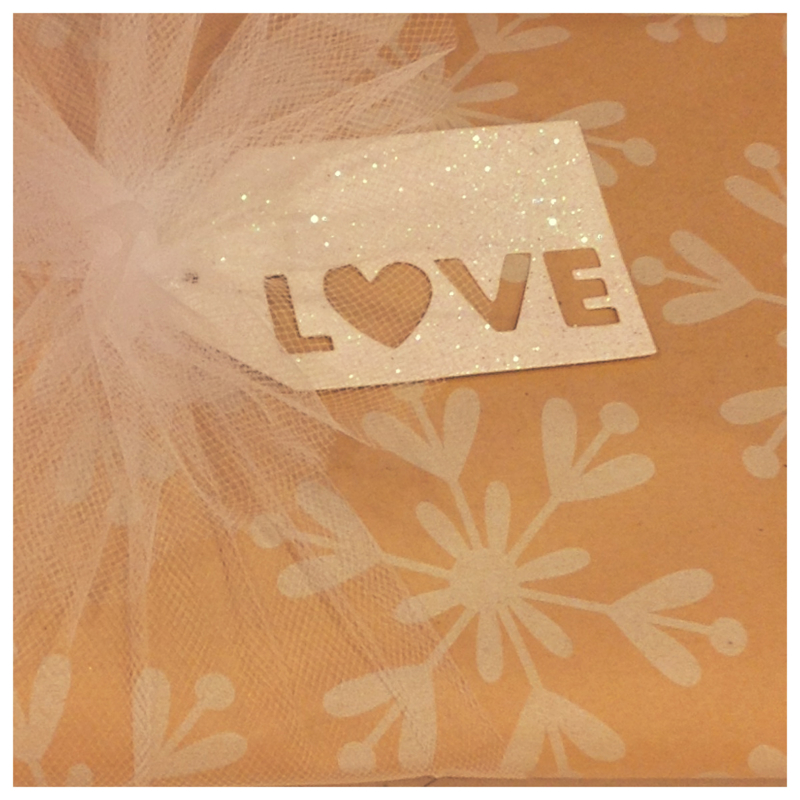
I decided to use kraft wrapping paper with a simple design. Instead of ribbon I opted for using tulle. I've been a huge fan of tulle since I used it to make a bow on a wine bottle last year. For tags I grabbed some simple glitter tags from target, which I love and think add a little something to the "simple" wrapping. Needless to say I'm obsessed! I love the pop of color each package gets from the tags. Cheers to enjoying the simple pleasures! Last year Marissa and I made more snowman earrings than I even want to remember! Please see the photo below of Maddie James being super helpful during all the snowman fun. This year I wanted to make some new earrings, just maybe a few less pairs.
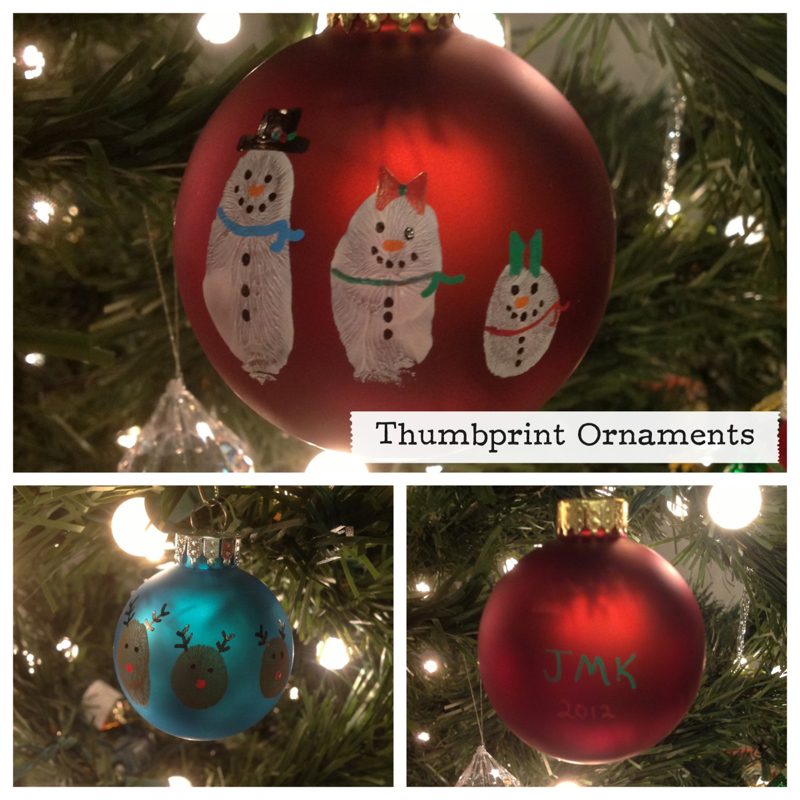
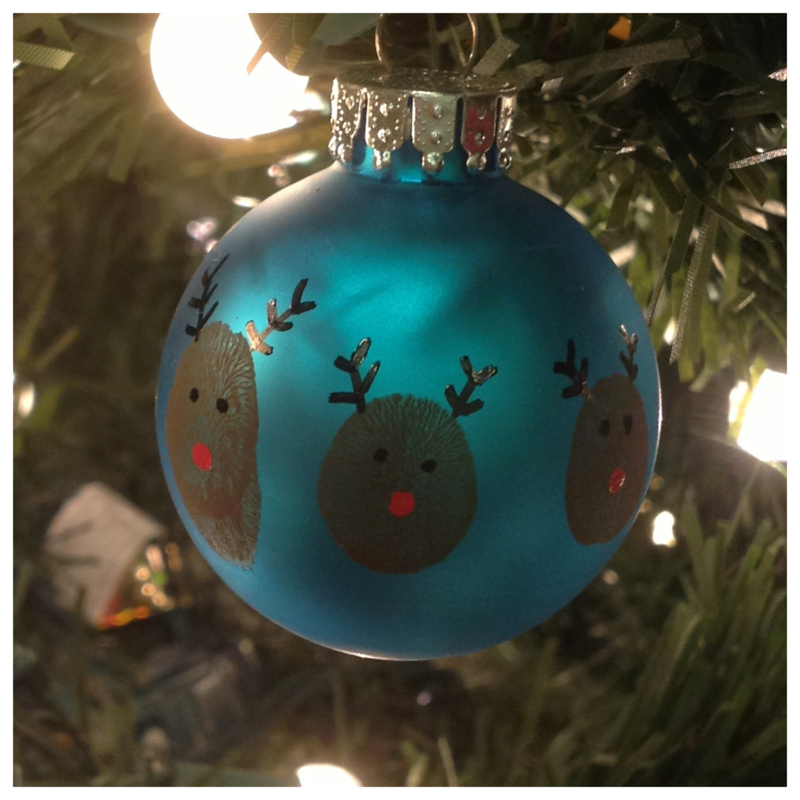
Sometime last year I saw a pair of wire christmas tree earrings that I liked. After a bit of research I found some instructions online by Jewelry Lessons. You can download their instructions for free, click here. A trip to the bead store and some digging in the jewelry kit my mom gave me a few christmas's ago I had all the supplies I needed. Although I varied a bit from the instructions and used 22 gauge wire with 4mm crystals. After spending alot of time annoyed I eventually got the hang of it. I finally gave in and used a bit of zap-a-gap glue to secure the beads in place. Great handmade gift idea for the holidays! The studio I teach at was having a Christmas party and was looking for a craft to do. We wanted a simple and cute craft that was not to time consuming. We decided on thumbprint ornaments, snowman and reindeer. This left us plenty of time to play Christmas freeze dance with glow in the dark necklaces! These would make a great handmade gift for family and friends. I ended up making some with my nieces and nephew the day after and giving them to their mom to use as gifts this year.
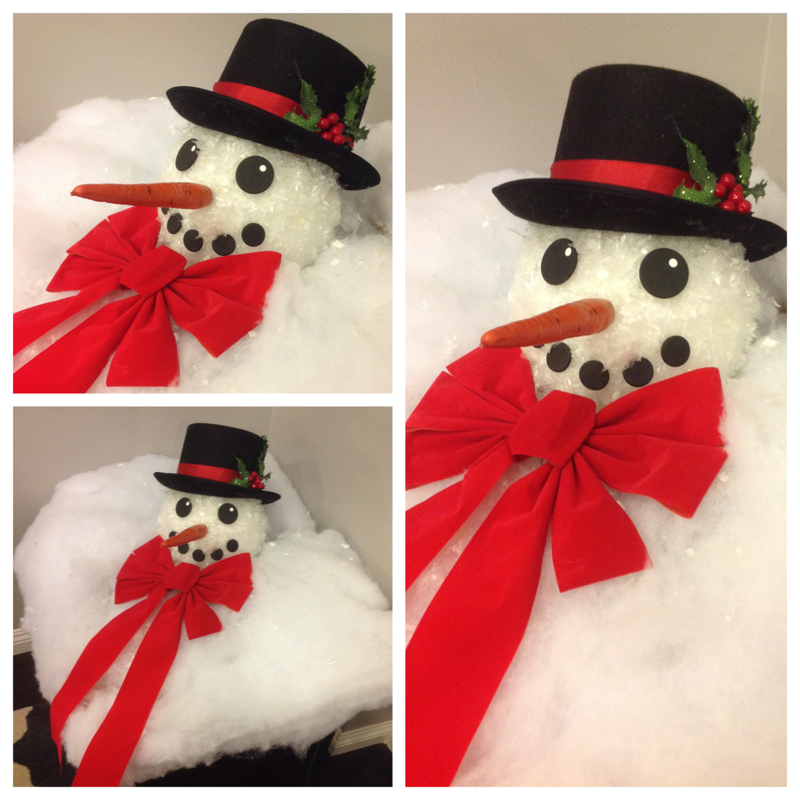
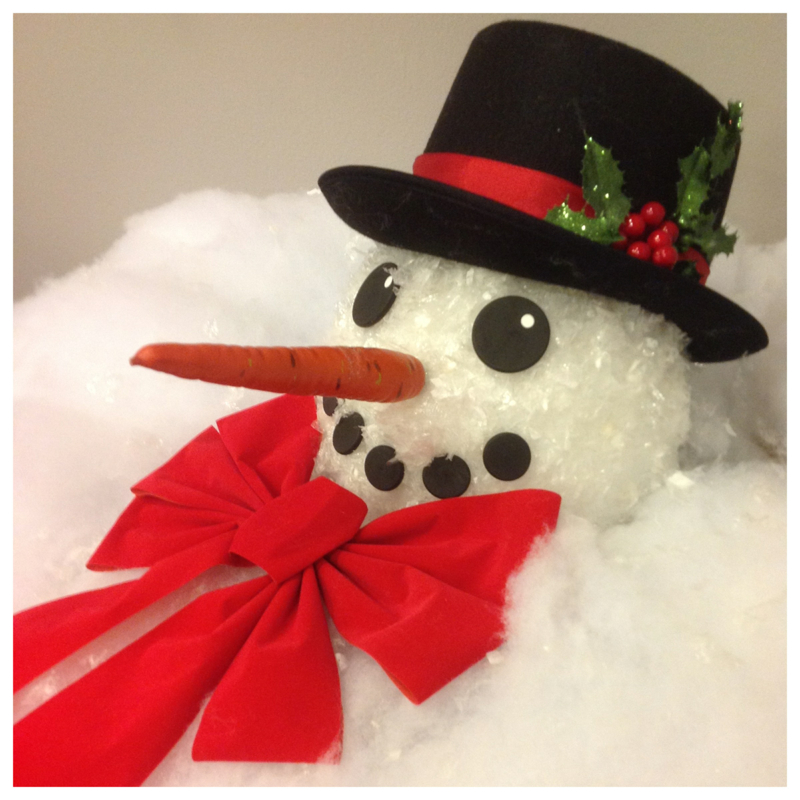
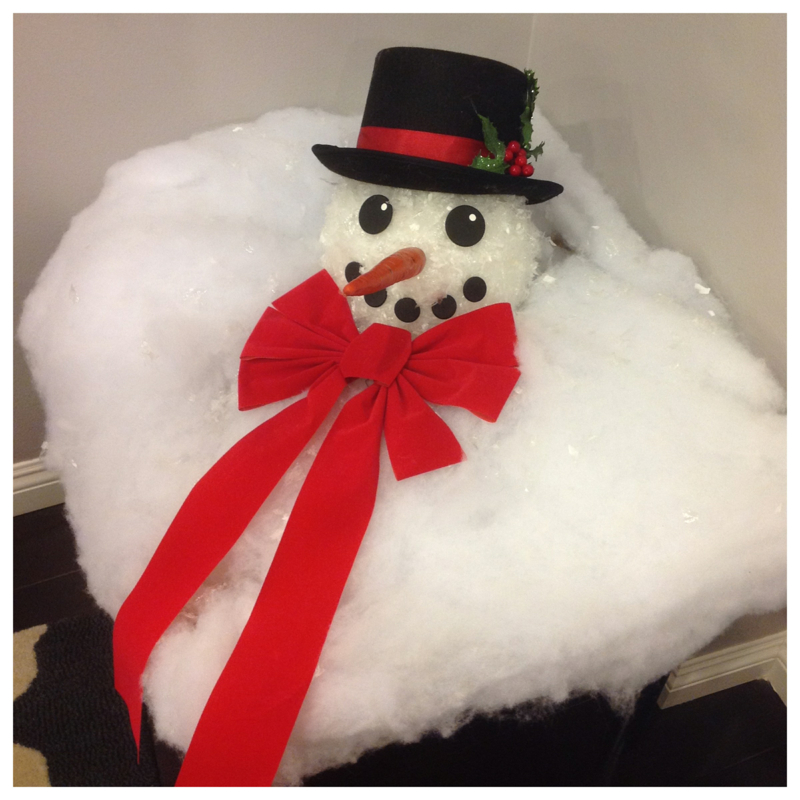
Supplies: Plain ornament balls Arcrylic paint (white & brown) Paint Pens (black, white, red, orange, and any other colors you'd like) Paint brushes Paint your little ones thumbs with a good layer of paint. Pressing gently push straight down onto the ornament, leaving a nice thumbprint. Allow plenty of time to dry, although it doesn't take long. After its dried add hats, scarves, eyes, nose, mouth, and buttons. Add eyes, nose, and antlers for your reindeer. Some of the kids got very creative and added snowflakes. When a box I was expecting from my mother arrived and was six times the size it should have been, I knew my mother was up to no good. As I opened the box I noticed some ornaments wrapped in an insane amount of fluffy white batting. This huge box contained a few ornaments, two stockings, and some Dunkin Donuts Kcups....score! I stood there shaking my head wondering what had possessed her to use so much batting and such a huge box. I mean I know this was my childhood stocking but this was beyond over kill. Then I found it. There in the bottom of the box under all the batting was a snowman head and hat. I laughed so hard I almost cried because instantly I knew what it was. My mother had mailed me her version of a melted snowman. Of course I couldn't wait until Scott got home so I could dance around with the head in the living room and wait for him to guess what my crazy mother had sent me now.
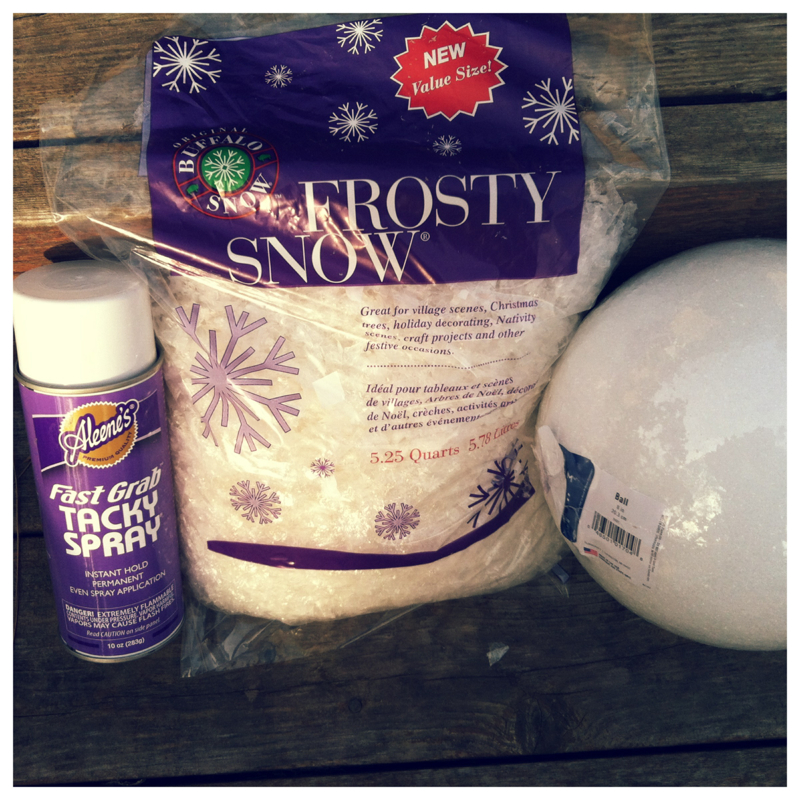
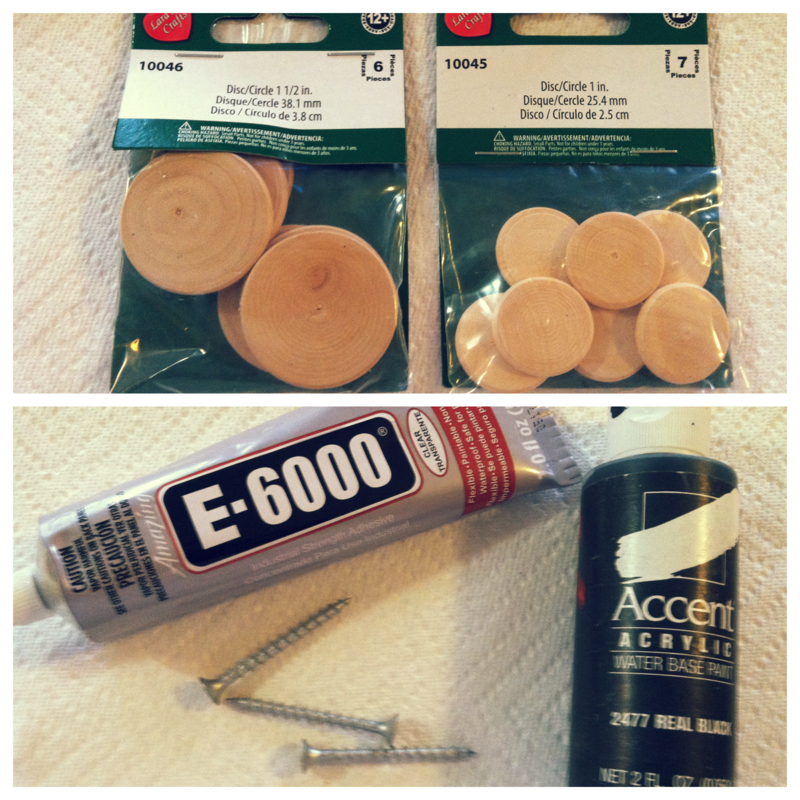
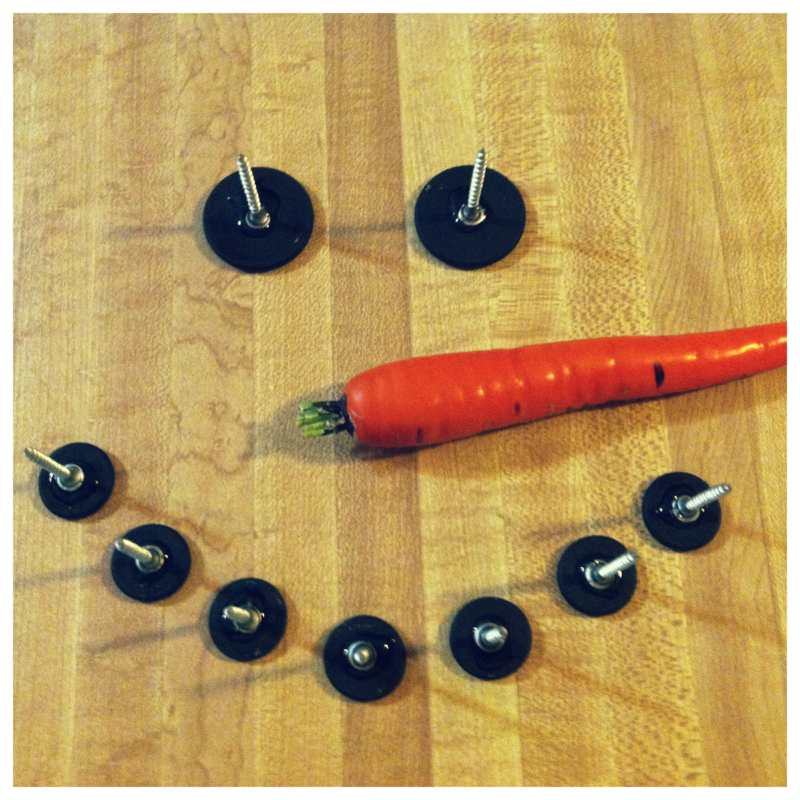
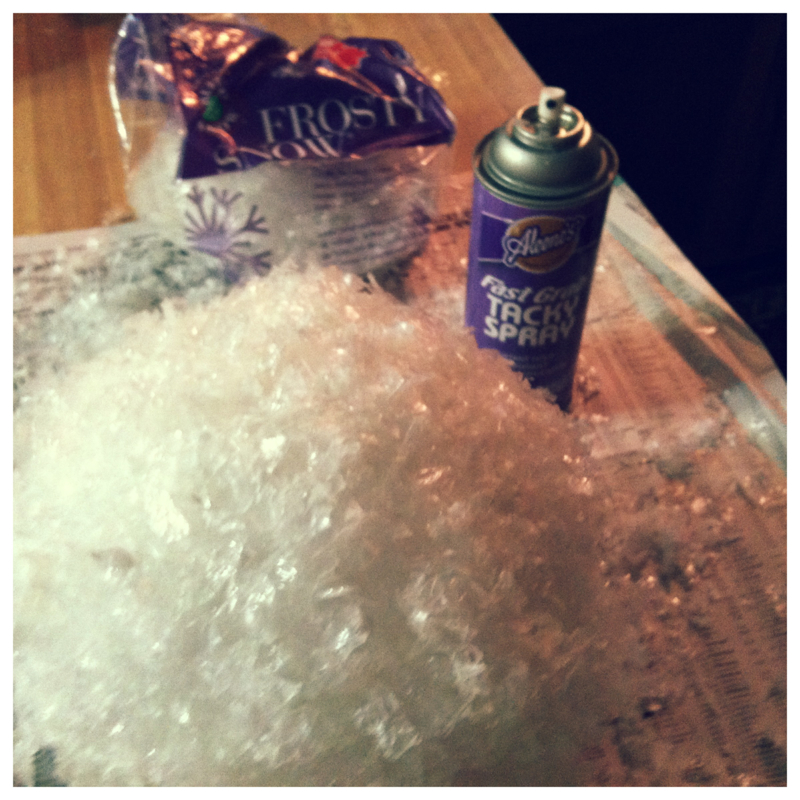
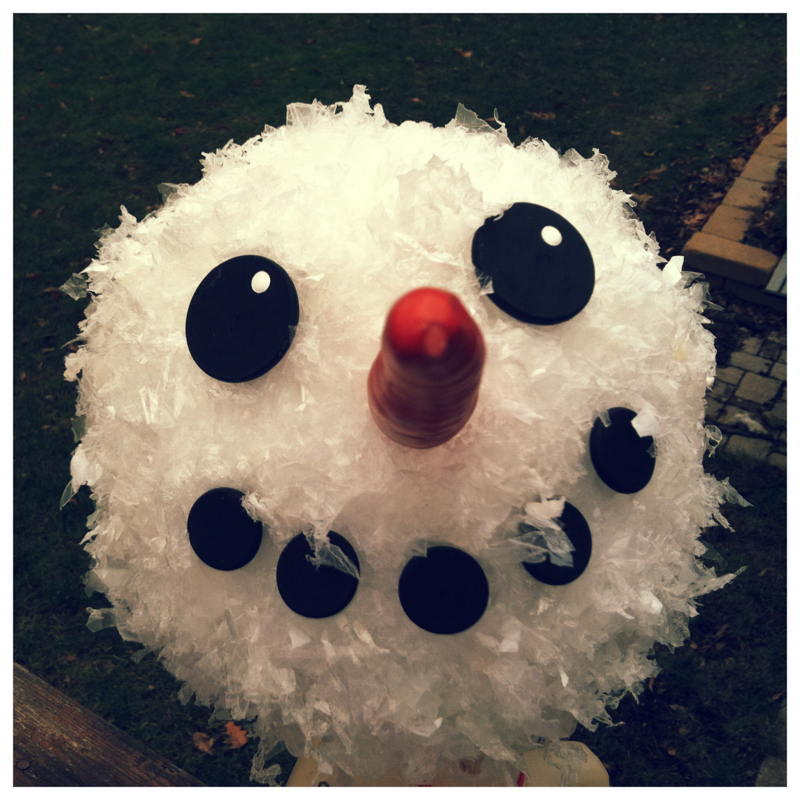
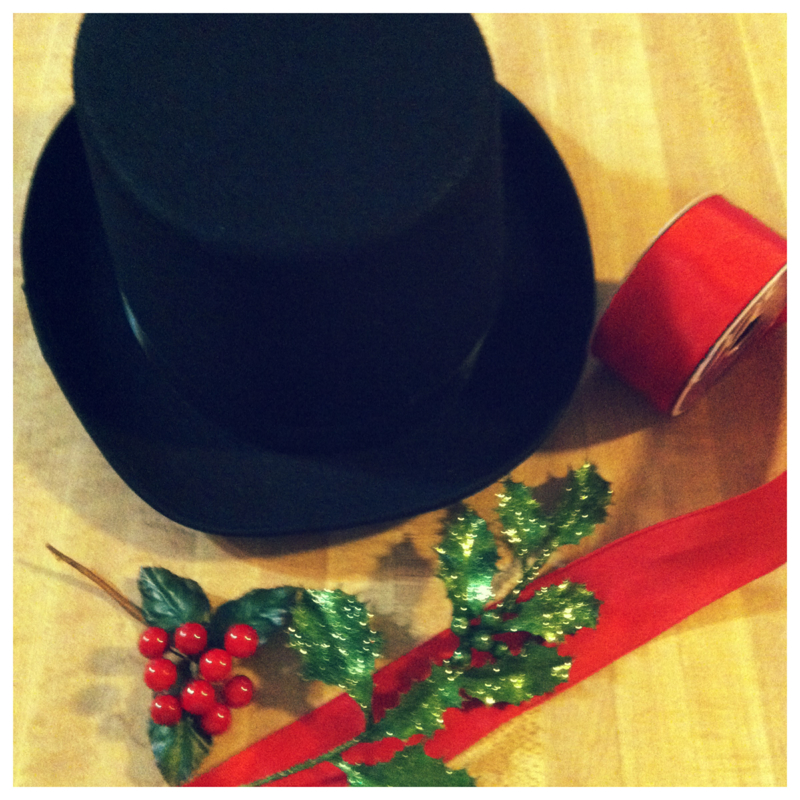
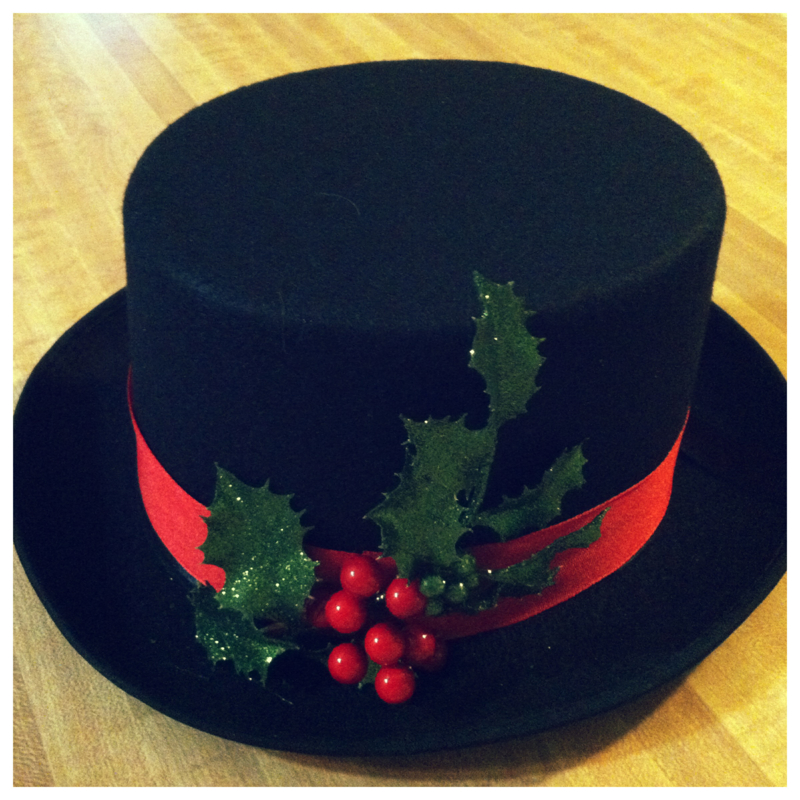
My mom was hoping I would put it in my front yard. Get it? A melted Michigan snowman on my California front lawn!?!? Needless to say it rained all weekend so I cleared a coffee table and there it remains. It's actually pretty cute if I must say so myself. Also I heard my aunt almost had a mental breakdown trying to glue snow onto the head so the thought of it getting wet and ruined may just send her to her grave. Here are some photos my mom took while making it! Melted Snowman Supplies: 8in styrofoam ball 1in wooden circles x 5 for smile 1 1/2in wooden circles x 2 for eyes Black paint Plastic carrot for the nose Small screws x 8 E6000 glue Top hat (you can add ribbon, leaves and berries) Tacky adhesive spray Frosty plastic snow Batting She painted the wooden discs black. She Then used the E6000 glue to glue the screws to the back of the eyes, smile, and carrot. While that dried she sprayed the styrofoam ball with tacky spray to attach the fake snow. WARNING this may take a few minutes so find your mental "happy place" before attempting. She adorned the top hat with some ribbon, glittered leaves, and berries. Once everything was dried she added the eyes, nose, and smile to the snowman head. I added the ribbon to him because I felt like he looked a little plain. Thanksgiving has passed and two days later our tree was up! Usually after I'll spend a few hours lacing each branch with lights. I still haven't been able to bring myself to buy a prelit tree. I remember being little nd setting up our tree. That entire night was then dedicated to my father weaving strings and strings of lights around each branch. It's such a vivid memory that it a weird way stringing the lights on my own tree somehow makes me feel connected to him. Although I'm sure if he were here he'd tell me I was a fool and that prelit trees are the best invention since sliced bread!
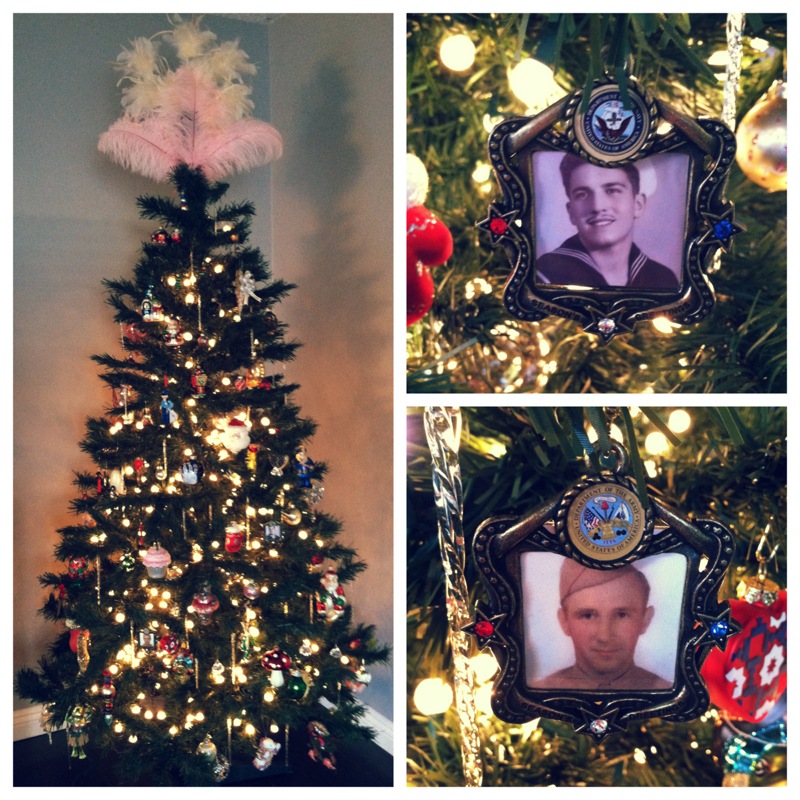
Since I can remember we almost always had a fake tree because ornaments are a huge deal in my family. We used to drive to the biggest christmas store in Michigan every year and every year we'd pick out one new ornament. Now when we decorate my moms tree it is so fun to reminisce. My mother of course saved every ornament we every made, my personal favorite is the Elmer's glue blob with green and red glitter I made her in kindergarten. Since I moved to California it's been like starting over. Scott and I have slowly started collecting ornaments that we get as gifts every year. Here our some of my favorites!!! My tree of course is adorned with a feather head dress. The pictures are of my grandfathers when they were in the Navy and the Army.
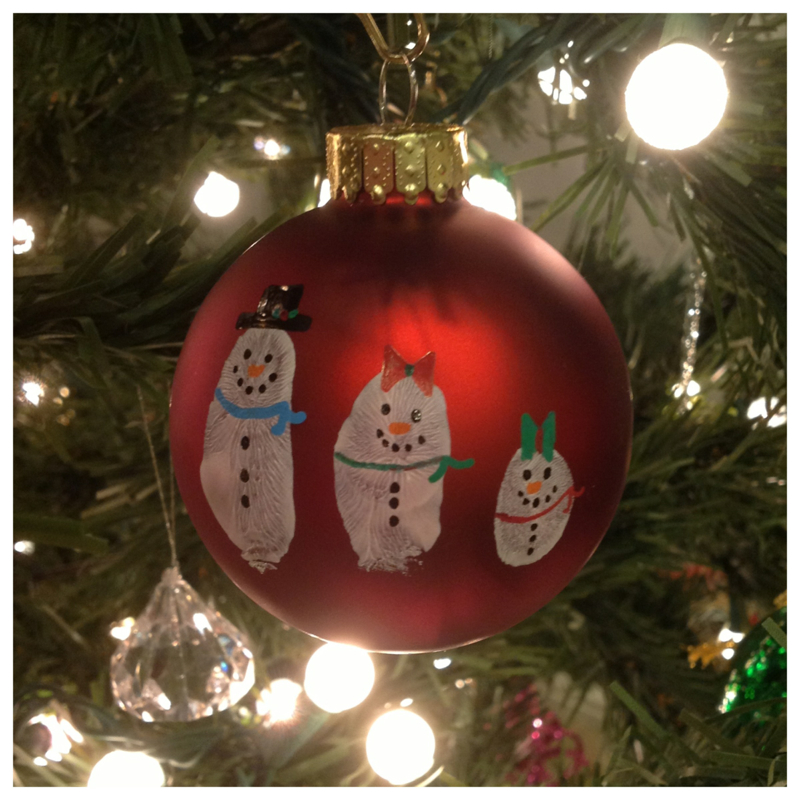
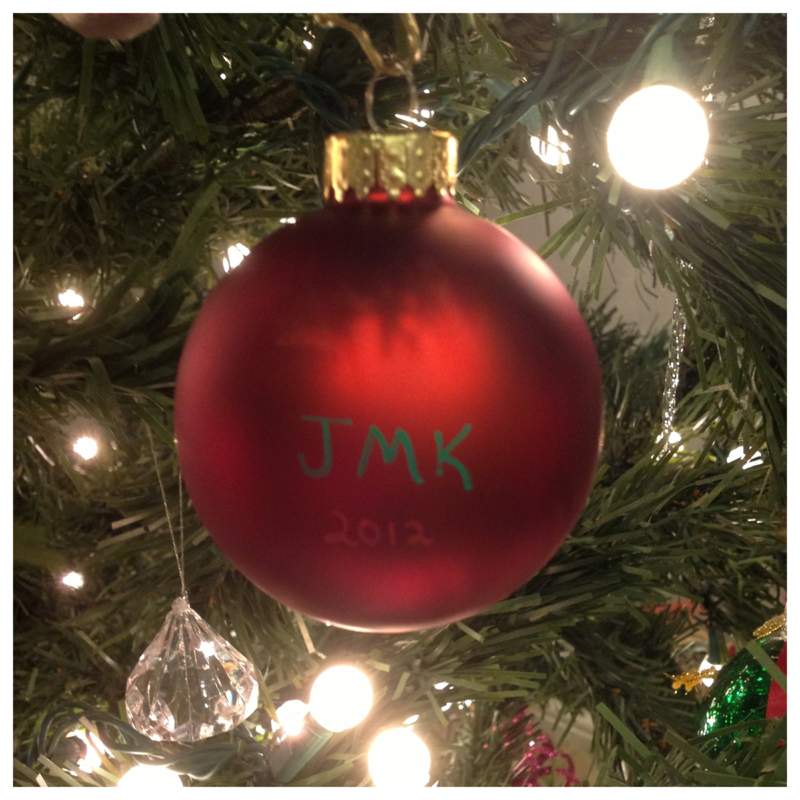
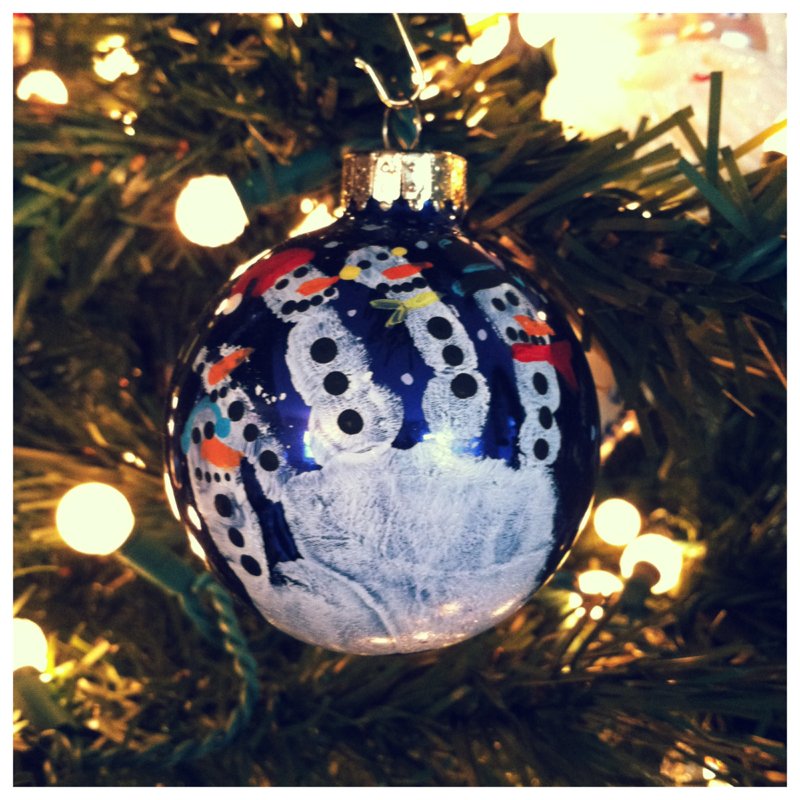
The first ornament I put on my tree this year. Maddie James's handprint made into a snowman family. We made these with her last christmas. For the next 7 days at bath time I could hear her mother cursing my name because she was still finding white paint in her hair and between her toes!
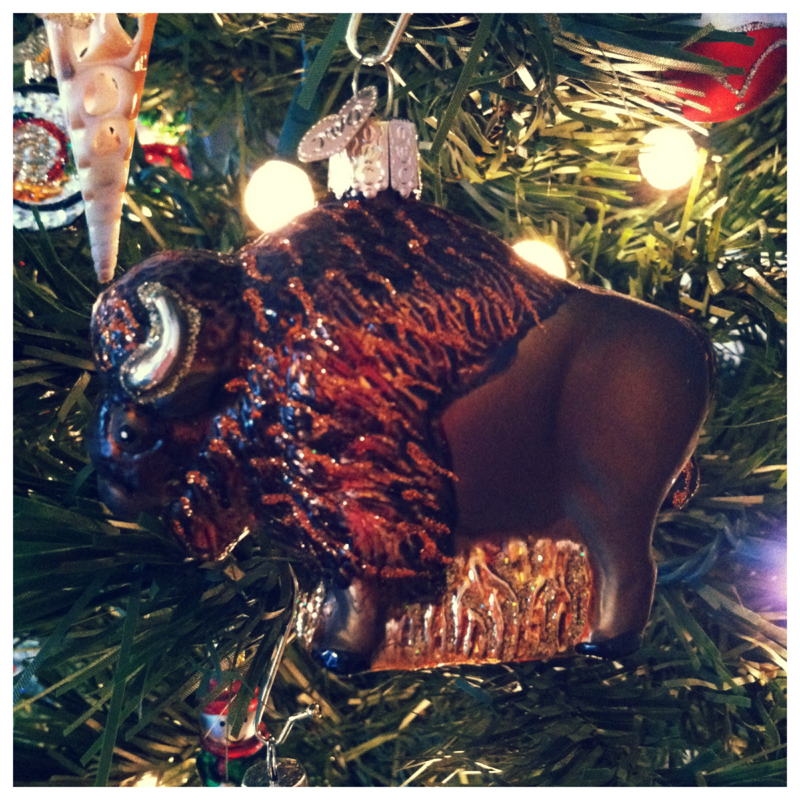
A buffalo for my mom because when we took a family trip out west in our can I became obsessed with buffalo!!!
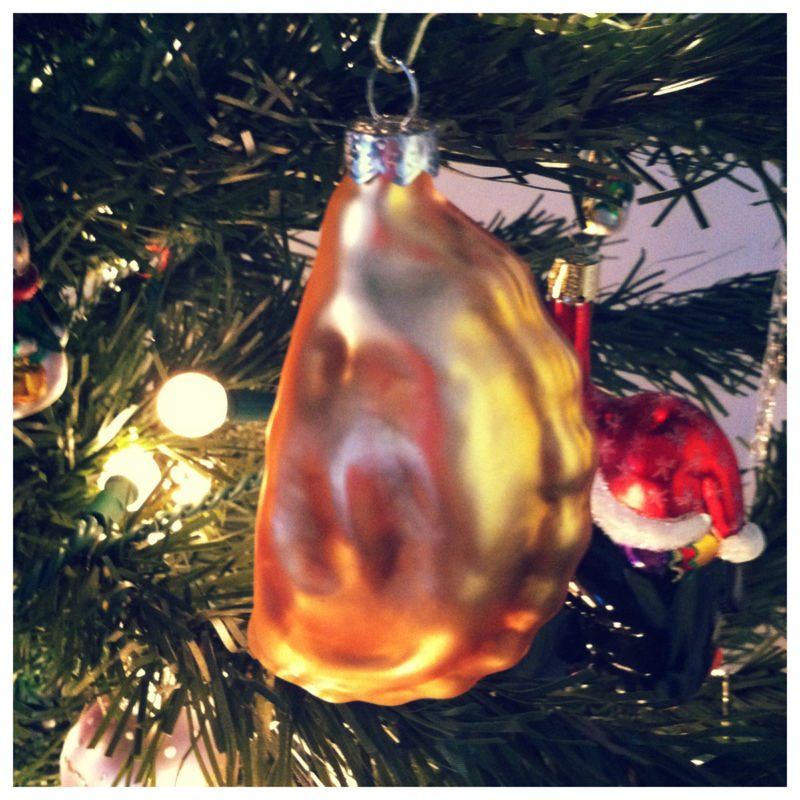
A pierogi from my brother and sister in law. Celebrating my polish heritage!
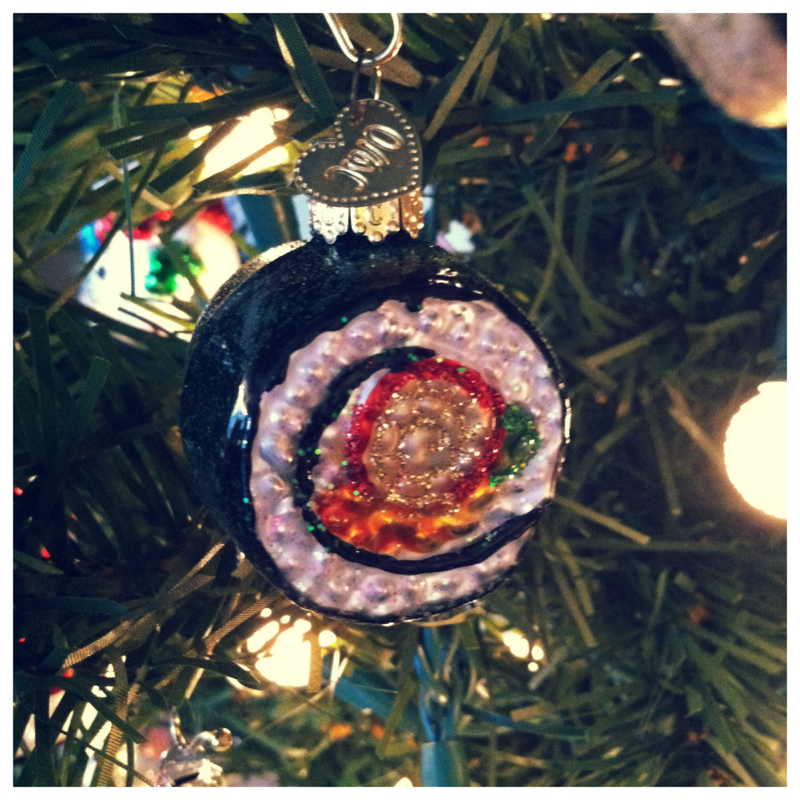
A sushi roll I got for Scott in Salem when I was working on the east coast.
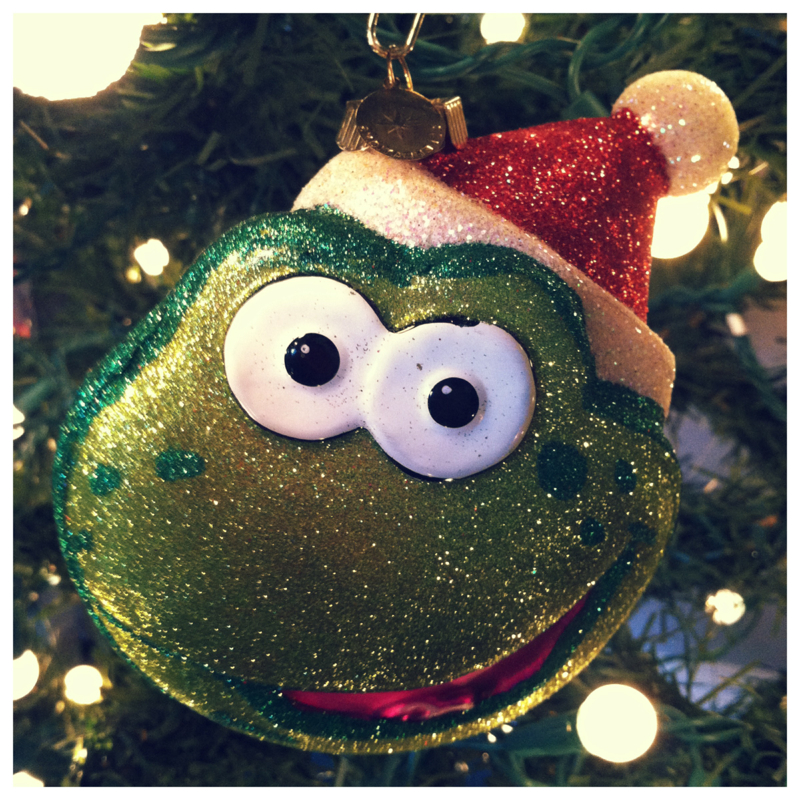
Glittered frog from my favorite cousin Candi!
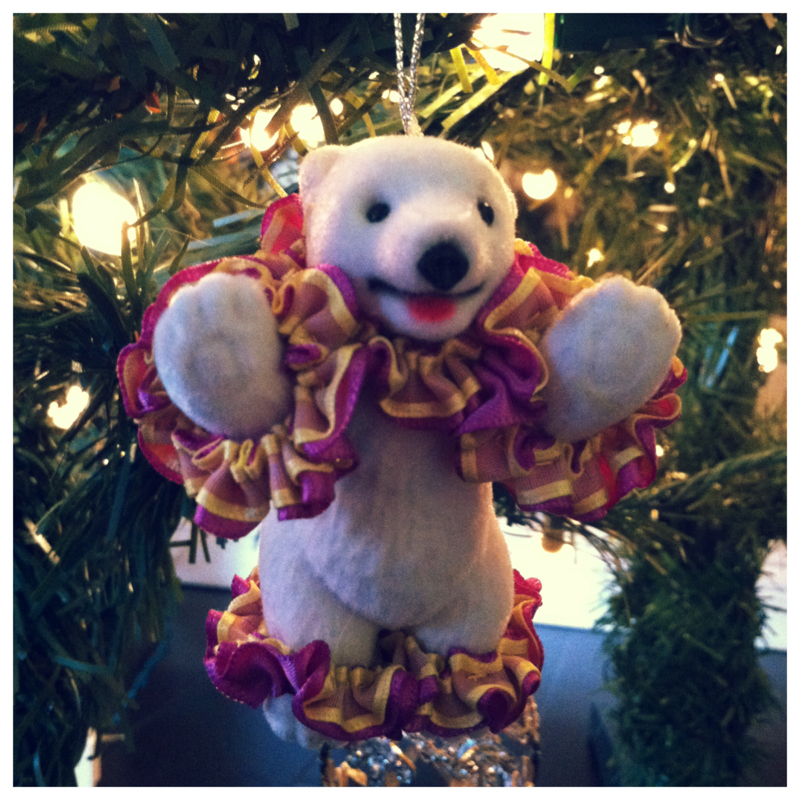
The polar bear my cousins Jackie & Eric made me. It's dressed exactly like I was when I danced in the Radio City Christmas Spectacular.
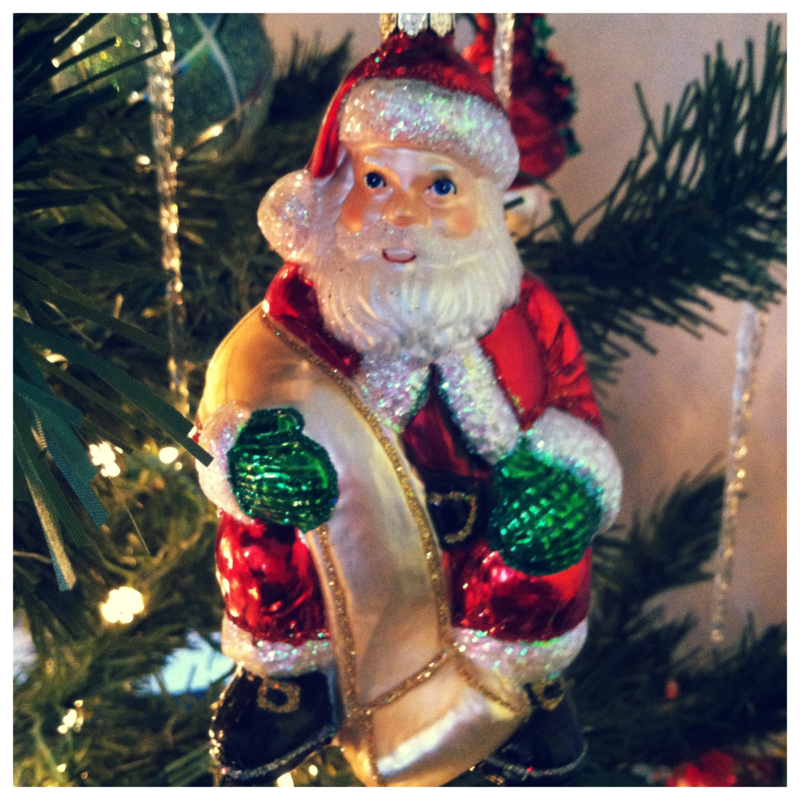
Santa, reminds me of my mom because she loves her Santa ornaments.
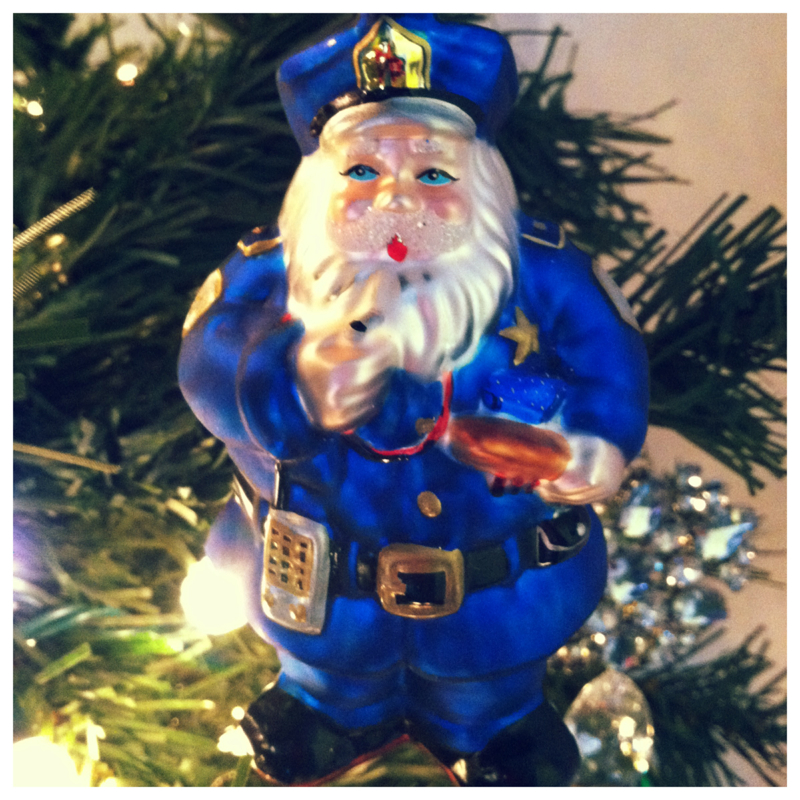
Santa cop for Scotty!
|
Blog
AuthorI'm a ginger with a love for heels & all things crafty. Receive e-mail updates:Archives
November 2013
Categories
All
|
|

 RSS Feed

